One of the most common struggles I hear about in our Tunisian crochet Facebook group and in emails from readers is how to get those tricky edges to look neat and straight.
That tricky edge stitch has tripped up countless crocheters (ourselves included!) and can make even the most beautiful project look lopsided.
The good news? I've just created a brand new video with my top 3 tips that will transform your edges from frustrating to fabulous. Let's dive in!
🎥 WATCH MY VIDEO
Tip #1: Master the Two-Loop Technique (With a Stitch Marker Hack!)
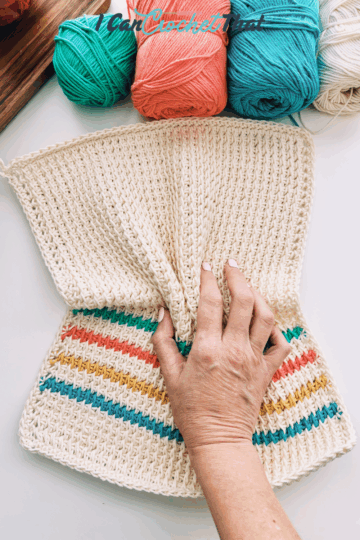
Here's where most crocheters go wrong: they only insert their hook under one loop of that edge stitch. Instead, make sure you go under both loops at the end of each row.
This simple change creates a nice, straight, clean edge that makes all the difference.
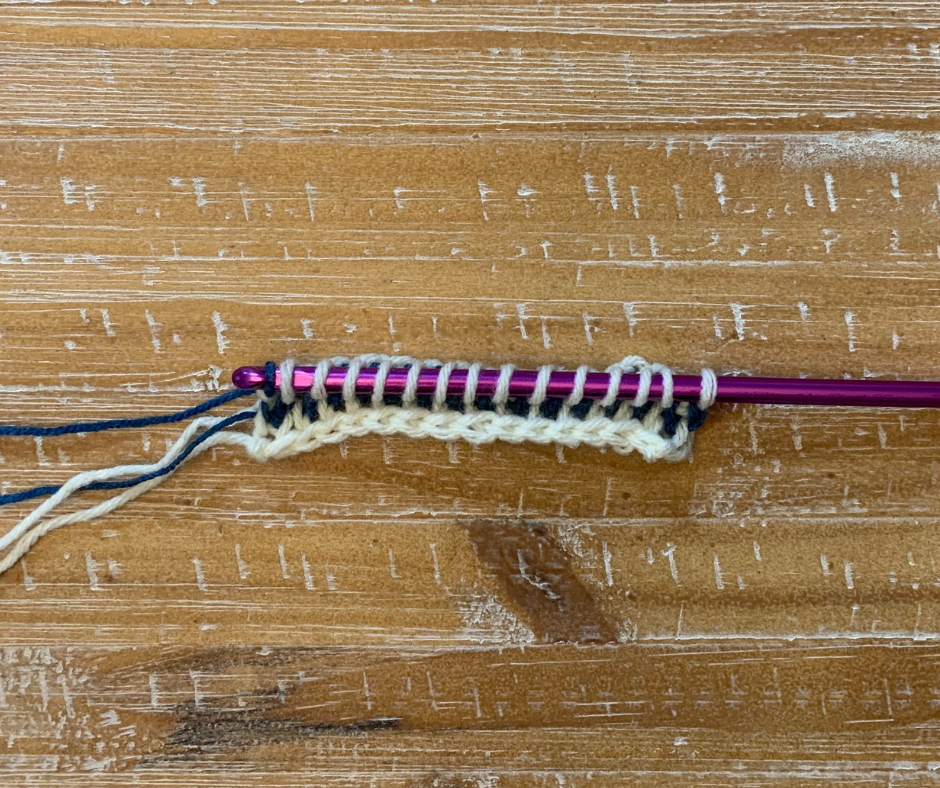
The Stitch Marker Game-Changer: Finding those two loops can be tricky, especially when you're starting out.
Here's my secret weapon: after you work that edge stitch on the forward pass, pop a stitch marker through both loops. When you come back on the return pass, you'll see exactly where your hook needs to go. No more guessing!
How to Work the Edge Stitch:
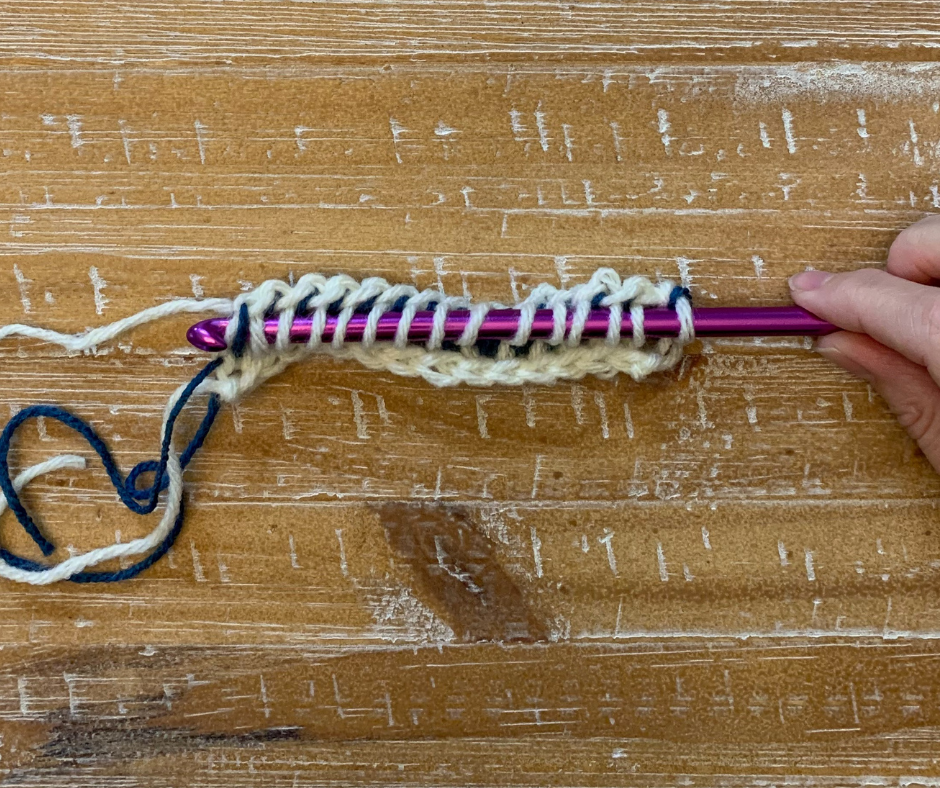
- Forward Pass: Pull up loops across the row as usual
- At the End: Insert your hook under both loops at the edge
- Mark It: Place a stitch marker through both loops for easy identification
- Return Pass: Continue as normal, removing the marker as you work
Tip #2: Perfect Your Tension at the Crucial Spots
Your tension at the very beginning and end of each row can make or break your edges. Too tight? Your edge pulls in and looks uneven. Too loose? Hello, sloppy edges.
The Reality Check: This skill improves with practice, so don't beat yourself up if it's not perfect right away. And here's something important to remember - some Tunisian stitches naturally look a little wavy on the edges. That's not you doing anything wrong; it's just the nature of the stitch!
Pro Tip: Pay extra attention to your first and last stitches of each row. Consistent tension here will give you those professional-looking edges you're after.
Tip #3: When in Doubt, Border It Out!

Sometimes the best solution is the simplest one. A basic single crochet border around your finished project instantly makes your edges look polished and professional. It's like putting a beautiful frame around a picture!
Why Borders Work Magic:
- They hide minor edge imperfections
- Round out corners beautifully
- Give your project a finished, intentional look
- Work for blankets, scarves, dishcloths, and more
Honestly, I rarely make a blanket without adding a border. It's that finishing touch that takes your work from "homemade" to "handcrafted with pride."
Additional Tips for Tunisian Crochet Success
Block Your Finished Work: Once your project is complete, blocking can work wonders. Dampen your piece, pin it to a flat surface, stretch it gently into shape, and let it dry completely. This helps even out any remaining inconsistencies.
Stay Consistent: The key to beautiful Tunisian crochet is consistency throughout your entire project, not just the edges. Keep your tension steady and your rhythm flowing.
Your Edge Transformation Awaits
Quick Recap of the 3 Game-Changers:
- Work under both loops on your edge stitch (use that stitch marker trick!)
- Watch your tension at the beginning and end of rows
- Add a simple border when you want that extra polished look
Clean edges take a little practice, but once you develop these habits, your Tunisian projects will look incredibly professional.
Don't get discouraged. Every expert crocheter has been exactly where you are now. Keep practicing, stay patient with yourself, and you'll be amazed at how quickly your edges improve.
Have you tried any of these techniques?
Happy crocheting!

Don't forget to check out our other Tunisian crochet tutorials and patterns. And if this post helped you, please share it with a fellow crocheter who might be struggling with their edges too!