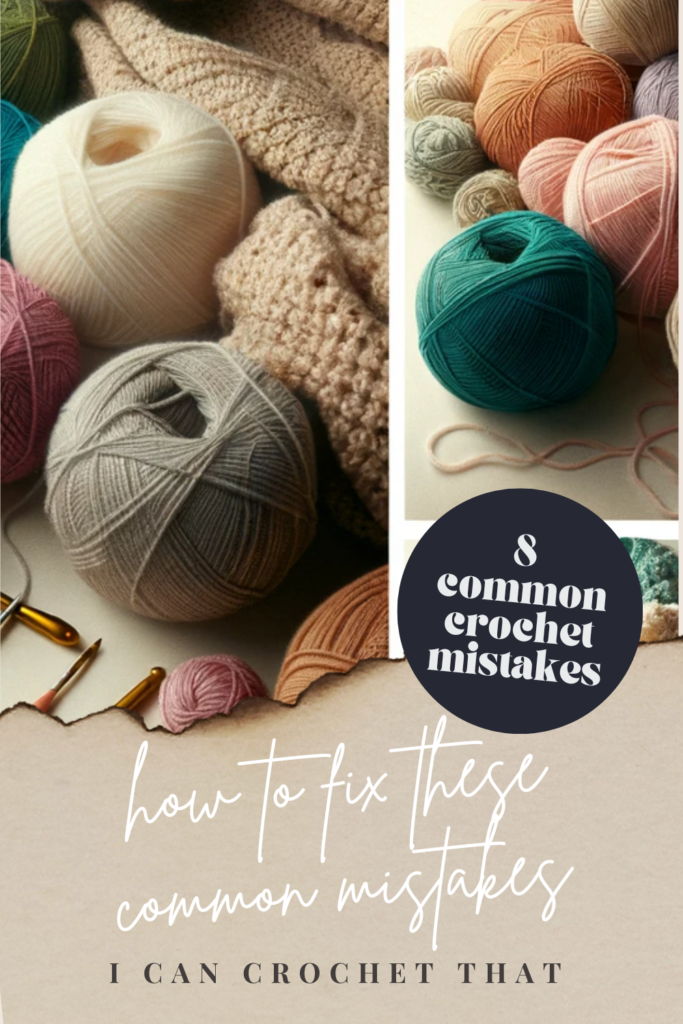
Explore our guide on common crochet mistakes, offering expert tips and easy-to-follow solutions to help you perfect your crochet skills and avoid frequent errors.
Embarking on a crochet project is often an exciting journey into an exciting world! As you loop, stitch, and create, there's a unique sense of accomplishment that comes with every finished piece.
However, along this creative path, you may encounter a few hurdles that can make your crochet experience less smooth than you'd like.
From tension troubles to stitch slip-ups, we've all been there.
Today, we're here to help you navigate those tricky situations and provide you with the knowledge and tools to untangle the knots, both figuratively and literally.
We'll dive into some of the most common crochet problems that can come up during your crafting adventures and share practical solutions to help you overcome them.
Whether you're struggling with wonky edges, confusing patterns, or even those pesky yarn tangles, we've got you covered.
So with that, let’s learn how to troubleshoot and fix these common crochet conundrums.
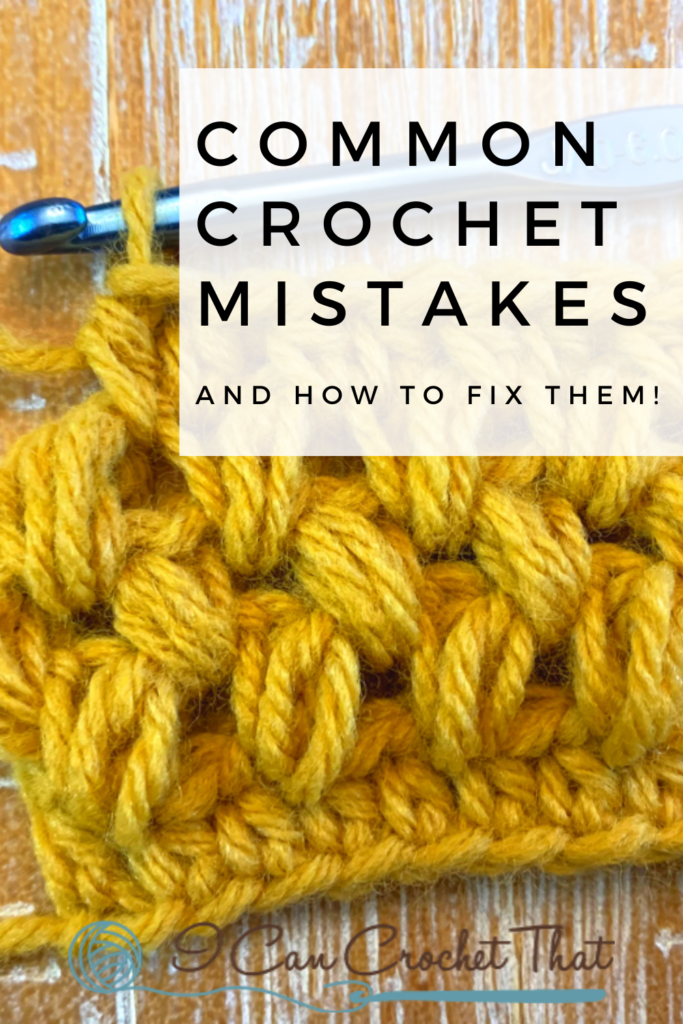
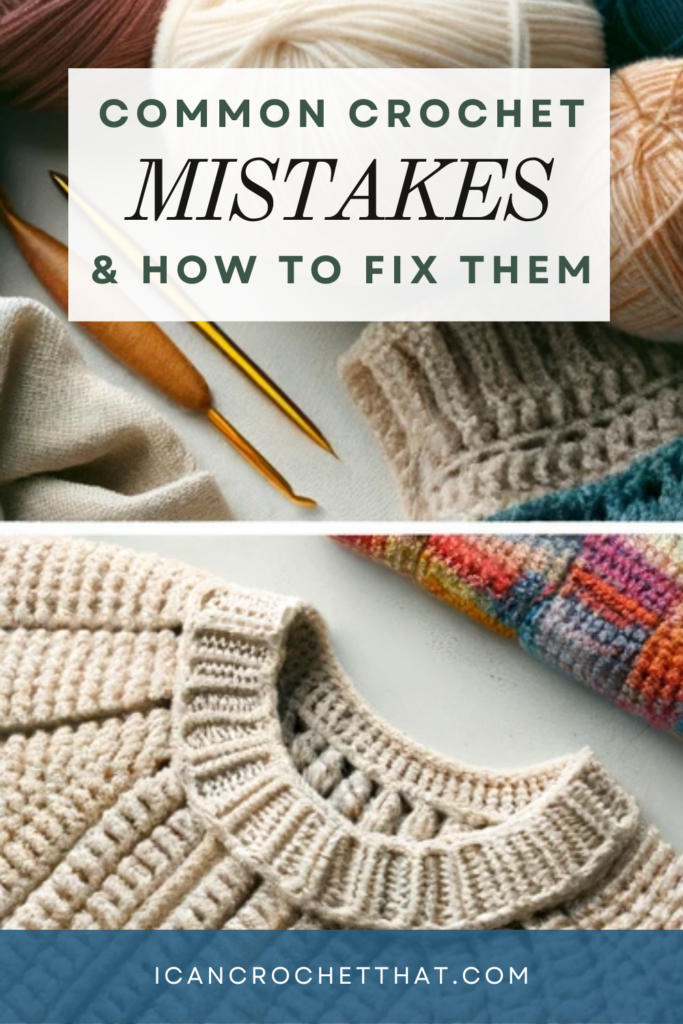
Fixing Crochet Mistakes: The Problem & The Solution
1.Crochet Stitches are Too Tight or Too Loose
Problem: Stitches that are too tight can be challenging to work into, while stitches that are too loose may create a sloppy fabric.
Solution: Adjust your tension by consciously loosening or tightening your yarn as you work. Experiment with different hook sizes, as well as different hook materials, to achieve the desired tension.
Remember, even if the hooks are the same size, the different materials might cause slight differences in the size and, therefore, the outcome of the stitches!
You can buy tension rings to wrap the yarn around and keep the tension even.
2. Project Is Getting Wider As You Go
Problem: Your crochet project's edges are not straight but are getting wider as you go.
This can happen when you work more stitches in a row than in the previous row.
You could be doubling up into one stitch or working a stitch in the turning chain when the chain does not count as a stitch.
One extra stitch in a row can turn into ten a few rows up!
Solution: The easiest way to fix this is to count the stitches as you go and double-check your pattern to see if the turning chain is supposed to count as a stitch.
If it’s not supposed to, putting a stitch in there can create many issues. So, double-check that pattern.
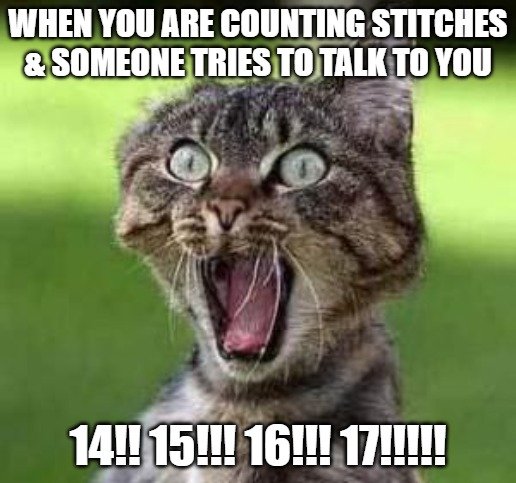
3. Miscounting Stitches:
Problem: Losing track of your stitch count can lead to irregular shapes or patterns. Losing track is also frustrating as you must keep returning and counting as you forget.
Solution: Use stitch markers or a piece of contrasting yarn to mark the beginning of each round or row. If you’re doing a large project like a blanket, put a stitch marker every 5 or 10 stitches as you’re crocheting.
This is extremely helpful because it relies on your count the first time and is usually the most accurate rather than future counts where you’re frustrated and sure you’re miscounting.
If you don’t have enough stitch markers to do this, try counting your stitches out loud to ensure you're on track. This helps if you get distracted.
4. Knots and Tangles in Yarn:
Problem: Yarn can sometimes become knotted or tangled, causing frustration and interruptions in your work.
Solution: Invest in a yarn bowl or bag to organize your yarn. A yarn bowl will be a deep bowl with some sort of cutout in the side to keep your working yarn straight.
Yarn bags usually have metal enforced holes to thread your yarn through.
When you encounter knots or tangles, carefully untangle them before continuing. Try to avoid pulling tight, as this can easily lead to knots that can’t be untangled.
Keeping the knots as loose as possible makes it much easier to untangle.
If your yarn gets too tangled to continue, cut the yarn and make a magic knot with the yarn connected to the yarn ball or cake.
A magic knot is created by this process:
Step 1: Begin by looping the cut yarn around the yarn connected to the ball, making sure to leave a few inches of space from the end.
Step 2: Next, grasp the tail of the new yarn along with the working yarn, and gently pull them in opposite directions.
Step 3: Proceed to wrap the tail of the old yarn around the working end of the new yarn, just as you did in step 1. Secure the knot firmly.
Step 4: Pinch the working ends of both the old and new yarn, and pull them in opposite directions to bring the knots close together.
Step 5: Finally, trim the yarn ends as close to the knots as possible for a neat finish.
All done!
5. Crochet Hook Slipping Out of Stitches:
Problem: If your hook frequently slips out of stitches, it can be frustrating and slow down your progress.
Solution: Make sure you insert your hook under both loops of the V-shaped stitch. Some yarns may be more slippery than others, so consider using a hook with a different grip or material.
Metal or plastic hooks will be more prone to slipping, so if this is a consistent issue, try switching to a wooden hook.
6. Running Out of Yarn:
Problem: Running out of yarn in the middle of a project can be challenging.
Solution: To avoid this, estimate the amount of yarn you'll need before starting a project. The amount of yarn you will need is usually shown at the beginning of a crochet pattern.
The amount is usually shown in yardage, but grams will also be on both the yarn label and the pattern. Yardage is usually more helpful than grams, so when choosing a yarn, look at the yardage unless told otherwise by the pattern.
When joining a new skein or color, do so at the beginning of a row or round to hide the ends neatly. Attach the new yarn with a magic knot to ensure it'll stay put and not unravel later!
7. Crochet Not Laying Flat:
Problem: Your crochet work is not laying flat, and it's bunching up or forming ripples.
Solution: Check your stitch count and tension. Make sure you are following the pattern correctly.
Blocking your finished project can often help smooth out any irregularities.
Blocking is wetting your finished pieces to set the finished size and even out the stitches. This is usually done by getting a spray bottle, spraying the piece, and leaving it to dry lying flat for 24 hours.
You can purchase blocking mats, which will help with this process and help your finished crochet project look incredible.
8. Crochet Edges Curling:
Problem: The edges of your crochet piece curl inward or outward. This commonly happens if you’re doing Tunisian crochet or your stitches are too tight.
Solution: Adjust your tension or hook size to achieve a more even tension throughout your work.
Blocking your finished project can also help straighten out edges.
You can also crochet a border around your project to help with this.
Remember that crochet is a skill that improves with practice. Don't be discouraged by common problems; they are part of the learning process.
With time and experience, you'll become more proficient at identifying and solving crochet issues.