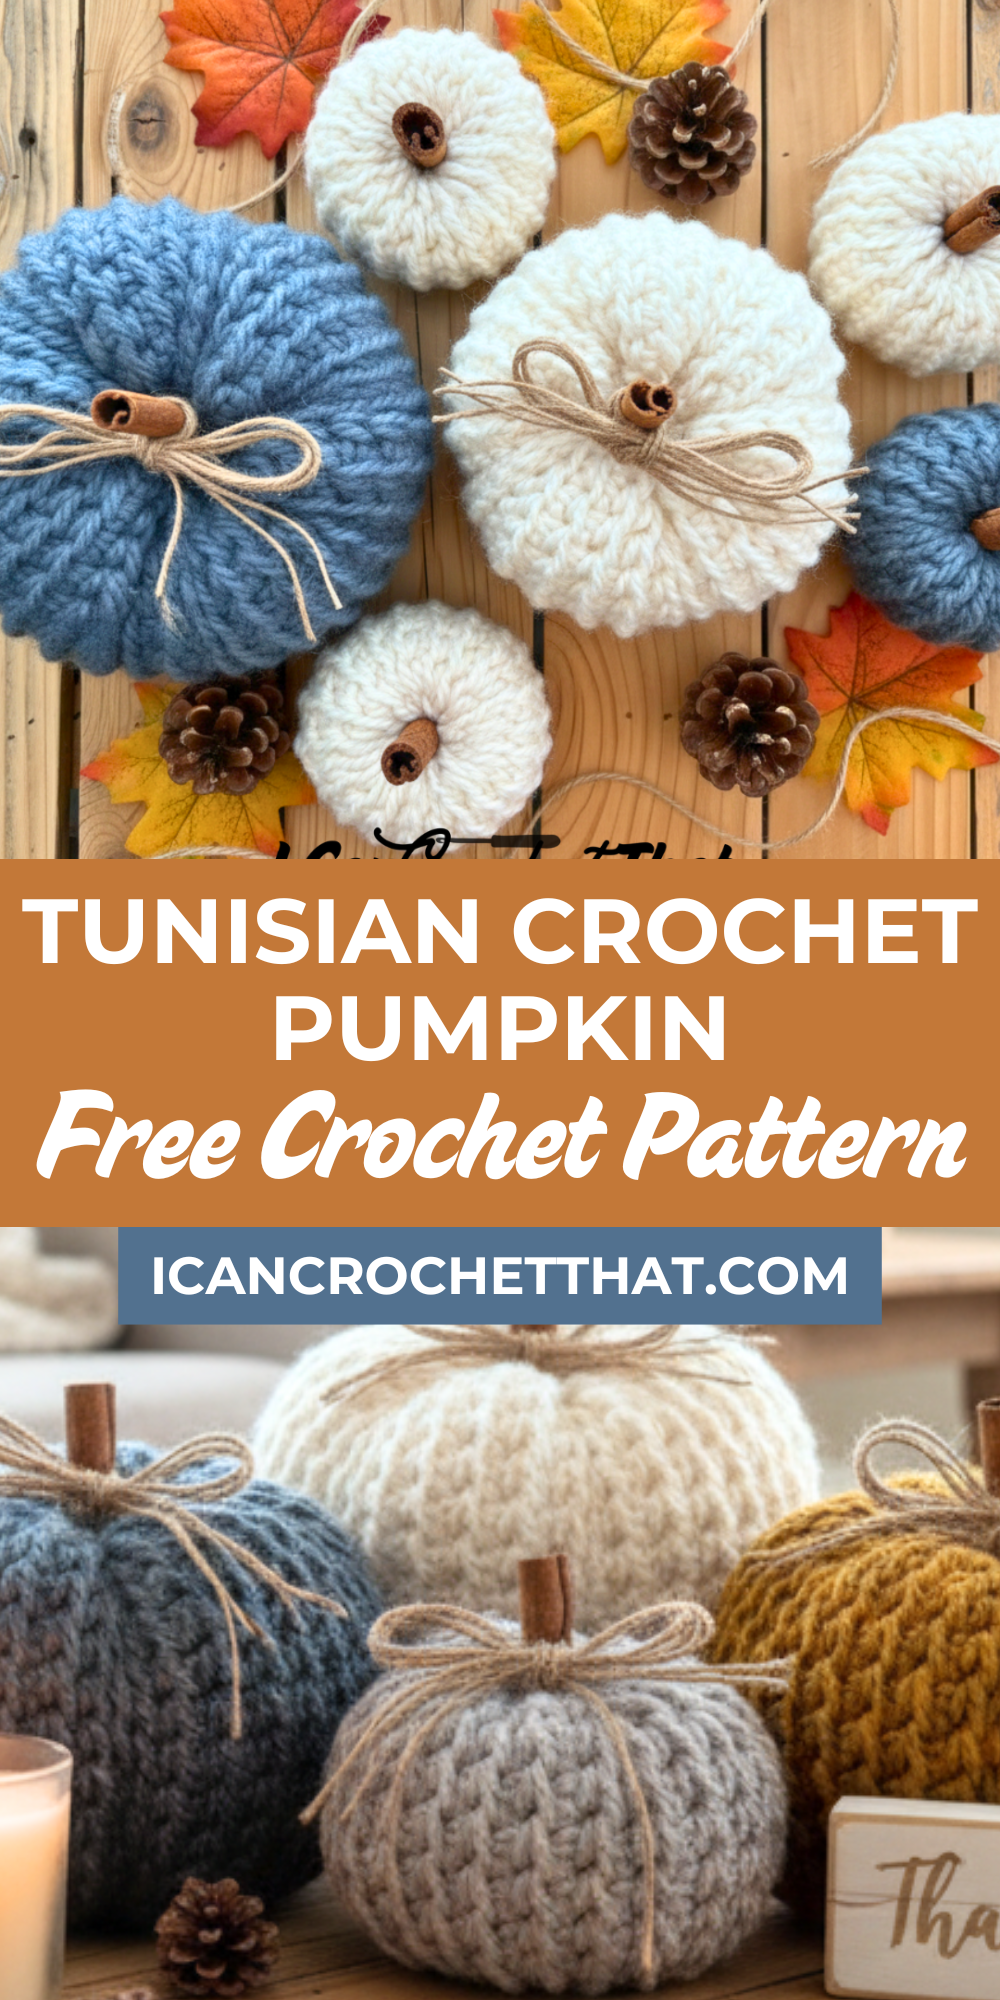
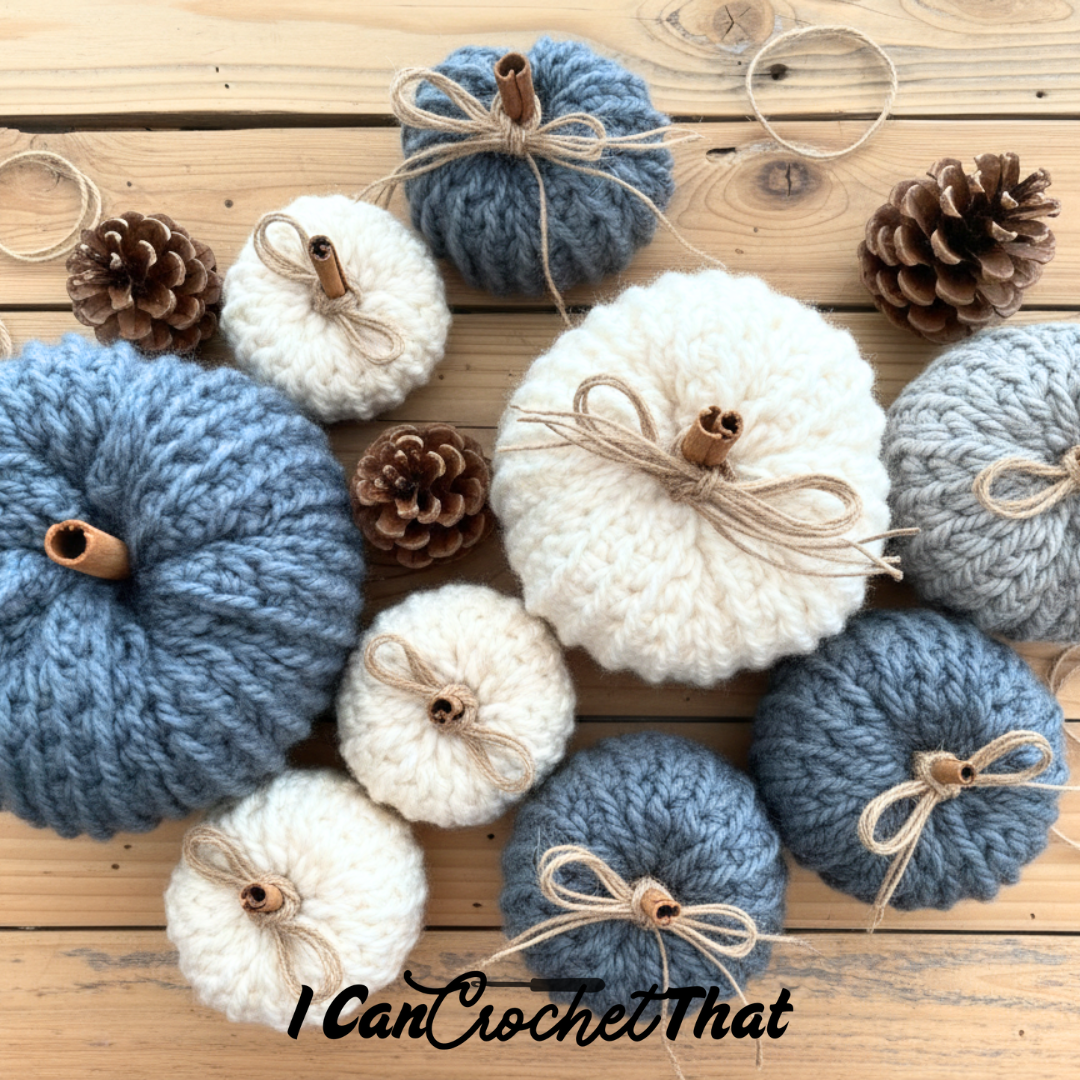
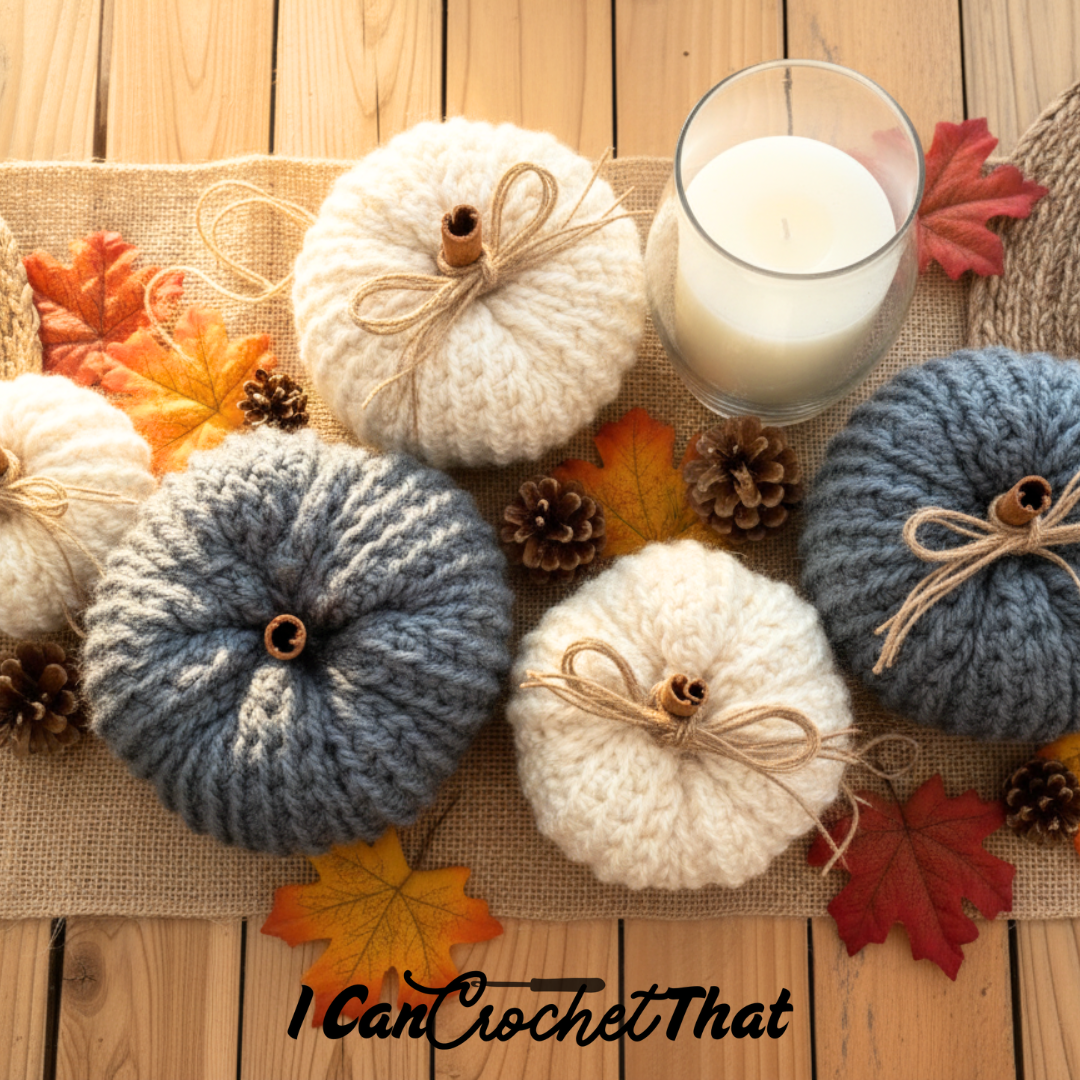
If you’re ready to bring a little cozy, handmade fall magic into your home, this Tunisian Crochet Pumpkin Pattern is for you. It’s soft, textured, and perfectly plump — the kind of pumpkin that looks like it came straight from a boutique, but you made it yourself.
This post covers the medium-sized pumpkin, but if you fall in love with it (and I think you will!), you can grab the PDF pattern to make all three sizes — small, medium, and large. The full version is available in my ICCT Shop, Etsy, and Ravelry.
And if you’re a visual learner, you can follow along step-by-step in my YouTube tutorial here 👉 Watch the Tunisian Crochet Pumpkin Tutorial.
🧶 What You’ll Need

Yarn:
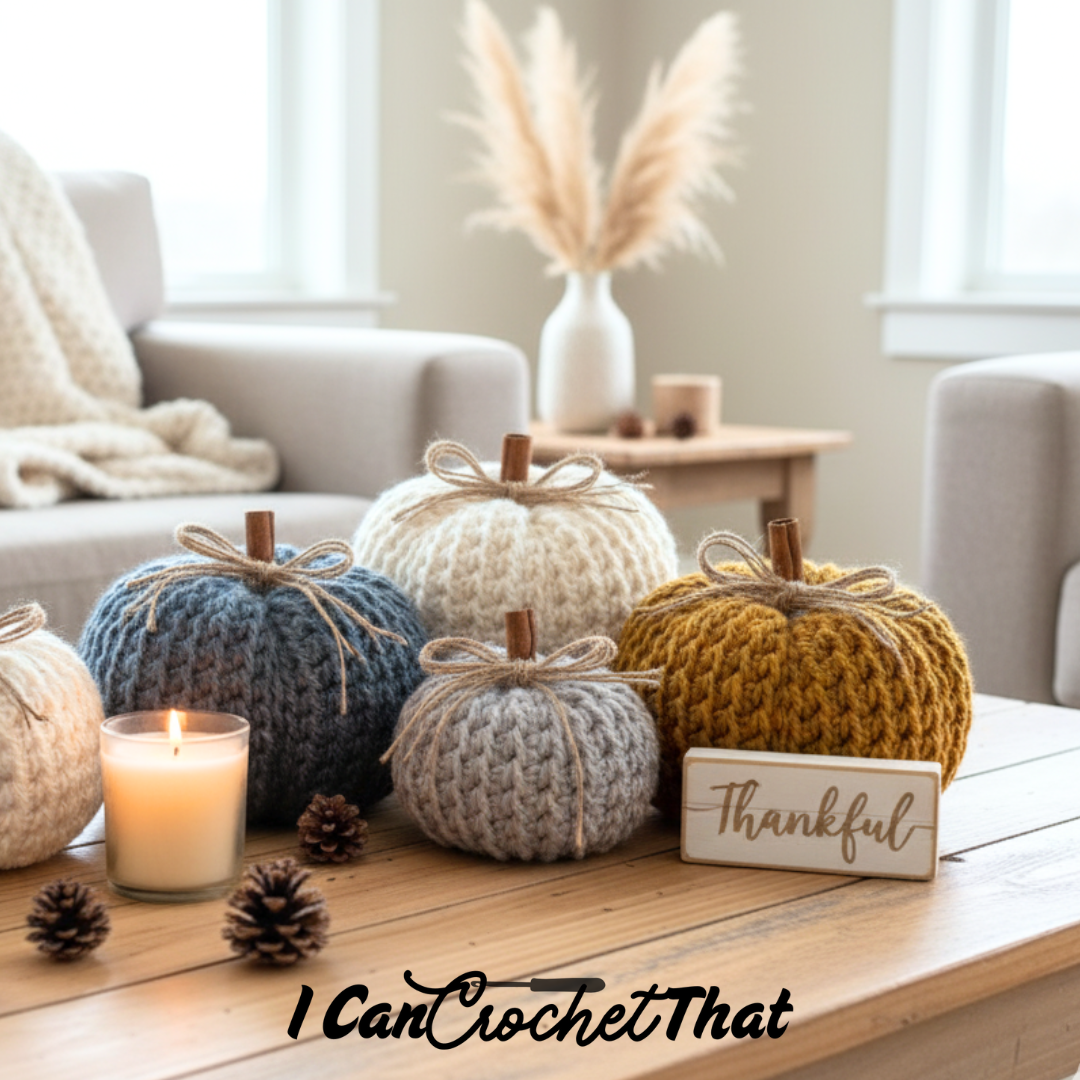
- Lion Brand Jiffy (bulky weight, #5) — approximately 95 yards for the medium pumpkin. Colors: Cream and Coastal (I also made one in Mustard and Slate)
Hook:
Other Supplies:
- Tapestry needle
- Poly-fill stuffing
- Scissors
- Cinnamon stick or twig for the stem
- Hot glue gun (optional)
Supply list on Amazon HERE
Gauge:
- 2" × 2" swatch = 5 stitches × 5 rows in Tunisian Half Double Crochet (THDC)
✨ Skill Level
Beginner to Intermediate
If you can work the Tunisian Half Double Crochet (THDC), you can make this pumpkin!
🎥 Watch the Tutorial
Catch the full video tutorial here:
👉 Tunisian Crochet Pumpkin Tutorial on YouTube
In the video, I’ll show you every step — from chaining to shaping — and share helpful tips for keeping your stitches loose and your pumpkin perfectly plump.
🧵 Pattern Notes
- Leave a 99″ tail before starting your chain; you’ll use it for seaming and shaping later.
- The pumpkin is crocheted flat, then seamed, stuffed, and shaped.
- Work special return pass for THDC stitch after each forward pass. (Under Special Stitches.)
- Keep loops slightly loose to prevent tight stitches — especially with bulky yarn.
Special Stitches
Thdc (Tunisian half double crochet) Video tutorial HERE
Start with a Foundation Row: Begin by chaining any number of stitches. This will be your foundation row.
Forward Pass:
- Step 1: Yarn over and insert your hook into the second back bump from the hook.
- Step 2: Yarn over again and pull up a loop. Keep the loop on your hook.
- Step 3: Continue this process across the chain – yarn over, insert the hook into the next back bump, yarn over, and pull up a loop, keeping all loops on the hook.
Return Pass:
- Step 1: To start the return pass, yarn over and pull through one loop on the hook (this is essentially a chain 1).
- Step 2: Then, yarn over and pull through three loops. Repeat this step (yarn over and pull through three loops) all the way across.
Subsequent Rows:
- Step 1: Yarn over (skipping the first two vertical bars) and insert hook under both of the next two vertical bars, pull up a loop.
- Step 2: Yarn over and insert hook under both of the next two vertical bars; continue all the way across until you get to the end.
- Step 3: Yarn over and pull up a loop in the last Tunisian stitch.
- Step 4: Return pass as stated above
🪶 Medium Pumpkin Pattern
Stitch Used: Tunisian Half Double Crochet (THDC)
- THDC Foundation Row: Ch 31, work into each chain across.
- Rows 1–13: THDC across.
- Bind Off: Tunisian Slip Stitch across.
Your rectangle should measure about 11.5″ wide × 6.5″ tall when laid flat.
Seaming the Pumpkin
- Ch 1.
- Fold the rectangle in half with wrong sides facing.
- Slip stitch the short ends together through both loops to form a tube.
- Ch 1 again.
- Single crochet around one open edge, working into every other chain (you’ll have around 16 sc).
- Slip stitch to the first sc and fasten off, leaving a long tail.
Closing the Bottom
- Thread the tail onto a tapestry needle.
- Weave in and out of every other single crochet around.
- Pull tight to cinch the bottom closed, then secure and fasten off.
Stuffing the Pumpkin
Stuff the pumpkin so it feels full and plump, but don’t overfill.
If the stitches start stretching and you see the white stuffing through, it’s too full.
Aim for that sweet spot — firm but still soft and squishy.
Closing the Top
- Cut a length of yarn that’s 7× the height of your pumpkin.
- Thread it onto a tapestry needle and secure it at the side seam with a knot.
- Weave through every other stitch of the bind-off row.
- Cinch the opening closed slowly — watch the shape as you go.
- Push the needle down through the center of the pumpkin (you’ll need to squish it a bit) and pull tight to create a dimple in the bottom.
Shaping
- Pull snugly to shape the top and bottom.
- Run the needle back up through the center and repeat a few times to form pumpkin sections.
- Fasten off securely and tuck the end inside.
Finishing Touch
Leave a small opening at the top and insert a cinnamon stick (or a twig from your yard!) as the stem.
You can add a dab of hot glue to keep it in place if you want.
💛 Make the Full Set
This medium pumpkin is the perfect size for shelves and table centerpieces. If you want to make the matching small and large sizes, grab the ad-free PDF with all three patterns right here:
Each size is designed to look great together — a little Tunisian crochet pumpkin patch you’ll be so proud to display!
🍂 Final Thoughts
Tunisian crochet adds the most beautiful texture to these pumpkins, and I love that each one works up so quickly. They’re great stash-busters and make amazing handmade gifts.
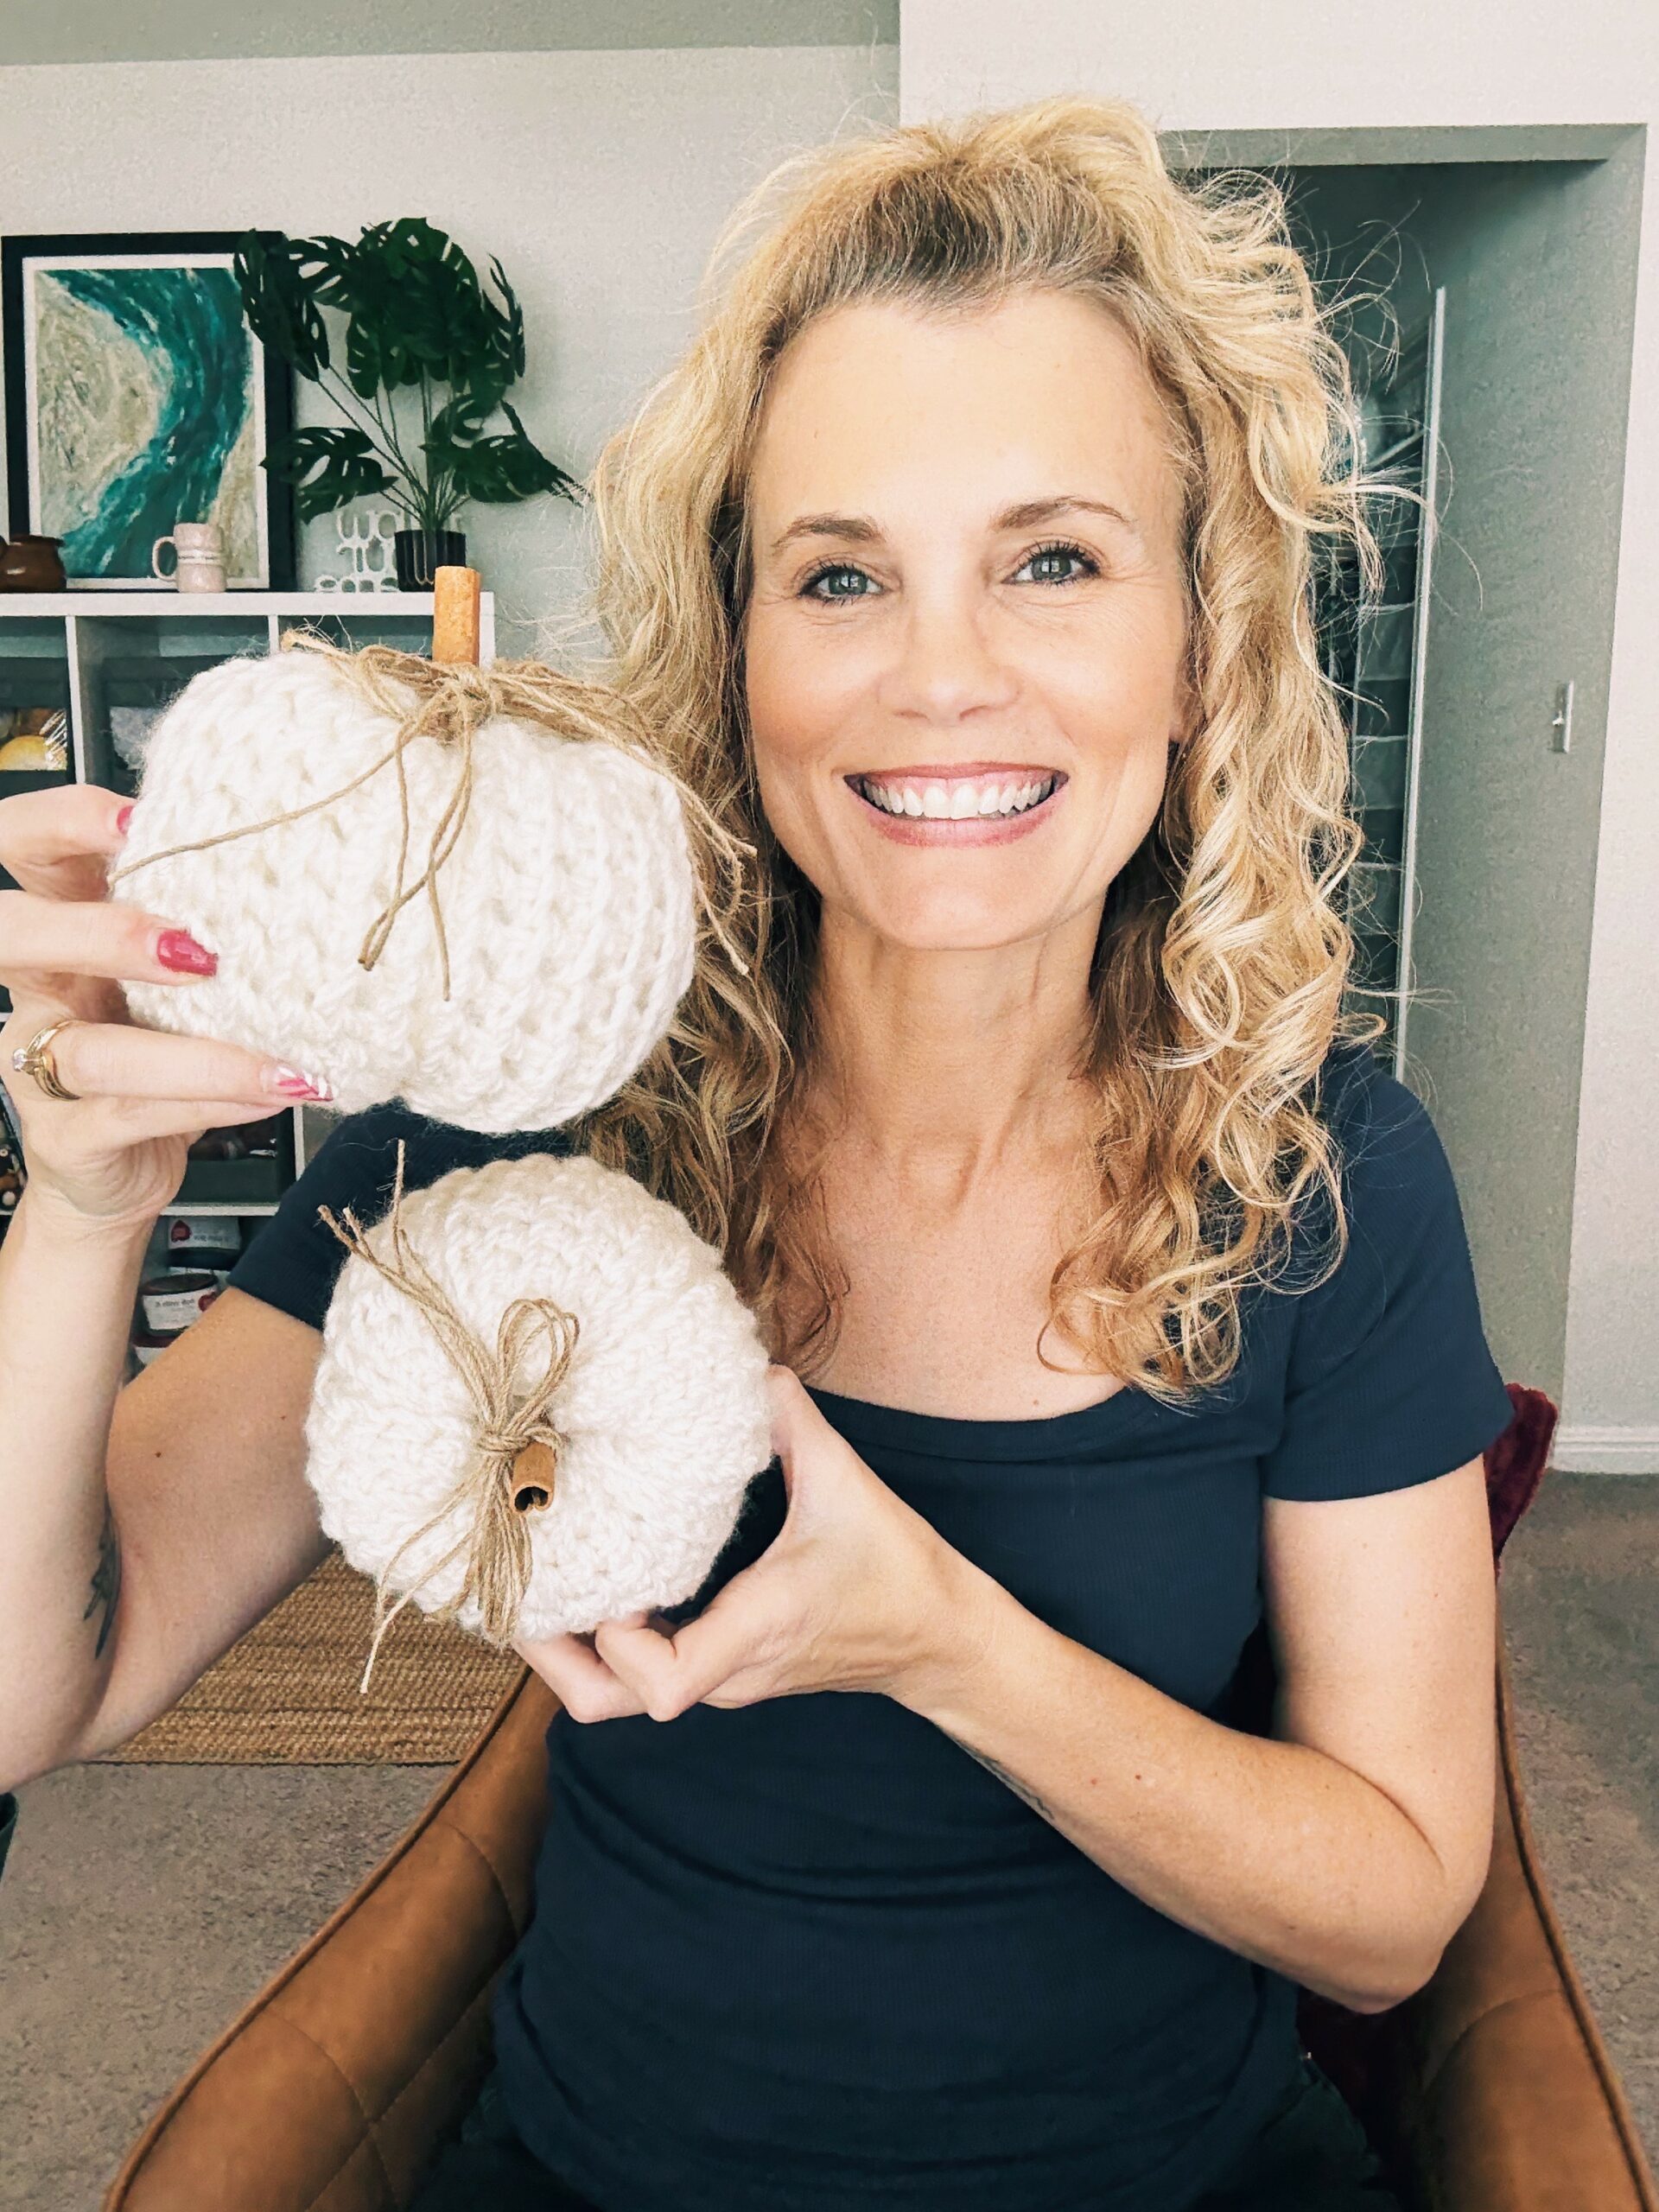
If you try this pattern, tag me on Instagram @icancrochetthat — I’d love to see your pumpkins!
Pin This To Save For Later