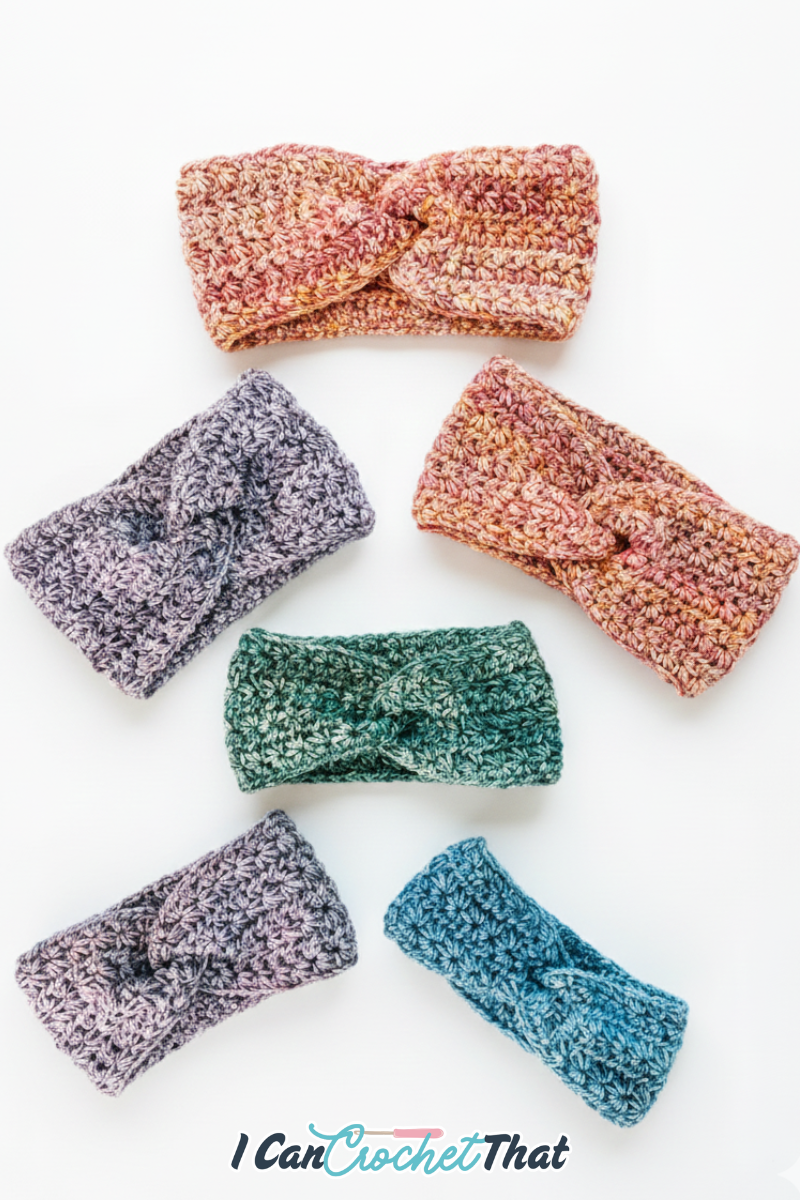
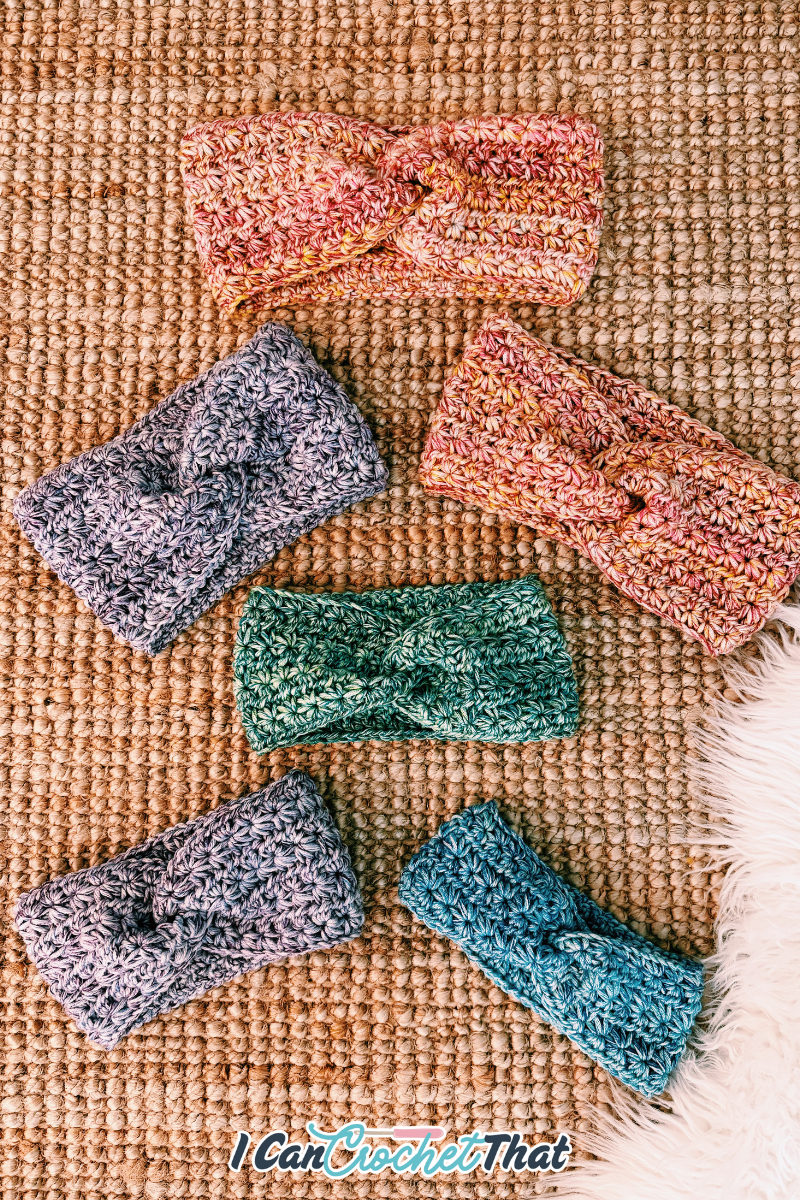
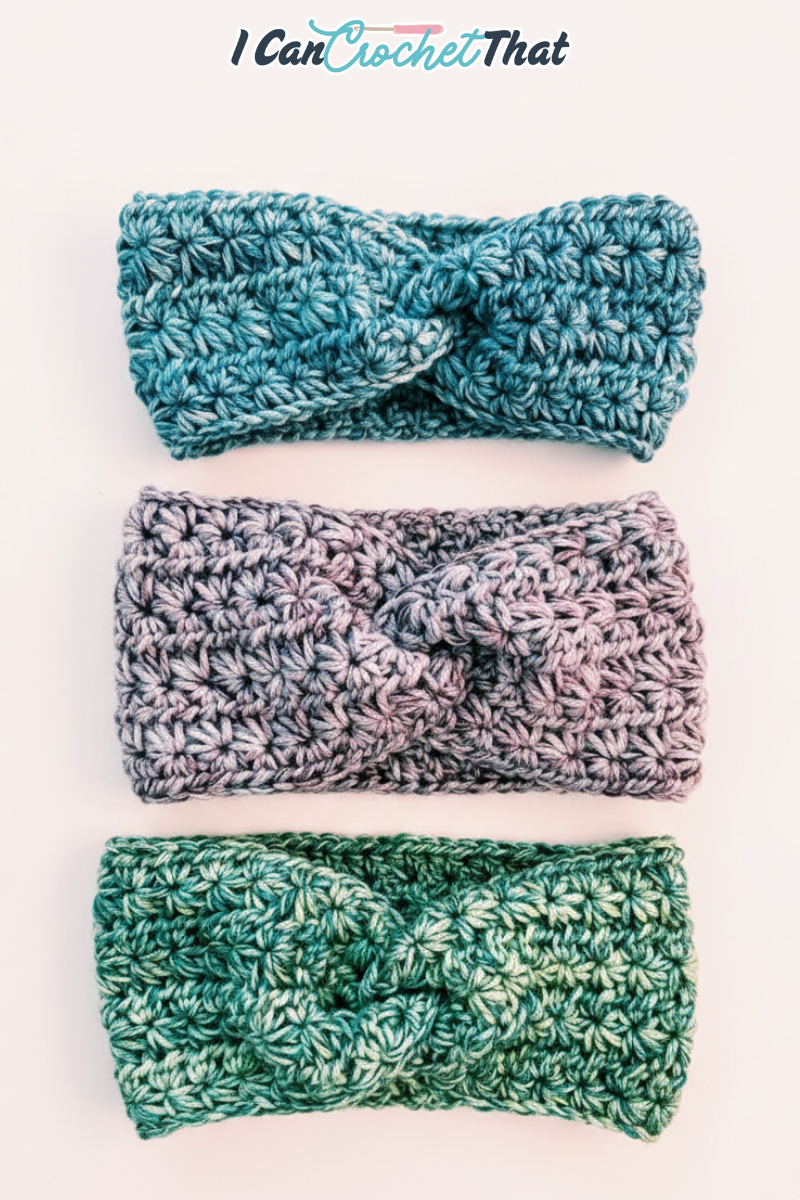
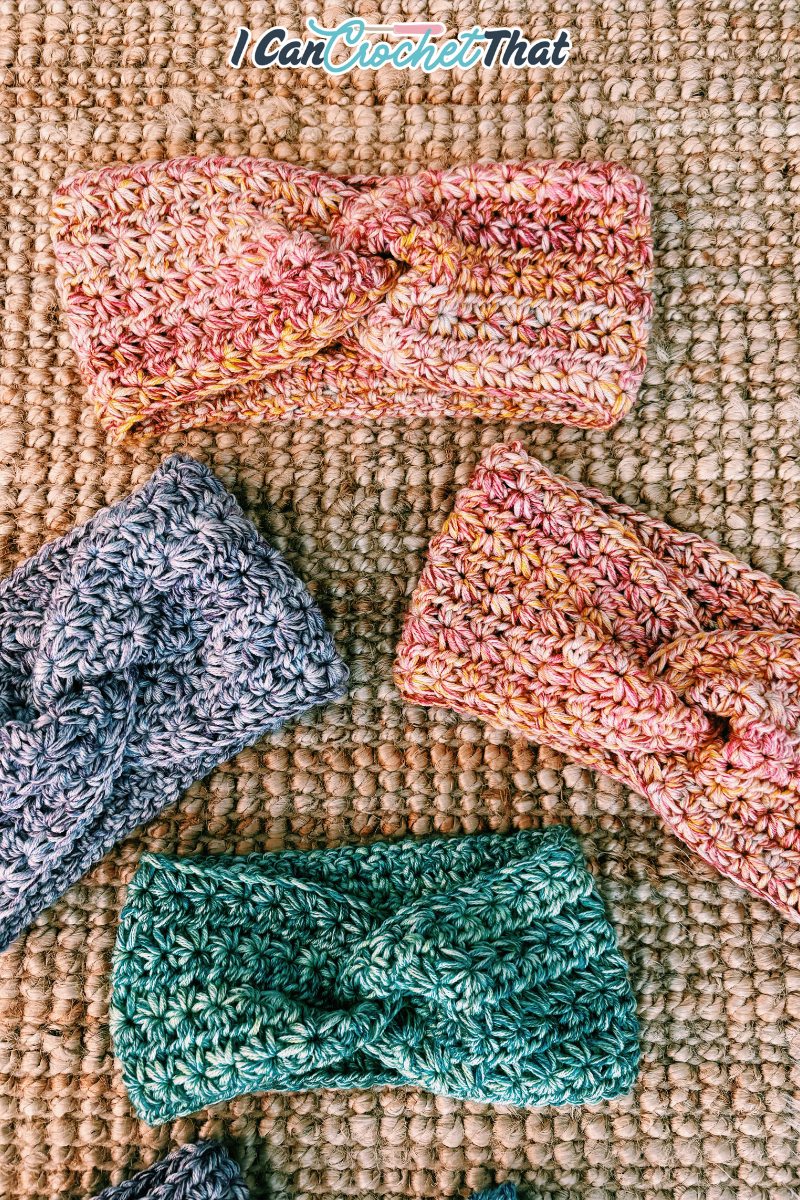
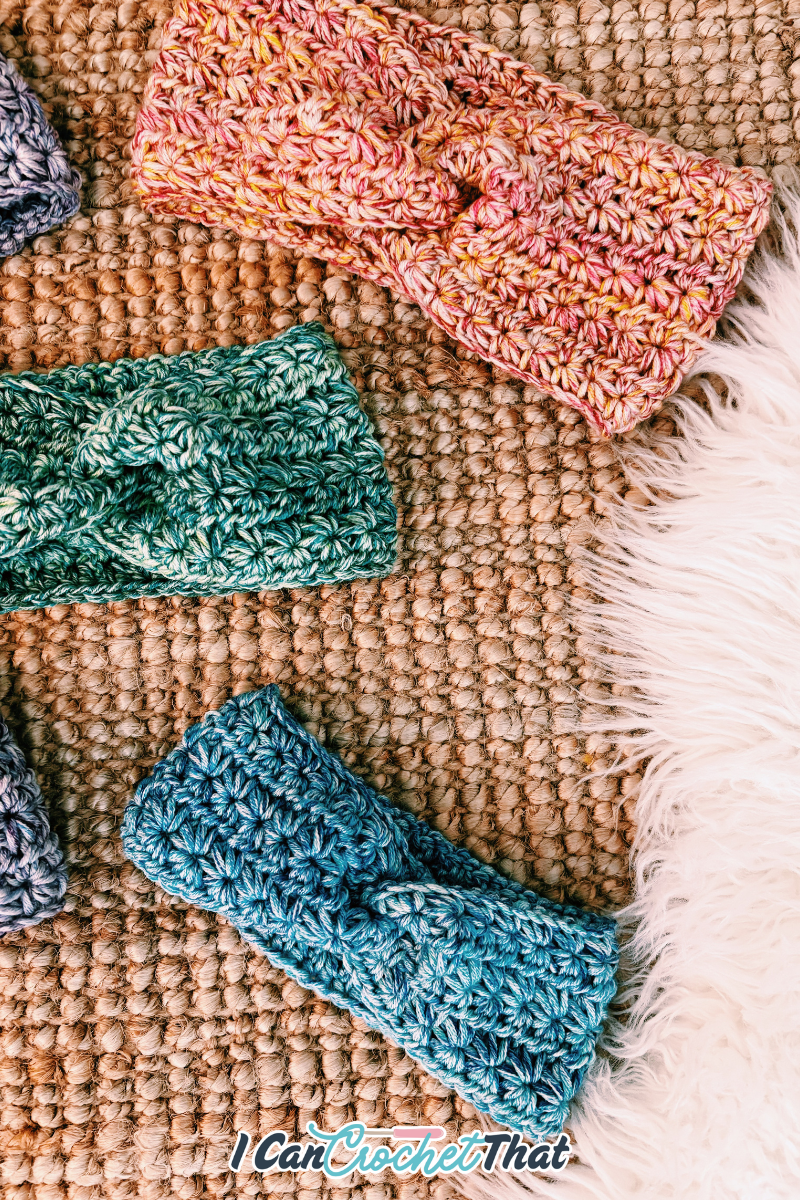
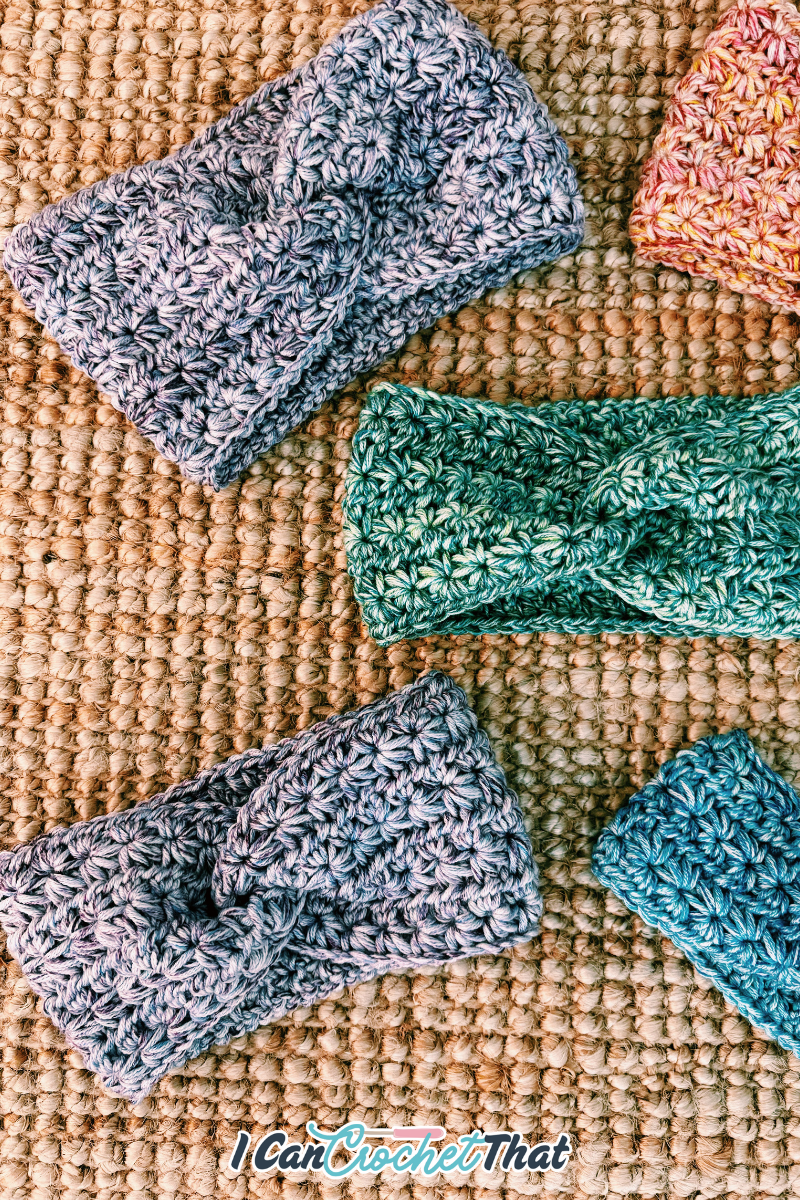
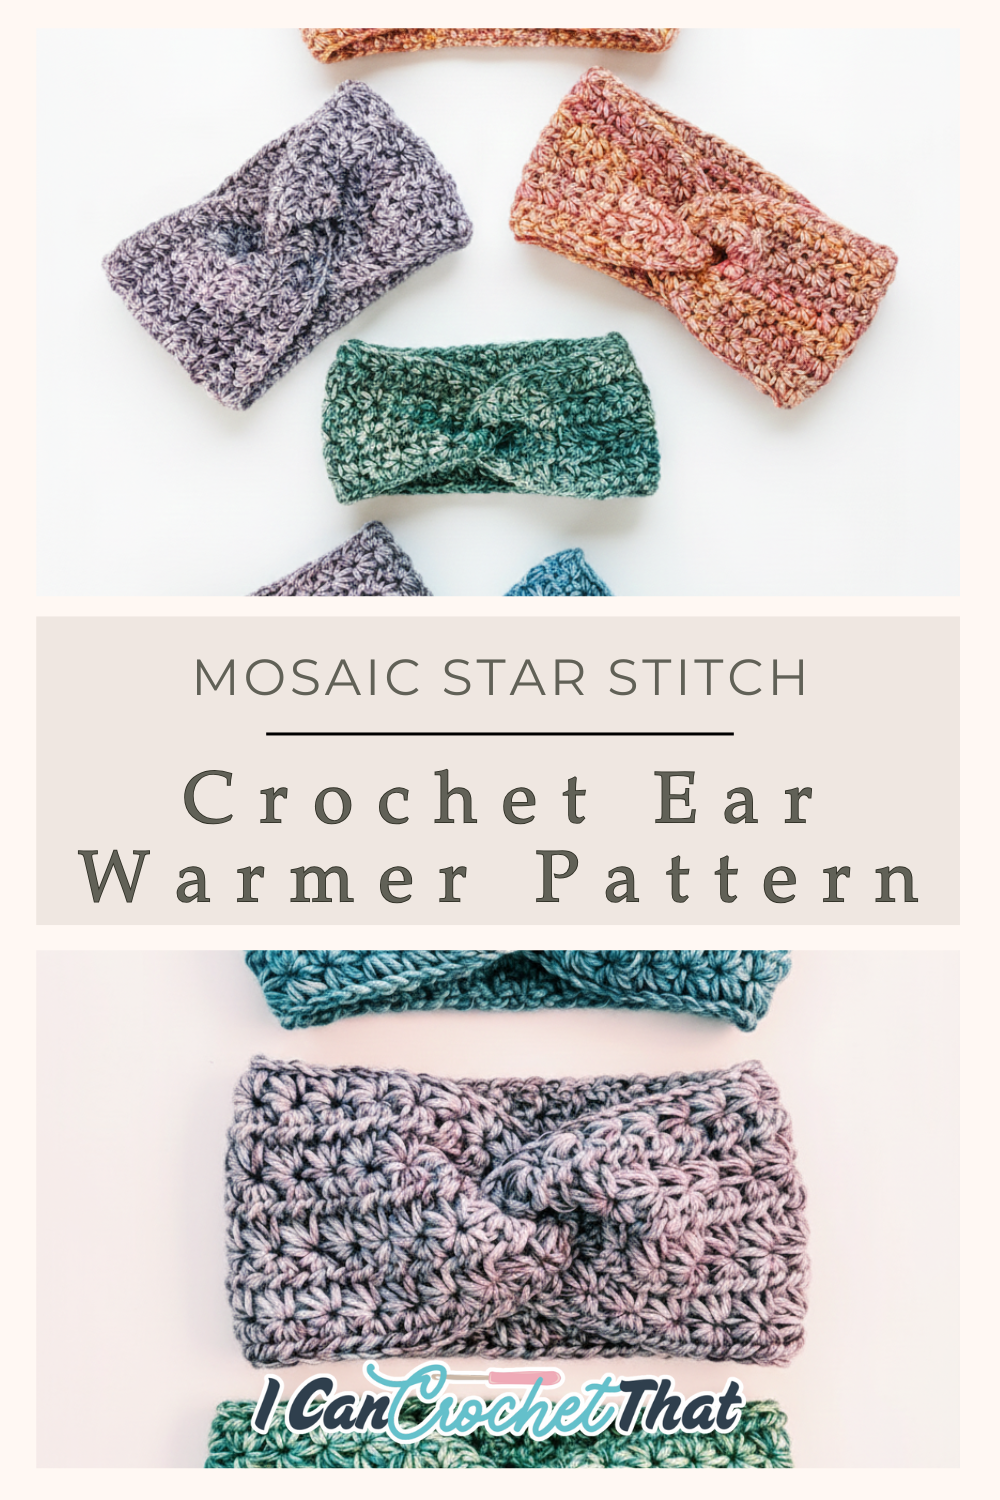
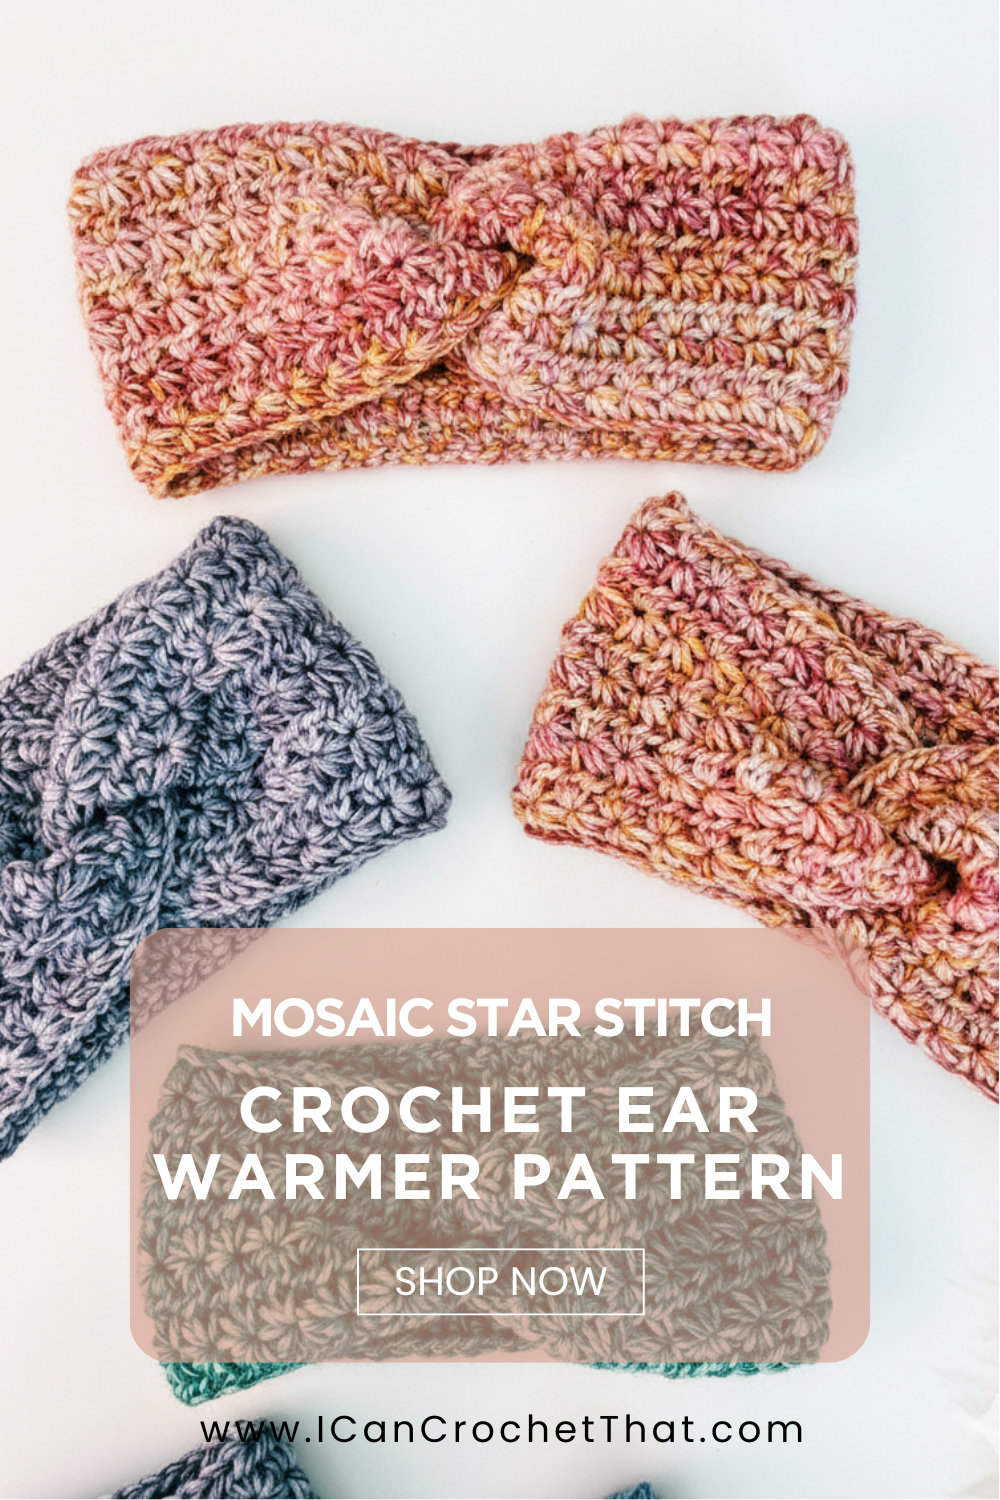
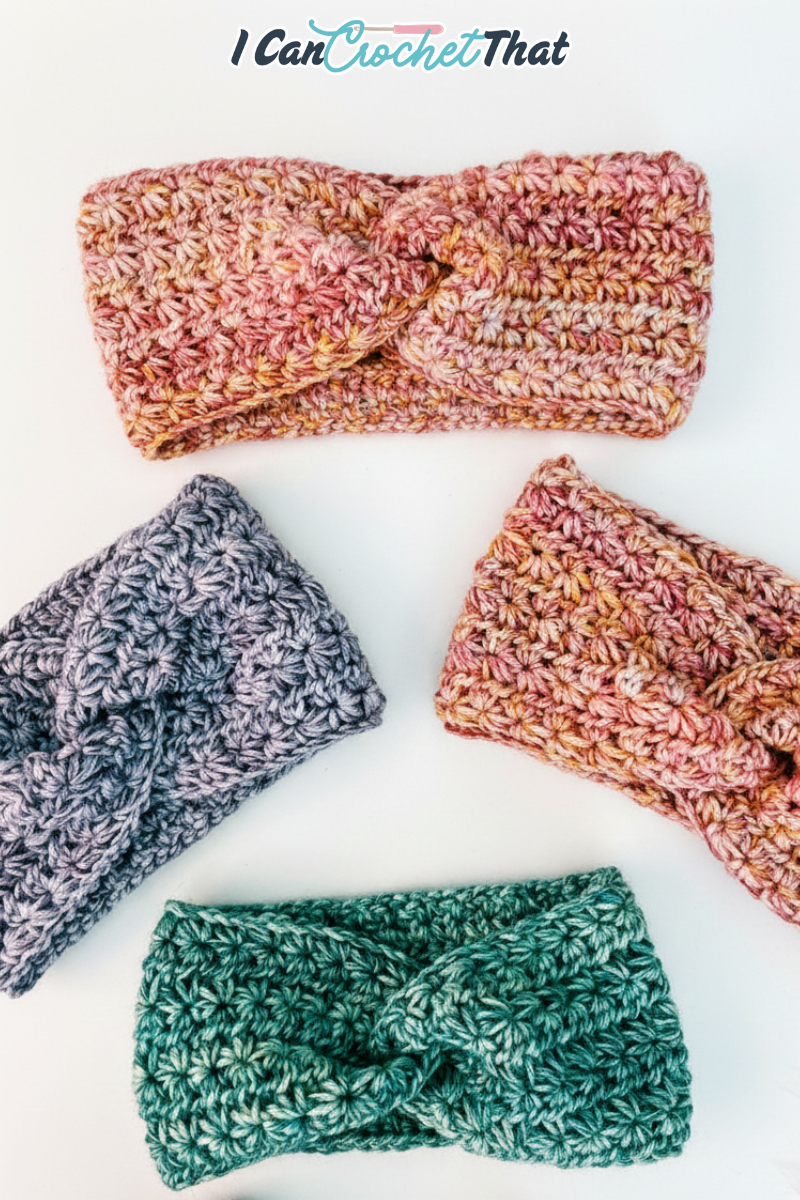
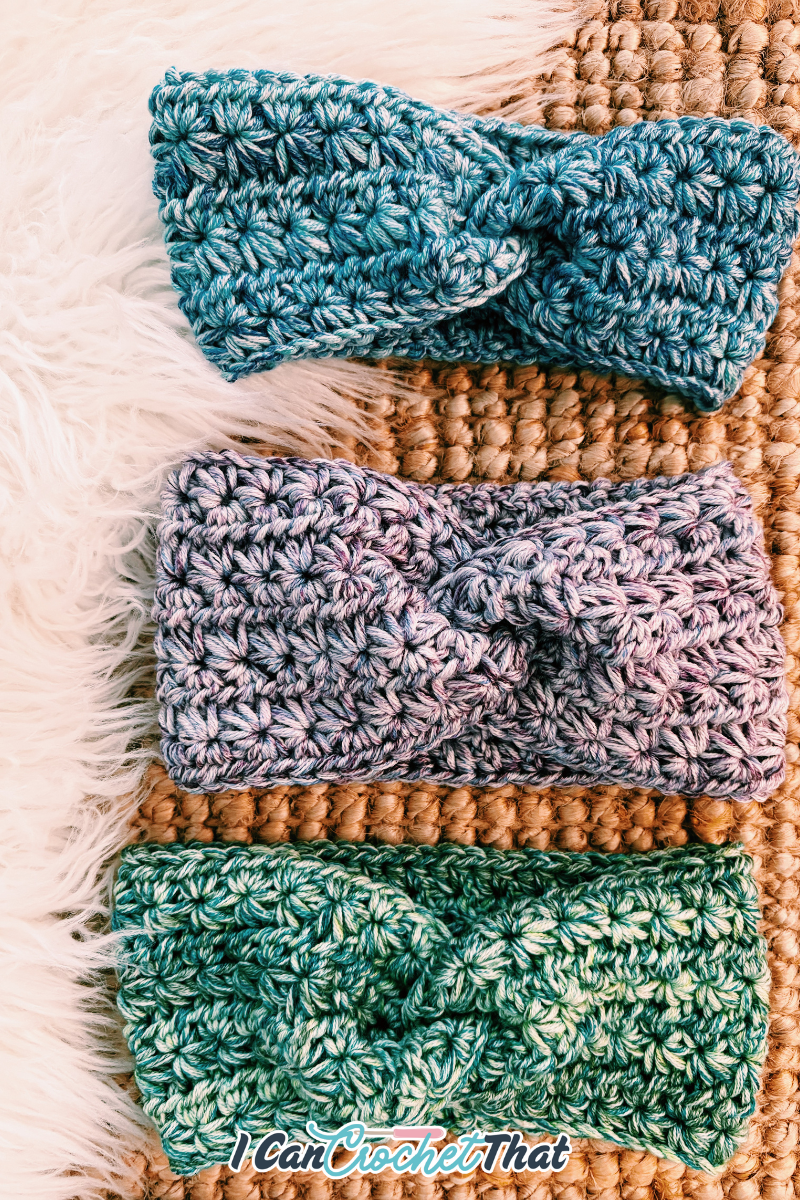
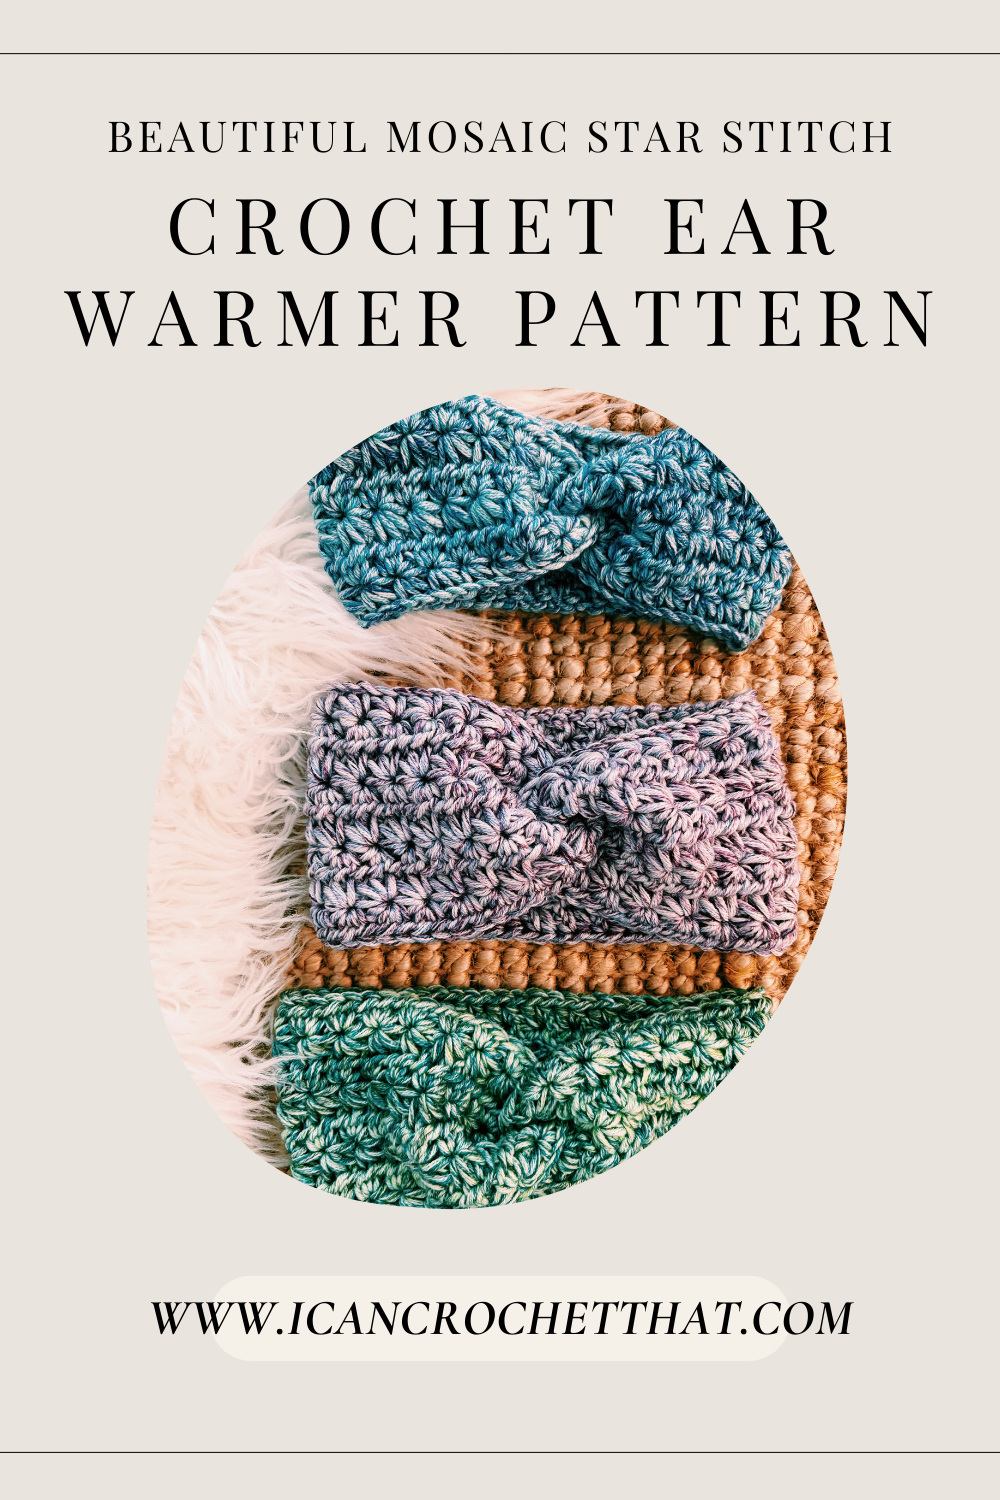
If you’re looking for a quick, cozy crochet project that shows off beautiful yarn color changes without complicated techniques, you’re going to love this Mosaic Star Stitch Crochet Ear Warmer pattern.
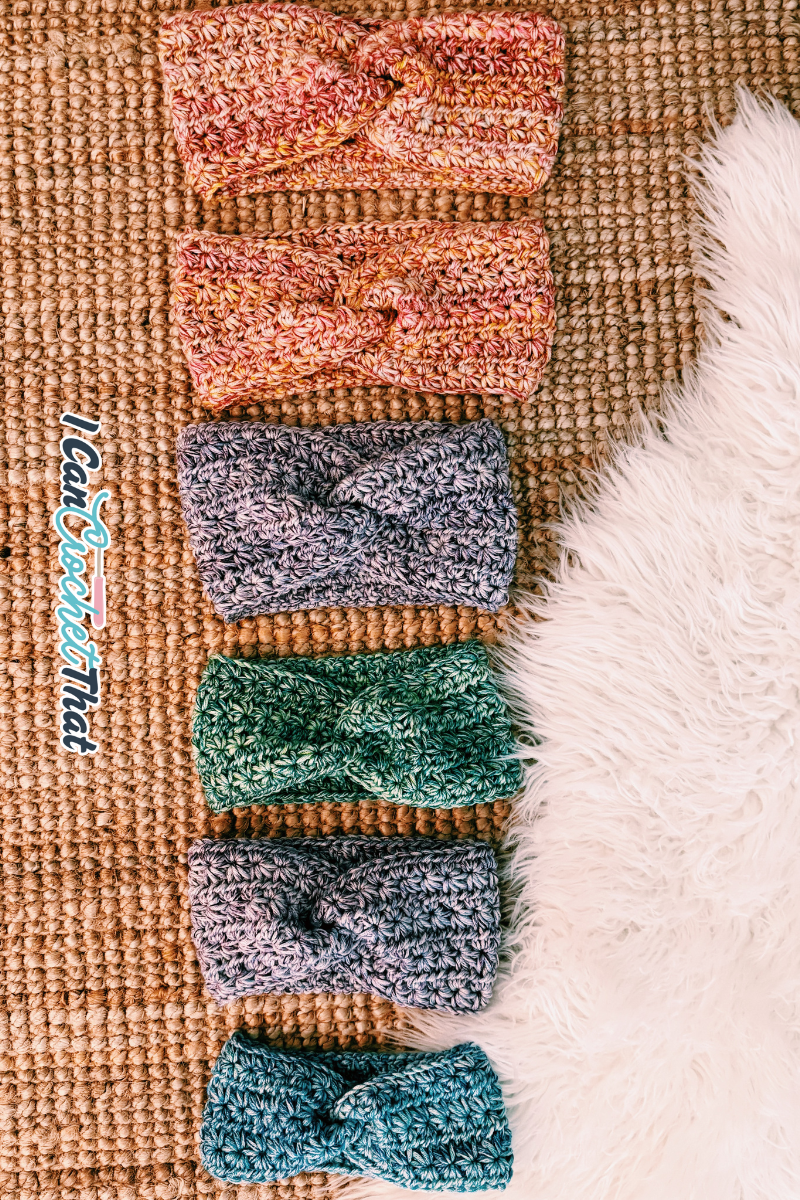
This pattern is part of the Mosaic Star Stitch Trio and coordinates perfectly with the matching fingerless gloves and beanie. It’s beginner-friendly, fast to make, and perfect for gifting — whether you’re crocheting for family, friends, or preparing items for a craft market.
The ear warmer is worked flat using the classic star stitch, then seamed into a loop for a snug, comfortable fit.
🧶 Materials
- Yarn:
Caron Simply Me Mosaic - Purchase at Michaels.com HERE or Amazon.com HERE
Bulky Weight #5
62% Acrylic · 20% Nylon · 18% Wool - Hook:
5.5 mm (I) crochet hook - Notions:
Yarn needle
Scissors
📏 Sizes Included
This pattern includes six sizes:
- Baby (6–12 months)
- Toddler (1–3 years)
- Child (4–10 years)
- Teen / Small Adult
- Adult Medium
- Adult Large / XL
Each size is designed with negative ease so the ear warmer fits snugly and stays in place.
📐 Finished Measurements
Length (Before Seaming)
- Baby: ~15″
- Toddler: ~17″
- Child: ~17½″
- Teen / Small Adult: ~18½″
- Adult Medium: ~20″
- Adult Large: ~21″
Finished Circumference (After Seaming, Approximate)
- Baby: ~14–14½″
- Toddler: ~15½–16″
- Child: ~16½–17″
- Teen / Small Adult: ~17½–18″
- Adult Medium: ~19″
- Adult Large: ~20″
🧵 Yarn Yardage (Approximate)
Based on Caron Simply Me Mosaic (173 yards / 140 grams):
- Baby: ~45 yards (36 g)
- Toddler: ~63 yards (51 g)
- Child: ~66 yards (53 g)
- Teen / Small Adult: ~85 yards (69 g)
- Adult Medium: ~89 yards (72 g)
- Adult Large / XL: ~101 yards (82 g)
Yardage may vary slightly depending on tension and seaming.
📏 Gauge
2″ x 2″ gauge (worked in star stitch):
- 4 complete star stitches across
- 2½ full star stitch rows tall
Gauge is not critical for this pattern, but matching it will help ensure the ear warmer fits as intended.
🧠 Skill Level
Easy / Confident Beginner
You should be comfortable with:
- Chain
- Single crochet
- Half double crochet
The star stitch looks impressive but is very repetitive and relaxing once you get the hang of it.
✨ Abbreviations (US Terms)
- ch – chain
- sc – single crochet
- hdc – half double crochet
- st(s) – stitch(es)
- yo – yarn over
⭐ Star Stitch Overview
The star stitch is worked over two rows:
- A star stitch row
- A half double crochet row
Each pair of rows counts as one full star stitch row.
🎥 Video Tutorials
If you’re new to the star stitch or prefer to learn visually, I recommend watching the tutorials below:
- ⭐ Star Stitch Tutorial: This tutorial is for the gloves, but the video starting here shows you how to do the star stitch.
- 🪡 Seaming Tutorial
🪡 Pattern Notes
- Starting chains are written for each size and are a multiple of 2 + 4.
- Work is turned at the end of each row.
- Chain 2 does count as a stitch
- The ear warmer is worked flat, then seamed at the end.
🧶 Written Pattern
Note: Each star stitch row includes the number of full star stitches listed below, plus one half star stitch at the end of the row.
Each half double crochet row includes the turning chain, which counts as the first half double crochet.
| Size | Starting Chain | Full Star Stitches per Row | Half Star Stitches | Half Double Crochets per Row |
|---|---|---|---|---|
| Baby | 64 | 30 | 1 | 62 |
| Toddler | 66 | 31 | 1 | 64 |
| Child | 68 | 32 | 1 | 66 |
| Teen / Small Adult | 72 | 34 | 1 | 70 |
| Adult Medium | 74 | 35 | 1 | 72 |
| Adult Large | 76 | 36 | 1 | 74 |
ROW 1 – Star Stitch Row (Worked into the Foundation Chain)
Note: The starting chain count will vary by size. All starting chains are a multiple of 2 + 4.
Creating the First Star
- Chain the correct number for the size you are making.
- Insert your hook into the second chain from the hook and pull up a loop.
- Insert your hook into the next chain and pull up a loop.
- Continue pulling up a loop in each of the next chains until you have 6 loops on your hook.
- Yarn over and pull through all 6 loops.
- Chain 1 to secure the stitch.
- This creates the eye of the star, which is the small hole at the top of the stitch.
Continuing Across the Row
- Insert your hook into the eye of the previous star and pull up a loop.
(2 loops on hook) - Insert your hook into the space between the last two spikes of the previous star and pull up a loop.
(3 loops on hook) - Insert your hook into the same chain where the last loop of the previous star was made and pull up a loop.
(4 loops on hook) - Insert your hook into the next chain and pull up a loop.
(5 loops on hook) - Insert your hook into the following chain and pull up a loop.
(6 loops on hook) - Yarn over, pull through all 6 loops, and chain 1 to secure the star.
Repeat Steps 6–11 across the row.
Half Star (End of Row)
To finish the row and prevent gaps:
- Insert hook into the eye of the previous star
- Insert hook between the last two spikes
- Insert hook into the same chain as the previous star
(4 loops on hook)
Yarn over, pull through all 4 loops, chain 2, turn.
ROW 2 – Half Double Crochet Row
- Work 2 half double crochets (hdc) into the eye of each star stitch across the row.
- When you reach the end of the row, work 1 hdc in the last stitch..
⭐ Subsequent Star Stitch Rows (Not Worked into the Foundation Chain)
After Row 2, all star stitch rows begin the same way.
Row 3: Beginning the Star Stitch Row
- Chain 3 and turn.
- Insert your hook into the second chain from the hook and pull up a loop.
- Insert your hook into the third chain from the hook and pull up a loop.
- Pull up one loop in each of the first three stitches of the row below.
(6 loops on hook) - Yarn over, pull through all 6 loops, and chain 1 to secure the stitch.
Continue working the star stitch across the row using the same steps 6-11 as in Row 1 and ending with a half star.
Follow With:
- Row 4 (hdc row):
- 2 hdc in each star eye
- 1 hdc in the last stitch
- Chain 3, turn
Repeat this two-row sequence until you reach the required number of full star stitch rows for your size.
Repeat Rows
Repeat Rows 3-4 until you have completed the following number of full star stitch rows:
- Baby: 3 rows
- Toddler: 4 rows
- Child: 4 rows
- Teen / Small Adult: 5 rows
- Adult Medium: 5 rows
- Adult Large: 5 rows
🧵 Seaming the Ear Warmer
Step 1: Begin with the right side of your work facing upward. Fold both ends of your piece in half, taking note of where the yarn tails are located.
Step 2: Bring the folded halves together in a zigzag pattern, aligning the edges.
Step 3: Thread the long tail onto a darning needle. Weave the needle through all four layers, then reverse direction and weave back through the layers again, catching any available edge loops. Continue weaving back and forth until you reach the end of the seam.
The first and last passes may feel a bit tricky due to the curve of the fabric, but as long as you catch a stitch from each layer, the seam will look great.
Step 4: Fasten off and neatly weave in all loose ends. Turn your work right side out to reveal the finished ear warmer.
📌Pin This Post on Pinterest to Save for Later

💫 Final Thoughts
This Mosaic Star Stitch Ear Warmer is a fast, satisfying project that looks far more complicated than it actually is. It’s perfect on its own or paired with the matching fingerless gloves and beanie for a complete handmade gift set.
If you make one, I’d love to see it!
Tag your projects with #MosaicStarStitchTrio and #ICanCrochetThat.
Happy crocheting 💛