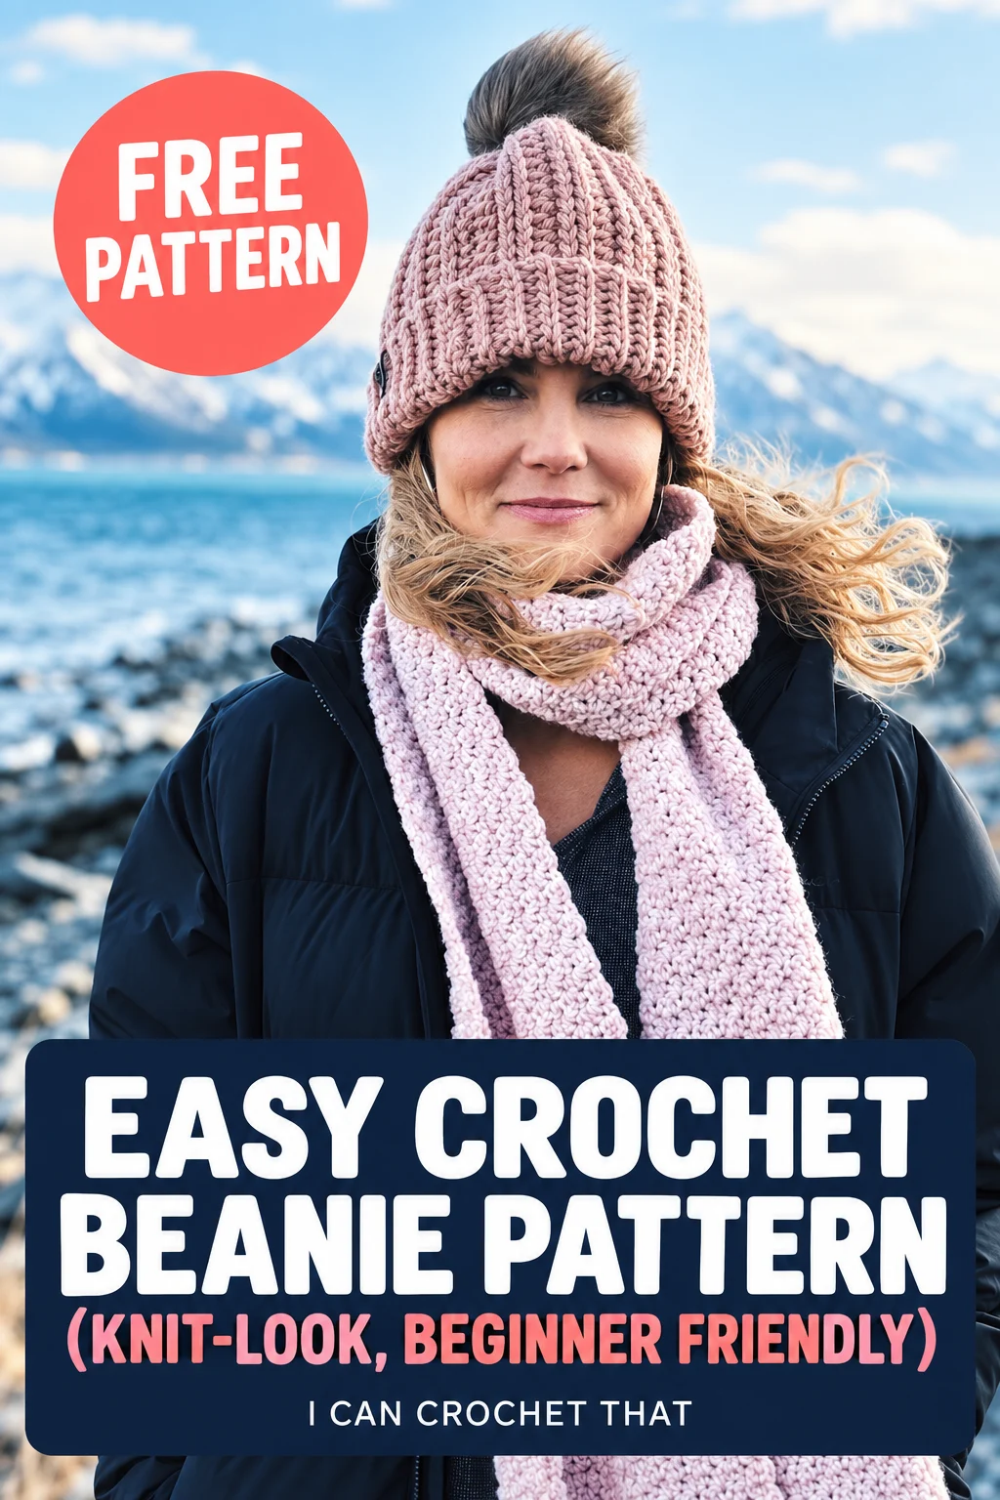
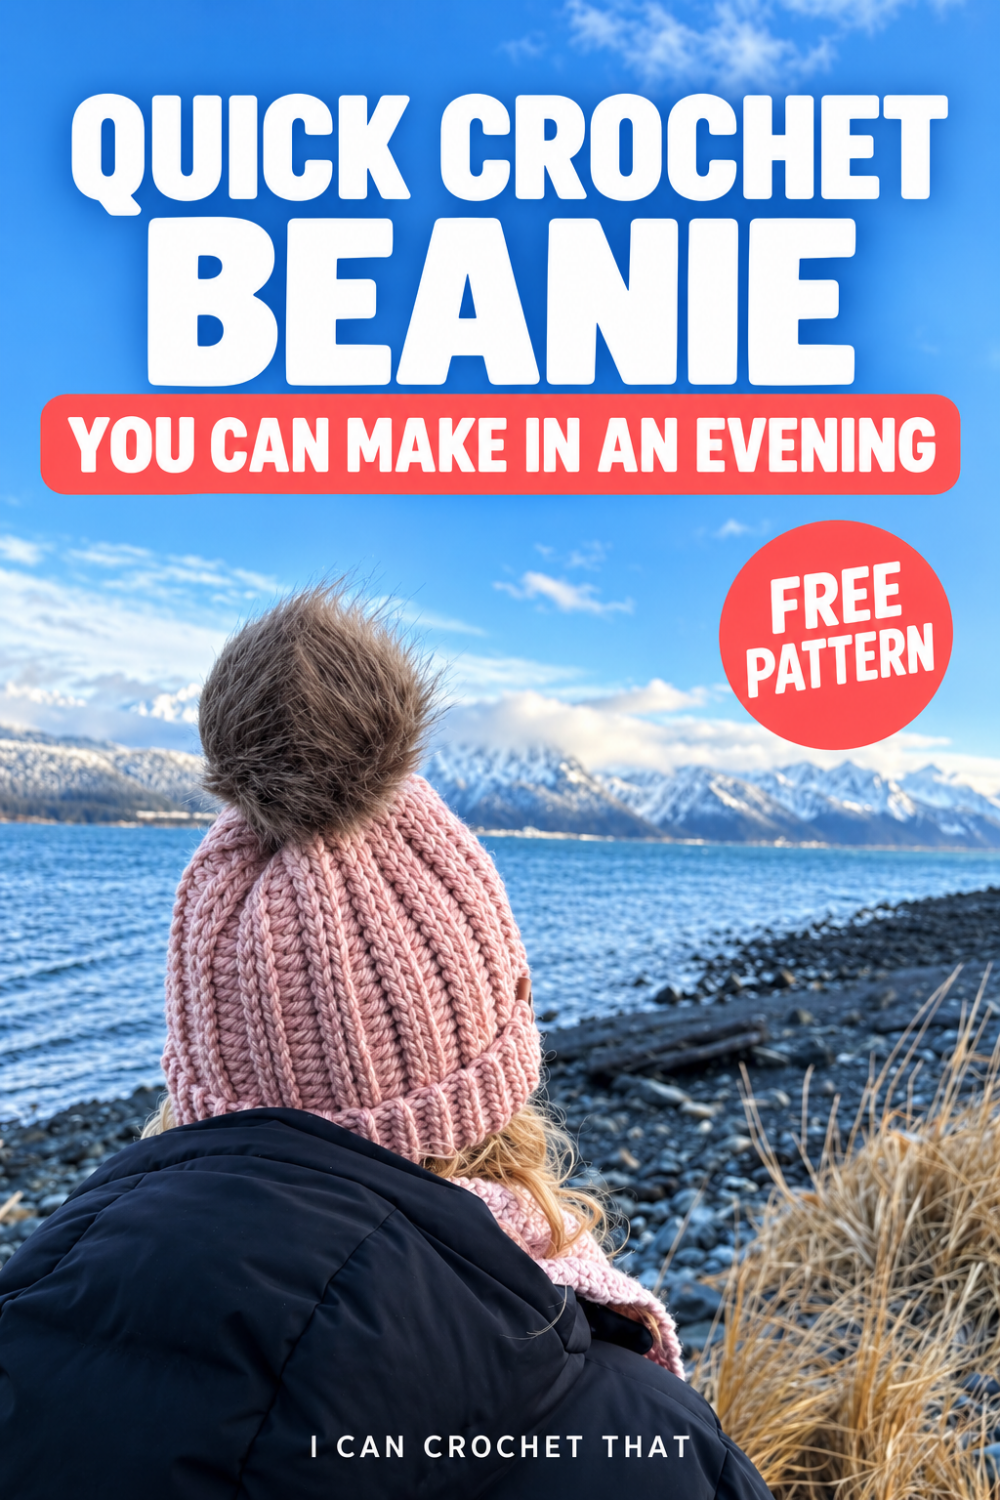
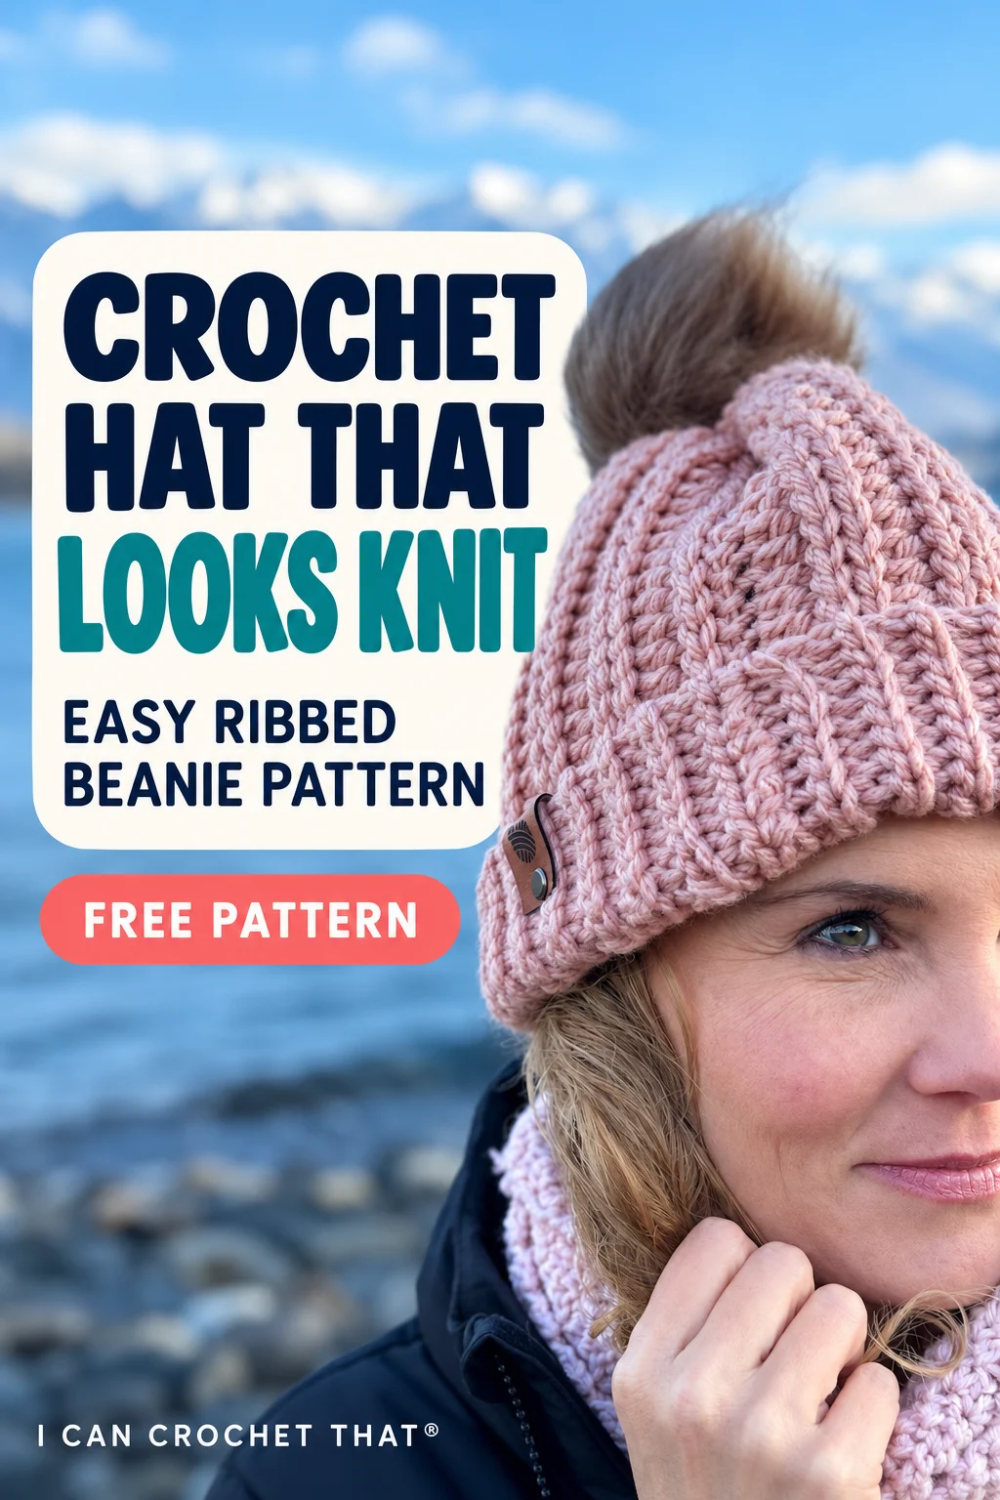
If you've ever wanted a crochet beanie that looks like it was knit, this is the pattern for you.
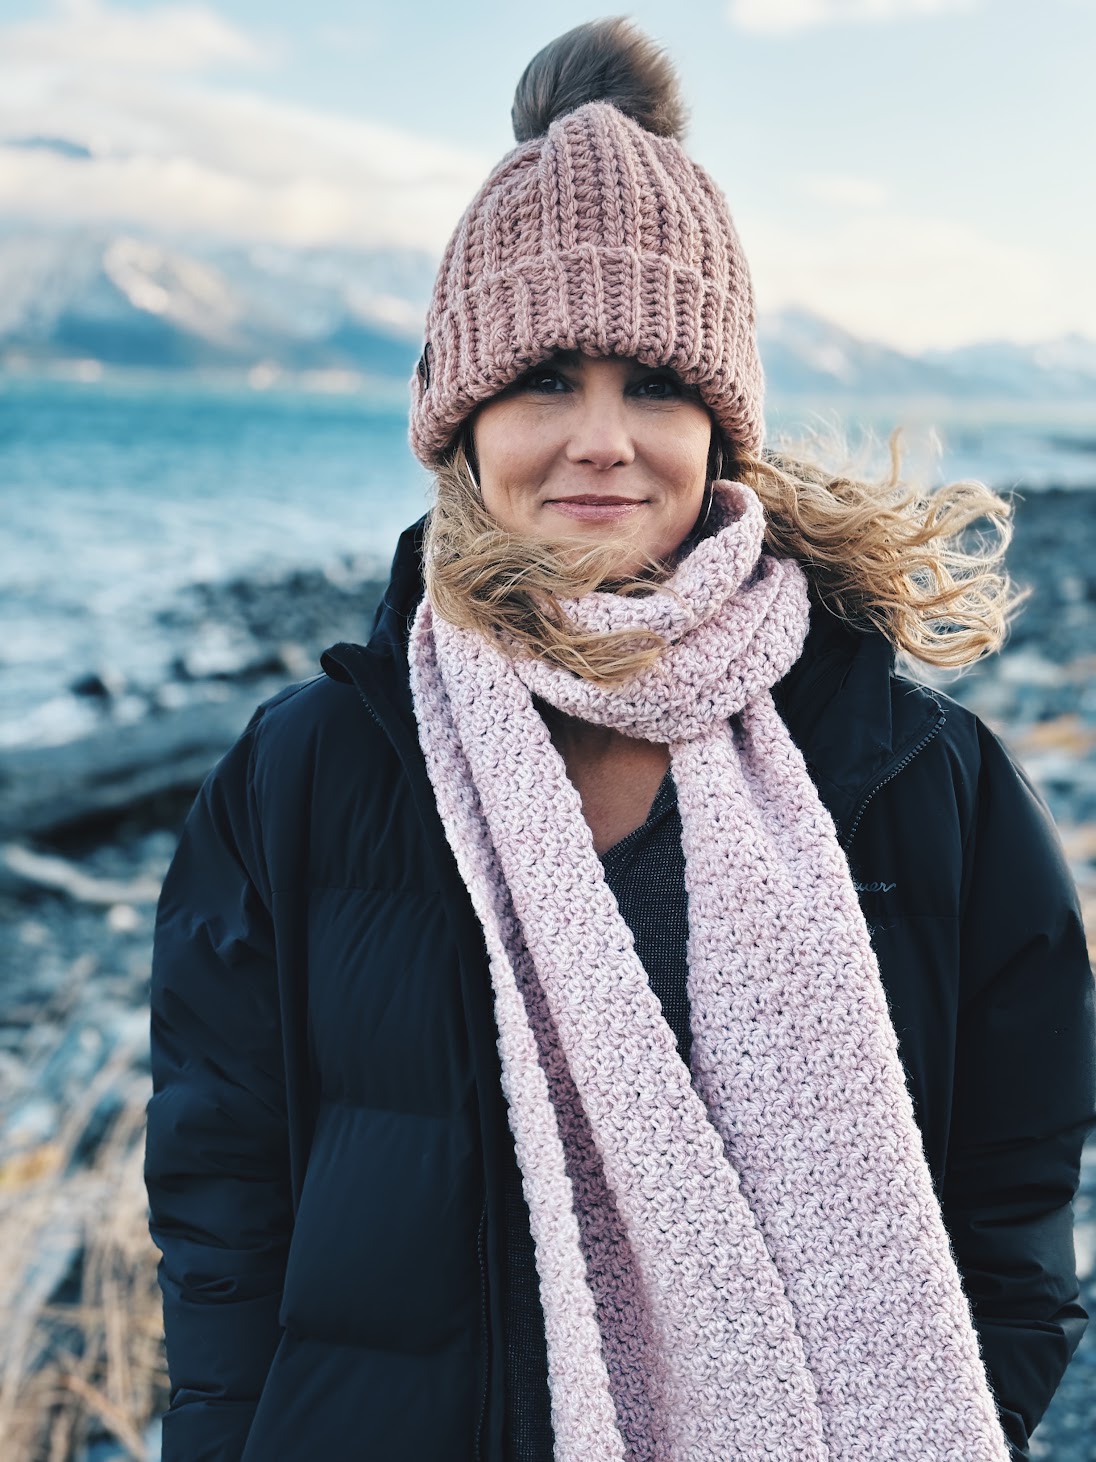
Made with just two basic stitches, half double crochet and slip stitch, this easy crochet beanie has that squishy, ribbed texture you see on store-bought knit hats. And it works up quickly with bulky yarn and an 8.0 mm hook.
This pattern has a little bit of history. I originally designed it as part of a crochet course I created several years ago to help brand-new crocheters build confidence. It was always a favorite with students, so I'm finally releasing it on its own for everyone to enjoy.
The beanie is worked flat, lengthwise, in rows. Then you fold it in half, seam the side, and cinch the top closed.
No working in the round, no increases, and no counting rounds to shape the crown. If you can chain, slip stitch and half double crochet, you can make this hat.
- Want a printable version?
- Why You'll Love This Easy Crochet Beanie
- Materials
- Gauge and Sizes
- Pattern Notes
- Abbreviations (US Terms)
- Special Stitches
- Crochet Beanie Pattern Video Tutorial
- Easy Knit-Like Crochet Beanie Pattern
- Seaming and Finishing
- Adding the Removable Pom
- Tips for Beginners
- Frequently Asked Questions
- Share Your Beanie
Want a printable version?
Why You'll Love This Easy Crochet Beanie
- Truly beginner friendly. Only two stitches, worked in simple rows.
- Quick to make. Bulky yarn and a big hook mean you can finish it in an evening or two.
- Knit-look texture. Working in the back loop creates vertical ribs that look just like knitting.
- Stretchy, snug fit. The ribbing hugs your head without feeling tight.
- Built-in brim. The slip stitch sections at each end of the rows give you a ribbed brim you can fold up and a top that cinches closed neatly.
- Two adult sizes. Adult small (22") and adult large (24").
- Removable pom. Swap the faux fur pom on and off, or wash the hat without it.
It also makes a wonderful handmade gift. Once you've made one, you'll want one in every color.
Materials
- Hook: 8.0 mm crochet hook
- Yarn: Weight 5 (bulky), approx. 274 yds. I used Lion Brand Hue + Me, 2 skeins, in Rose Water.
- Accessories: 5" faux fur pom and a 1 ¼" wooden button (for the removable pom)
- Notions: Scissors and a tapestry needle
Gauge and Sizes
Gauge (4" x 4"): 12 hdc stitches wide x 13 rows tall (4 hdc rows + 9 sl st rows).
Gauge matters here, since it decides whether the hat fits. Make a small swatch first. If you have more stitches than 12, go up a hook size. If you have fewer, go down a size.
| Size | Head circumference | Foundation chain | Total rows |
|---|---|---|---|
| Adult Small | 22" | 35 | 72 |
| Adult Large | 24" | 37 | 80 |
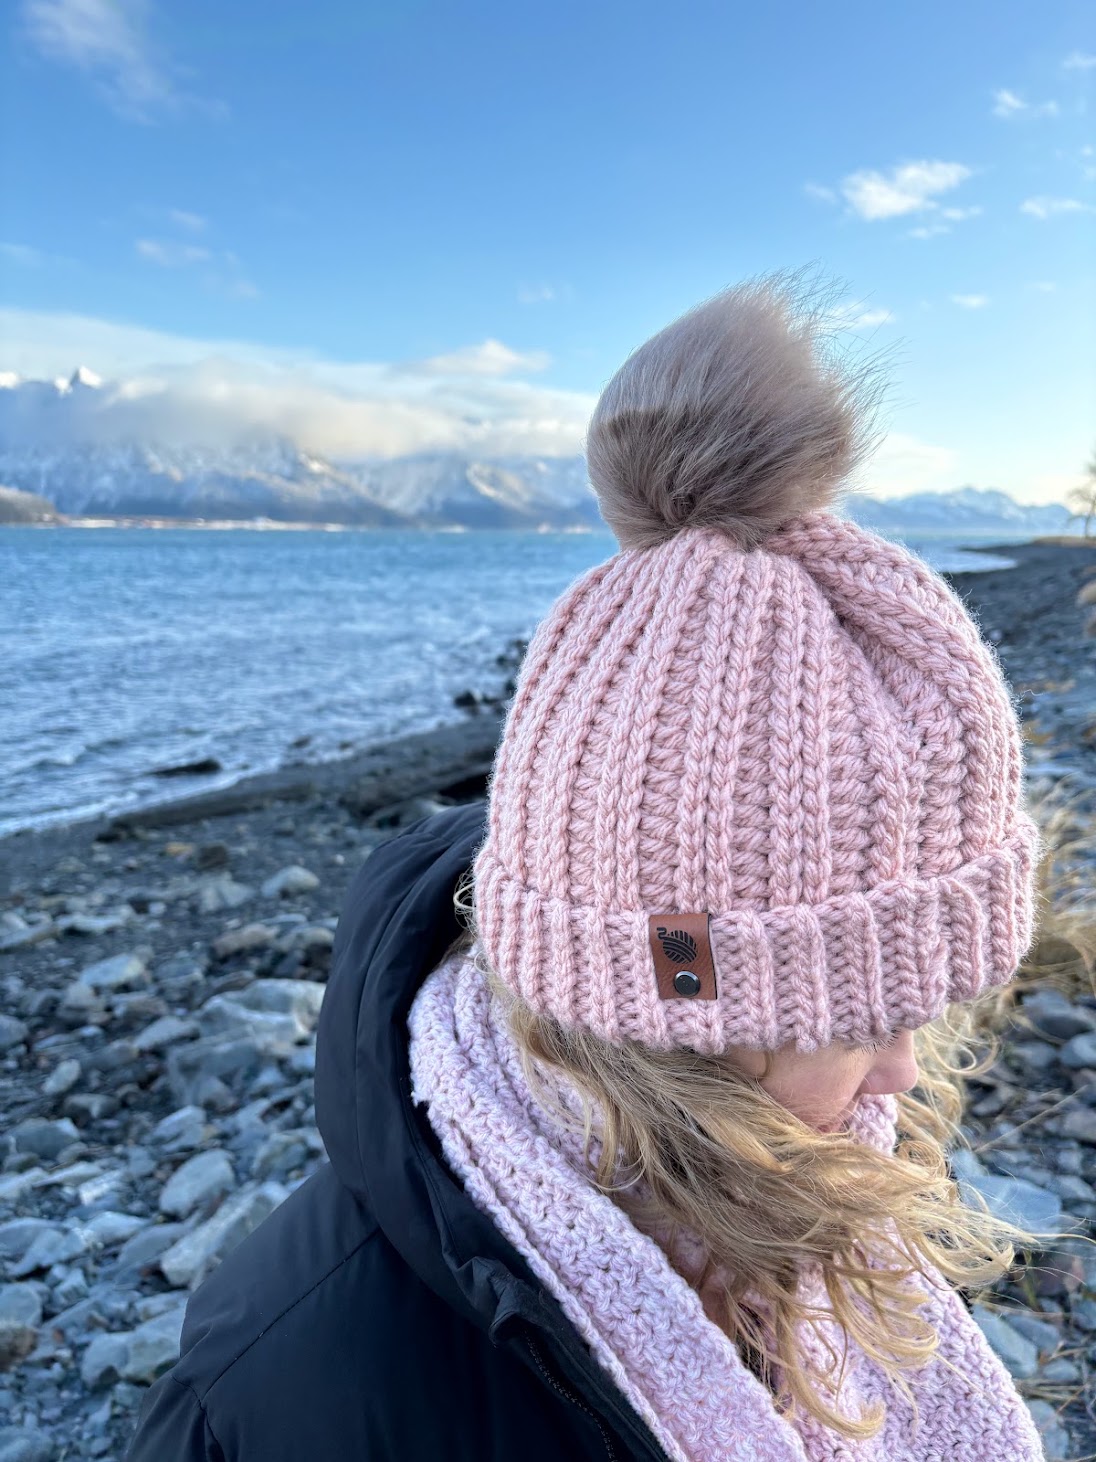
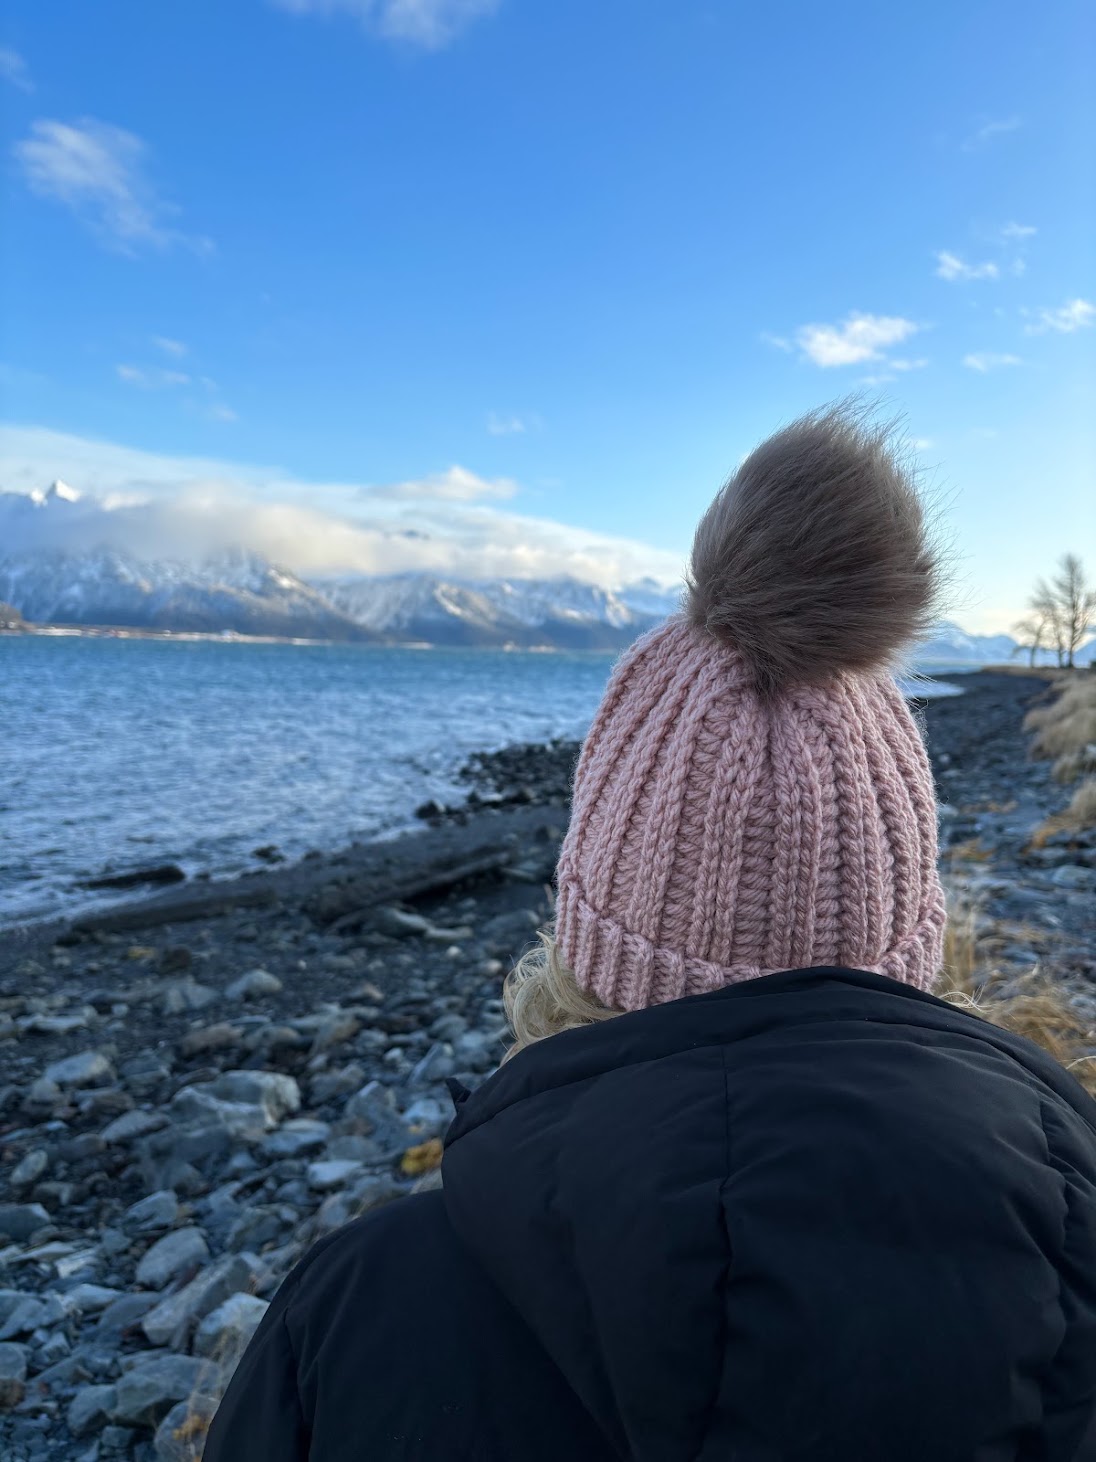
The beanie in the photos is the adult small.
Pattern Notes
- Ch 1 and ch 2 do not count as a stitch.
- Stitch counts for adult large are in ( ).
- Total stitch count is noted between < >.
- The beanie is worked lengthwise, then sewn together.
- The video tutorial shows the seaming and how to attach the removable faux fur pom.
Abbreviations (US Terms)
- ch chain
- sl st slip stitch
- hdc half double crochet
- blo back loop only
- sk skip
- st(s) stitch(es)
- RS right side
- WS wrong side
Special Stitches
Back loop only (blo): The top of each stitch has two loops that form a V. The front loop is closer to you, and the back loop is farther away. Instead of going under both loops, insert your hook under the back loop only. This is what creates the knit-look ribbing.
Slip stitch (sl st): Insert hook in next st, yo, pull through the st and the loop on your hook.
Half double crochet (hdc): Yo, insert hook in next st, yo and pull up a loop, yo and draw through all 3 loops on hook.
Crochet Beanie Pattern Video Tutorial
Easy Knit-Like Crochet Beanie Pattern
Foundation row: Ch 35 (37).
Row 1 (RS): Sl st into 2nd ch from hook, sl st in next 7 (8) chs, hdc in each ch until 6 (7) chs are left in the row, sl st in each remaining ch, ch 1, turn. <34 (36)>
Rows 2–4: Blo sl st across, sl st in last st, ch 1, turn. <34 (36)>
Row 5: Blo sl st in next 8 (9) sts, blo hdc in each st until 6 (7) sts are left in the row, blo sl st across, sl st in last st, ch 1, turn. <34 (36)>
Rows 6–72 (80): Repeat Rows 2–5.
Fasten off, leaving a long tail if you'd like to use it for seaming.
Seaming and Finishing
- Fold the beanie in half with the wrong side (WS) facing out.
- Whip stitch the side edges together, as shown in the video.
- Keep whip stitching across the top of the beanie. Every few stitches, gently tug the yarn to gradually close the opening.
- Once the hole is mostly closed, pull the yarn firmly and secure it with a knot. If there's still a small gap, stitch it shut.
- Turn the beanie right side (RS) out.
- Cut the yarn and neatly weave in all loose ends.
Adding the Removable Pom
Attach the 5" faux fur pom with the 1 ¼" wooden button so you can take it off whenever you like. The video walks through this step by step.
Tips for Beginners
- Keep your slip stitches loose. Tight slip stitches make the back loops hard to work into. If it feels like a struggle, relax your tension or go up a hook size for the sl st rows.
- Count every row at first. Each row should have 34 (36) stitches. Once you've done a few repeats, the rhythm becomes easy to follow.
- Mark the right side. Clip a stitch marker to Row 1 so you always know which side is which when seaming.
- Track your repeats. Keep a tally of each 4-row repeat, or place a marker every 10 rows.
- Try it on as you go. Wrap the panel around your head before seaming to check the fit.
Frequently Asked Questions
Is this pattern good for a first-time crocheter? Yes. It uses only chains, slip stitches and half double crochet, all worked in rows. It's a great next project after a scarf or dishcloth.
How long does it take to make? With bulky yarn and an 8.0 mm hook, most people can finish it in a few hours.
Can I use a different yarn? Yes, as long as it's a weight 5 (bulky) yarn and you meet gauge. Soft, stretchy yarns show off the ribbing best.
How do I make it a different size? The number of rows sets the circumference, and the foundation chain sets the height. Add or remove rows in sets of 4 to keep the pattern repeat intact.
Do I have to add the pom? Not at all. The beanie looks great without one, and since the pom is removable, you can decide later.
Share Your Beanie
I love seeing your finished projects. If you make this easy crochet beanie, tag me on Instagram at @icancrochetthat so I can cheer you on.
Happy crocheting!