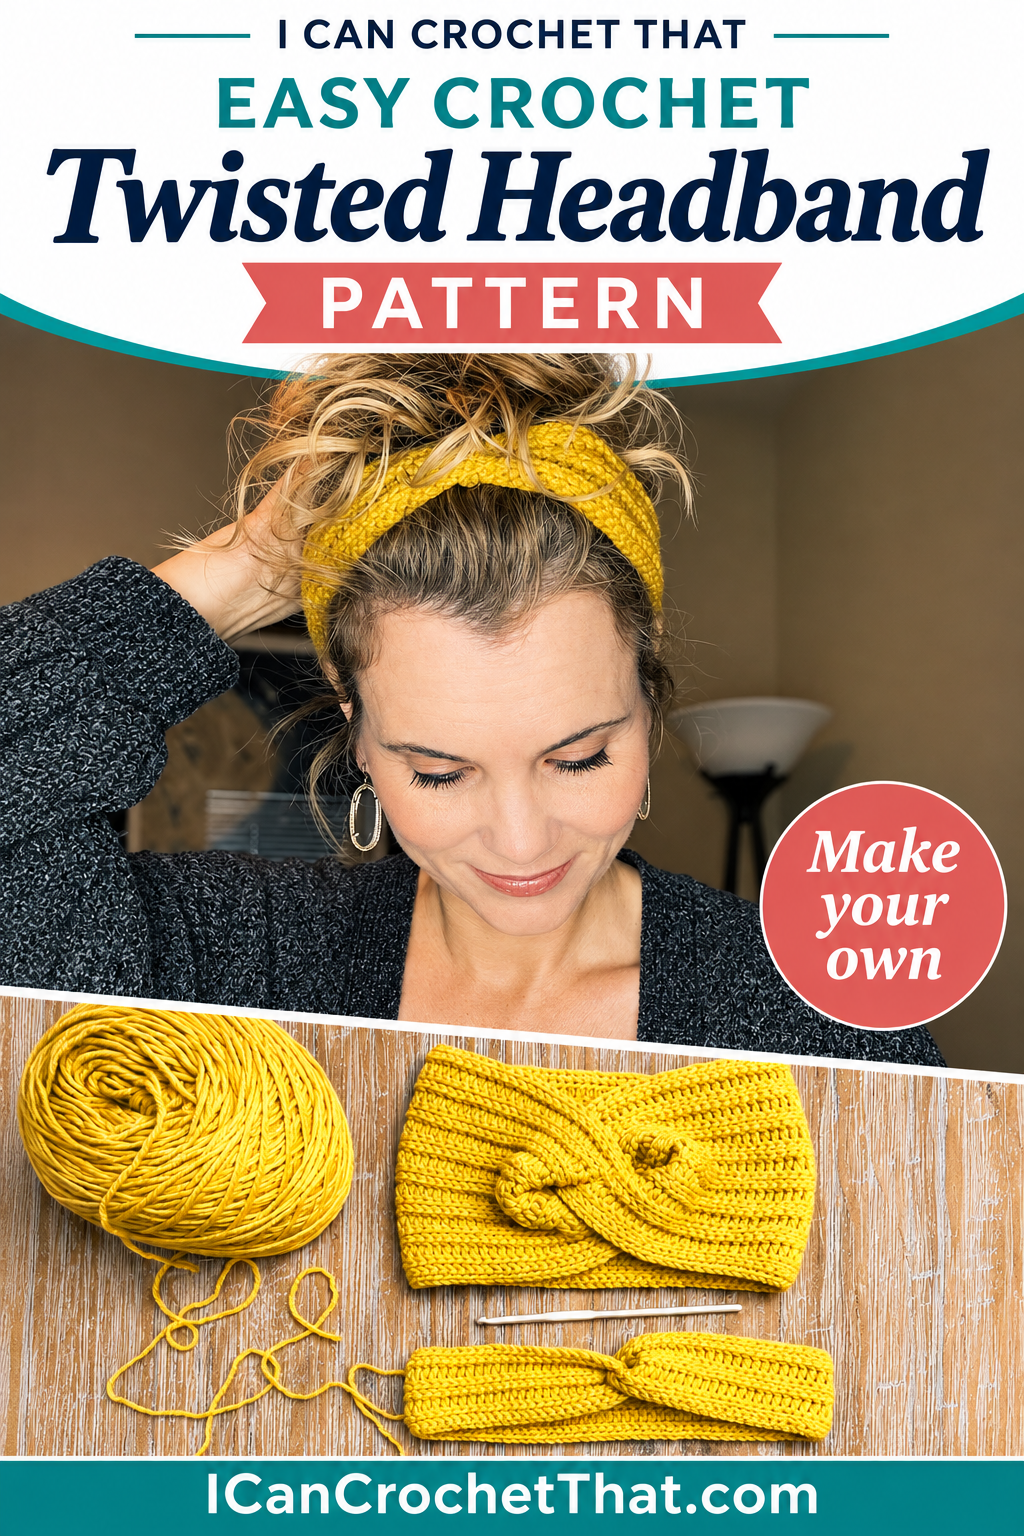
A free, beginner-friendly crochet headband pattern with a simple twist front, made with just slip stitches and half double crochet stitches.
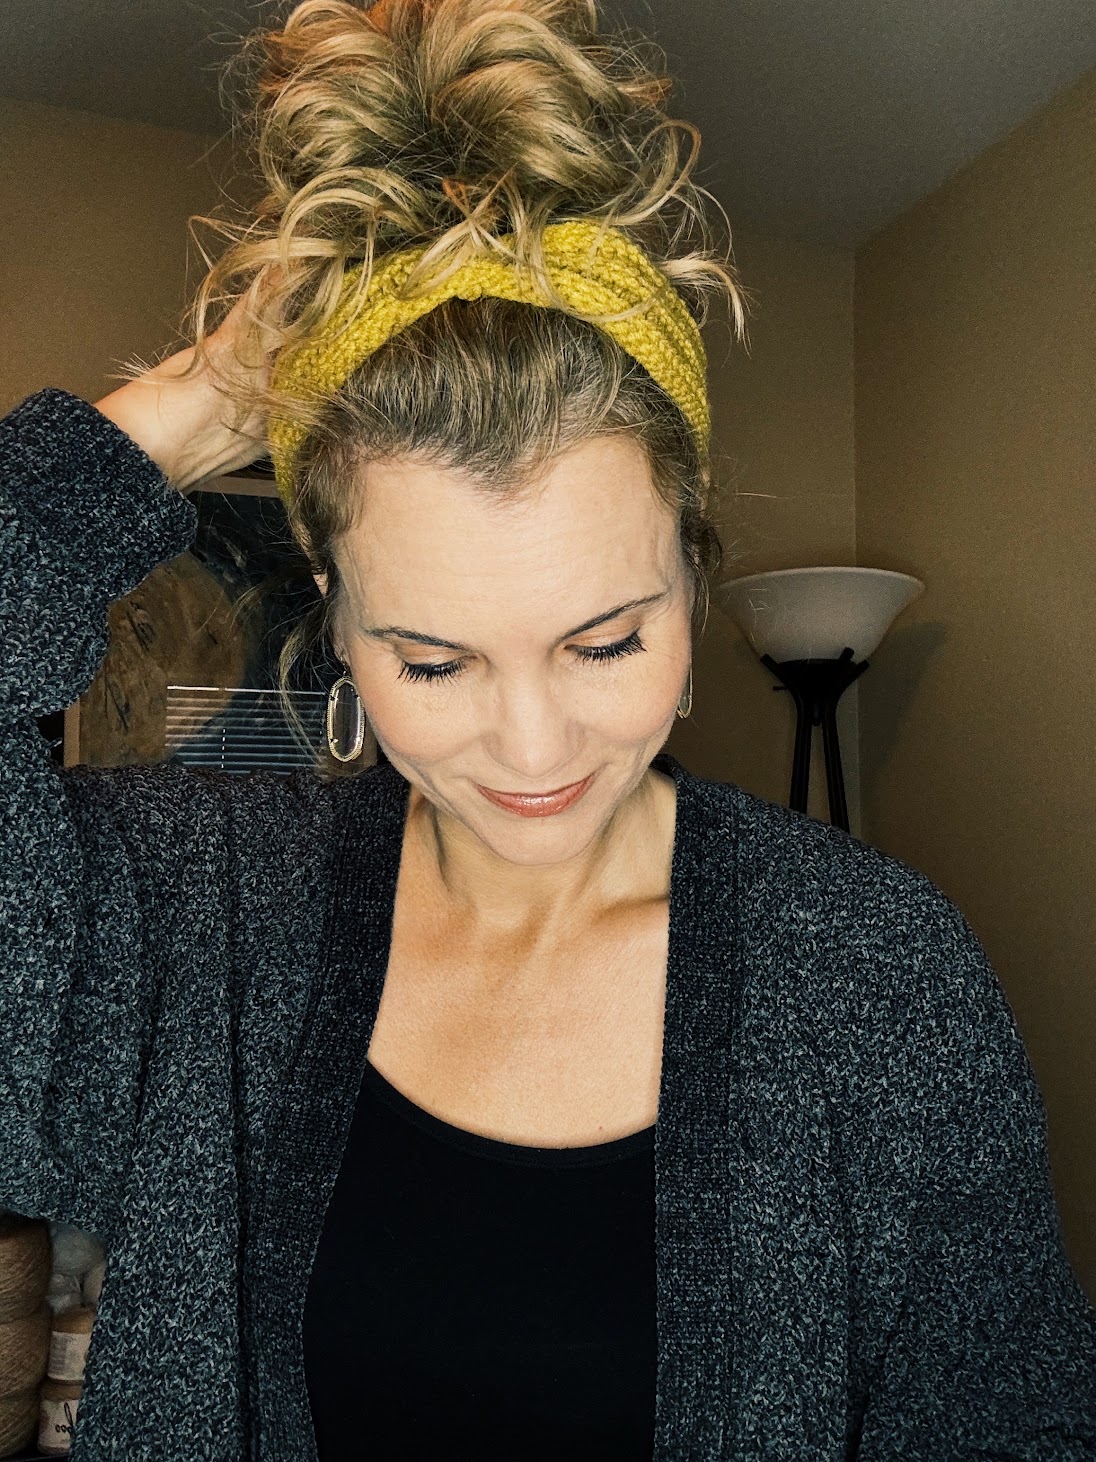
A quick crochet accessory you’ll actually wear
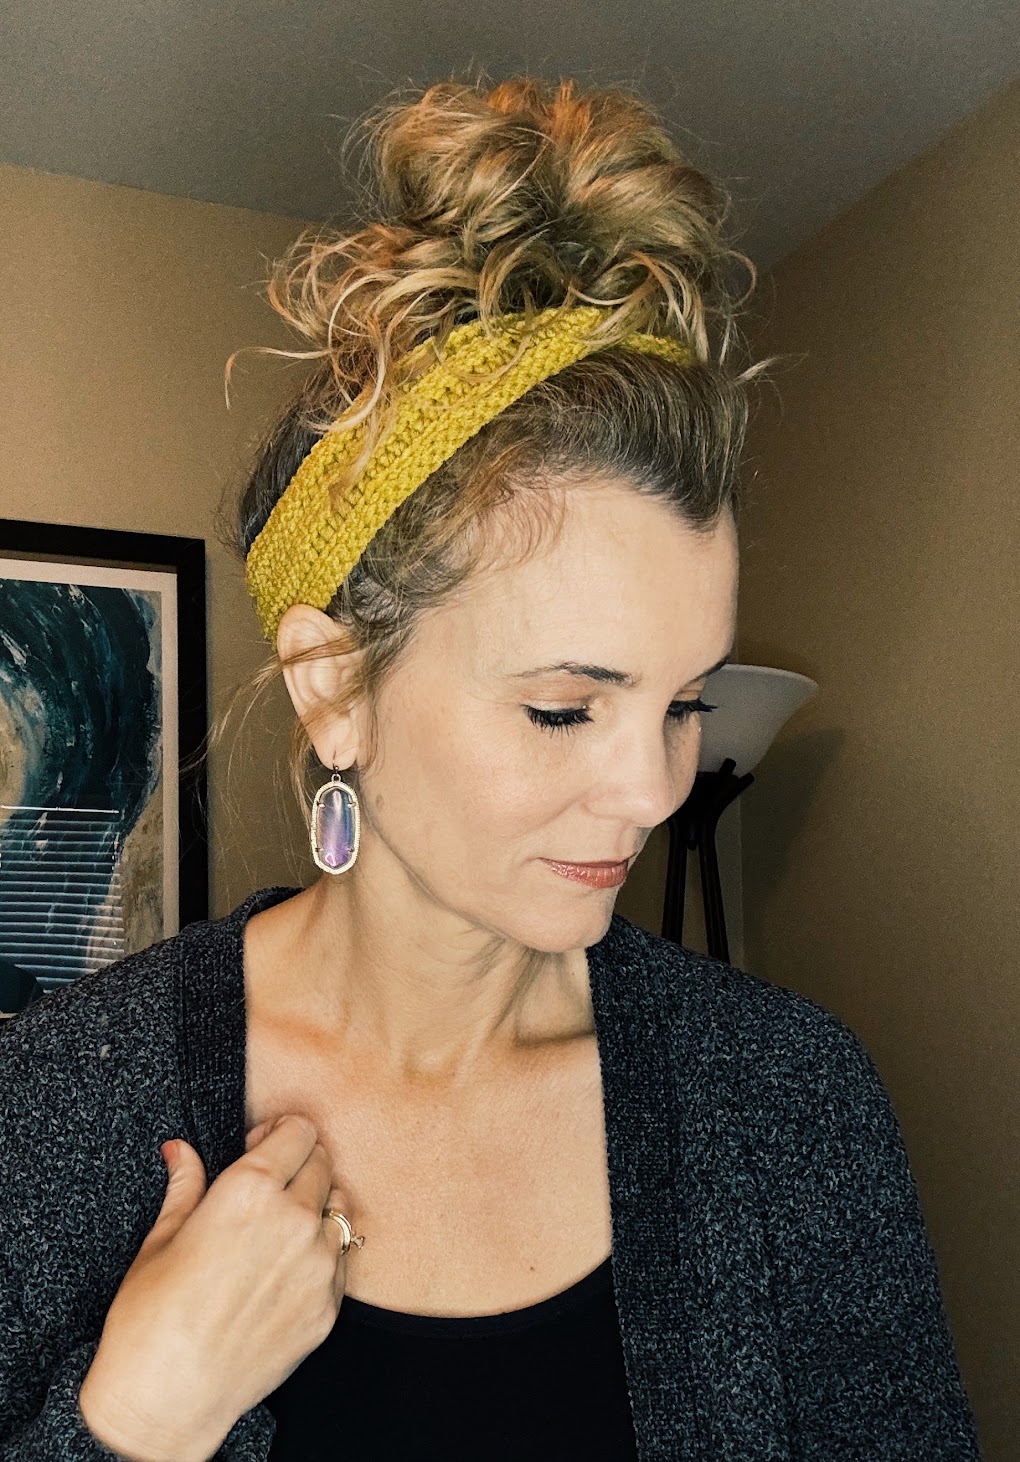
I originally shared this headband as part of my Crochet Mastery course, and I’m excited to give it a new home here on I Can Crochet That! It’s a quick project with pretty texture, a comfortable stretch, and a twist at the front that makes it look more complicated than it is.
The best part? You only need two basic stitches: slip stitch and half double crochet. It’s a fun little project for practicing working in the back loop, too.
What makes this headband beginner-friendly?
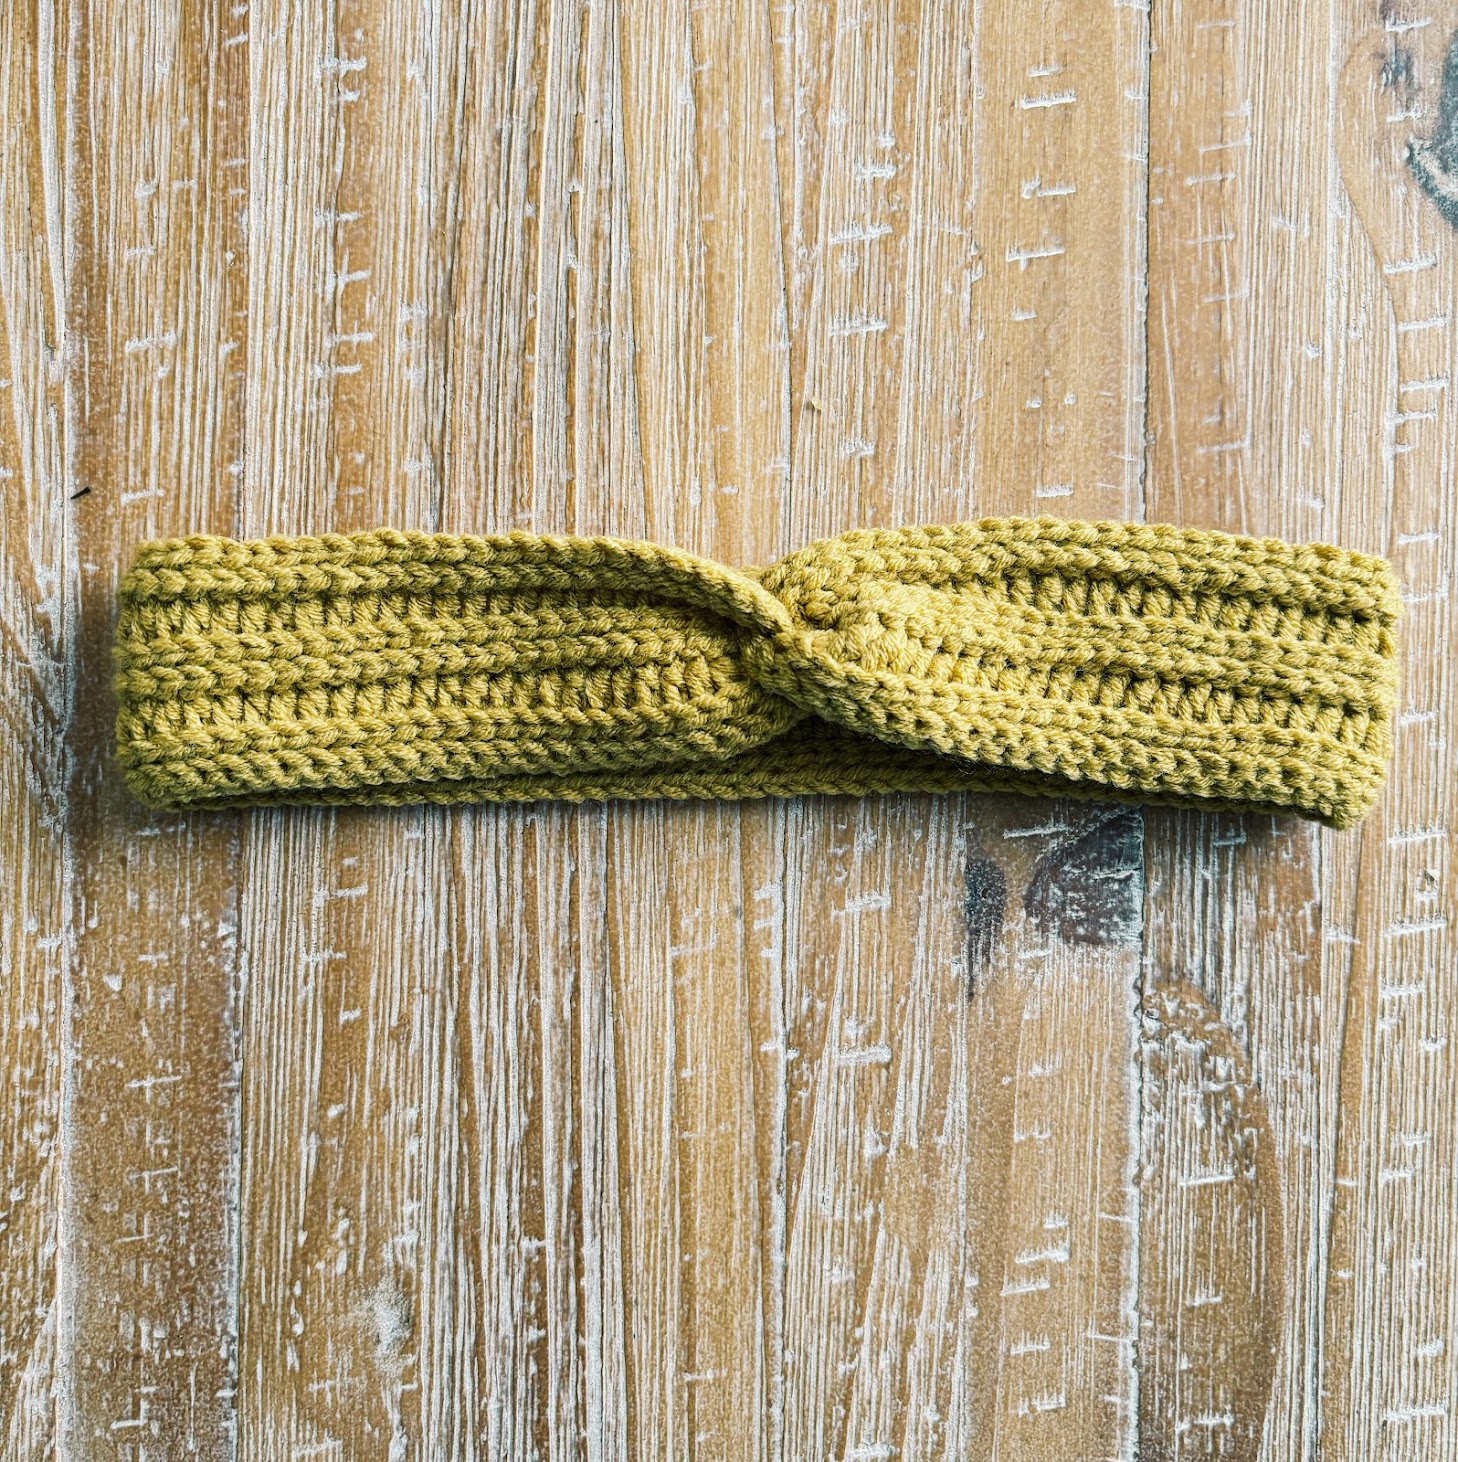
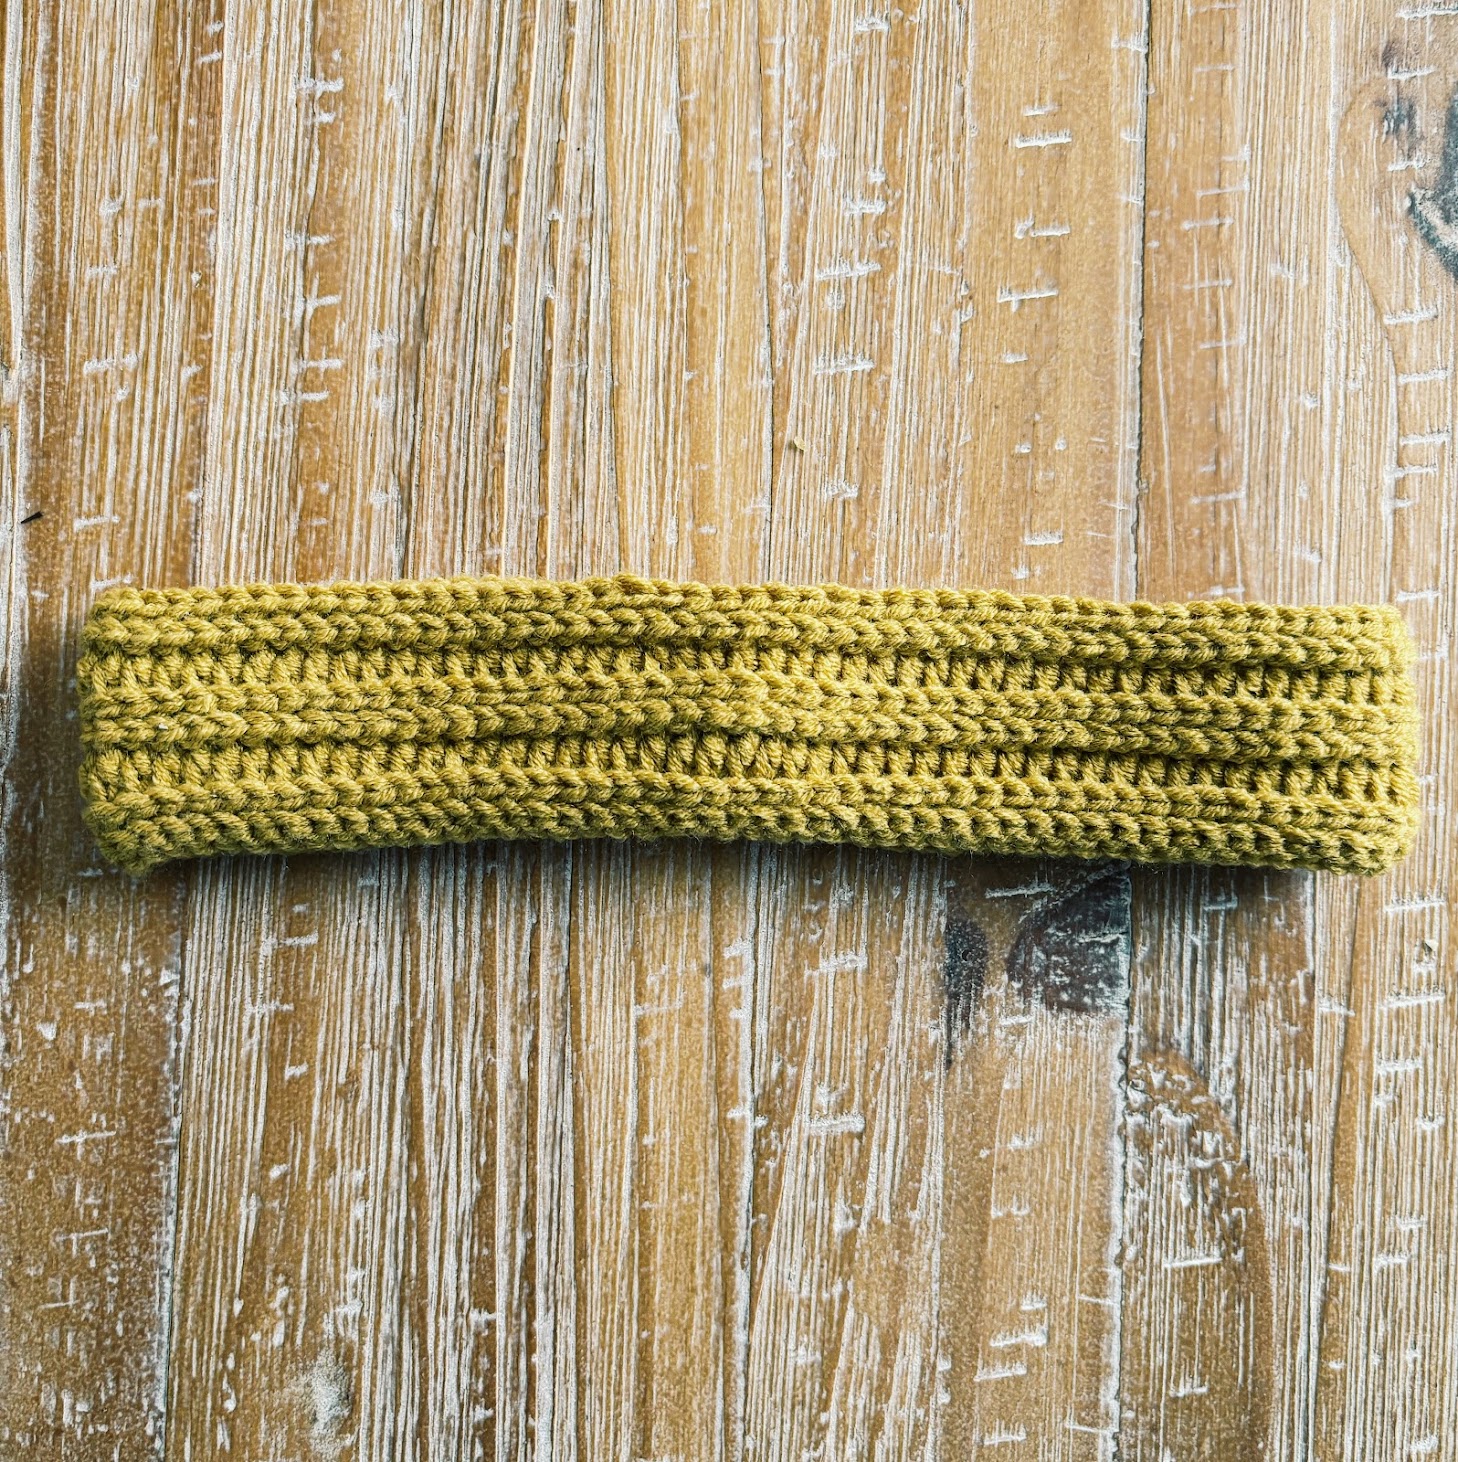
You crochet one long, narrow rectangle, then fold and sew the ends together to make the twist. There are no increases or decreases, and the stitch pattern repeats across the entire row.
Supplies
4.0 mm crochet hook (one of my favorite crochet hook sets here)
Medium (weight 4) yarn; original sample: Lion Brand Color Theory in Bee Pollen, purchase on Amazon.com or LionBrand.com.
Tapestry needle and scissors
Finished sizes and starting chains
| Size | Chains | Stitches | Length | Head circumference |
| Toddler | 90 | 89 | 15¼ in | 17–18 in |
| Child | 96 | 95 | 17¼ in | 18½–20 in |
| Teen / Adult Small | 100 | 99 | 18¾ in | 20–21 in |
| Adult Medium | 106 | 105 | 20 in | 21–22 in |
Finished measurements are approximately 1¾ inches wide. Finished length is measured with the headband laid flat, before joining the ends to create the twist. The headband is designed to stretch for a comfortable fit.
Before you begin
This pattern is written in US crochet terms.
Sizes appear in this order throughout: Toddler (Child, Teen/Adult Small, Adult Medium).
Chain 1 does not count as a stitch.
Finished dimensions matter more than chain counts because crochet tension varies.
Stitches and abbreviations
ch: chain | sl st: slip stitch | hdc: half double crochet | BLO: back loop only | st(s): stitch(es) | RS: right side | WS: wrong side
BLO means inserting your hook under only the back loop of the V at the top of the stitch.
For a slip stitch, insert hook, yarn over, and pull through the stitch and the loop on the hook.
For a half double crochet, yarn over, insert hook, yarn over and pull up a loop, yarn over and pull through all three loops.
Free twisted crochet headband video tutorial
Free twisted crochet headband pattern
Foundation: Ch 90 (96, 100, 106).
Row 1: Sl st into back bump of 2nd ch from hook and in each ch across; ch 1, turn. <89 (95, 99, 105) sts>
Row 2: Sl st BLO in each st across; ch 1, turn. <89 (95, 99, 105) sts>
Row 3: Repeat Row 2.
Row 4: Hdc BLO in each st across; ch 1, turn. <89 (95, 99, 105) sts>
Rows 5–7: Sl st BLO in each st across; ch 1, turn.
Row 8: Repeat Row 4.
Rows 9–11: Repeat Rows 5–7. Do not make a turning chain after Row 11.
Fasten off, leaving approximately a 6-inch tail for seaming. If you prefer extra room for sewing through four layers, leave a longer tail.
How to make the twisted front
With right side facing up, fold each short end in half, keeping track of the yarn tail.
Interlock the two folded ends in an alternating zigzag arrangement so the seam passes through four layers.
Thread the yarn tail onto a tapestry needle and sew through all four layers, moving up and back down through available edge loops to secure the seam.
Fasten off, weave in ends, and turn right side out to reveal the twist.
Want to Turn This Headband Into an Ear Warmer?
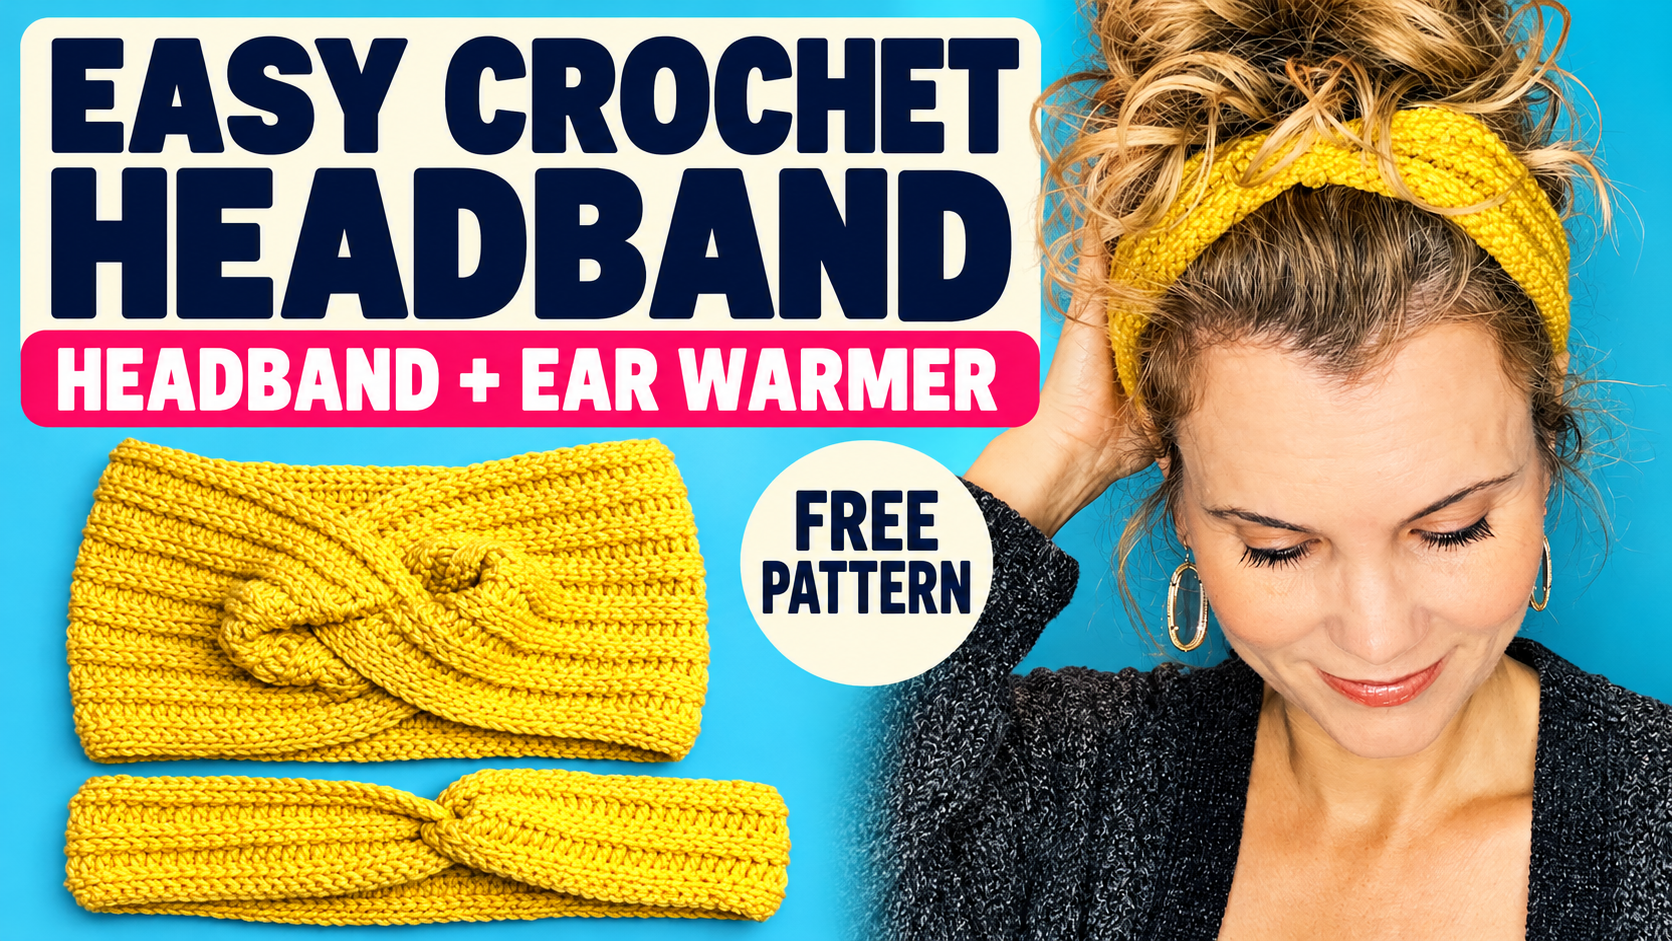
One of my favorite things about this pattern is how easy it is to customize!
If you prefer a wider ear warmer instead of a narrow headband, you can use the exact same pattern. Just add more rows until you reach your desired width.
The original headband measures approximately 1¾ inches wide, making it perfect for keeping your hair out of your face.
For a cozy ear warmer that provides more coverage, aim for approximately 3½–4 inches wide.
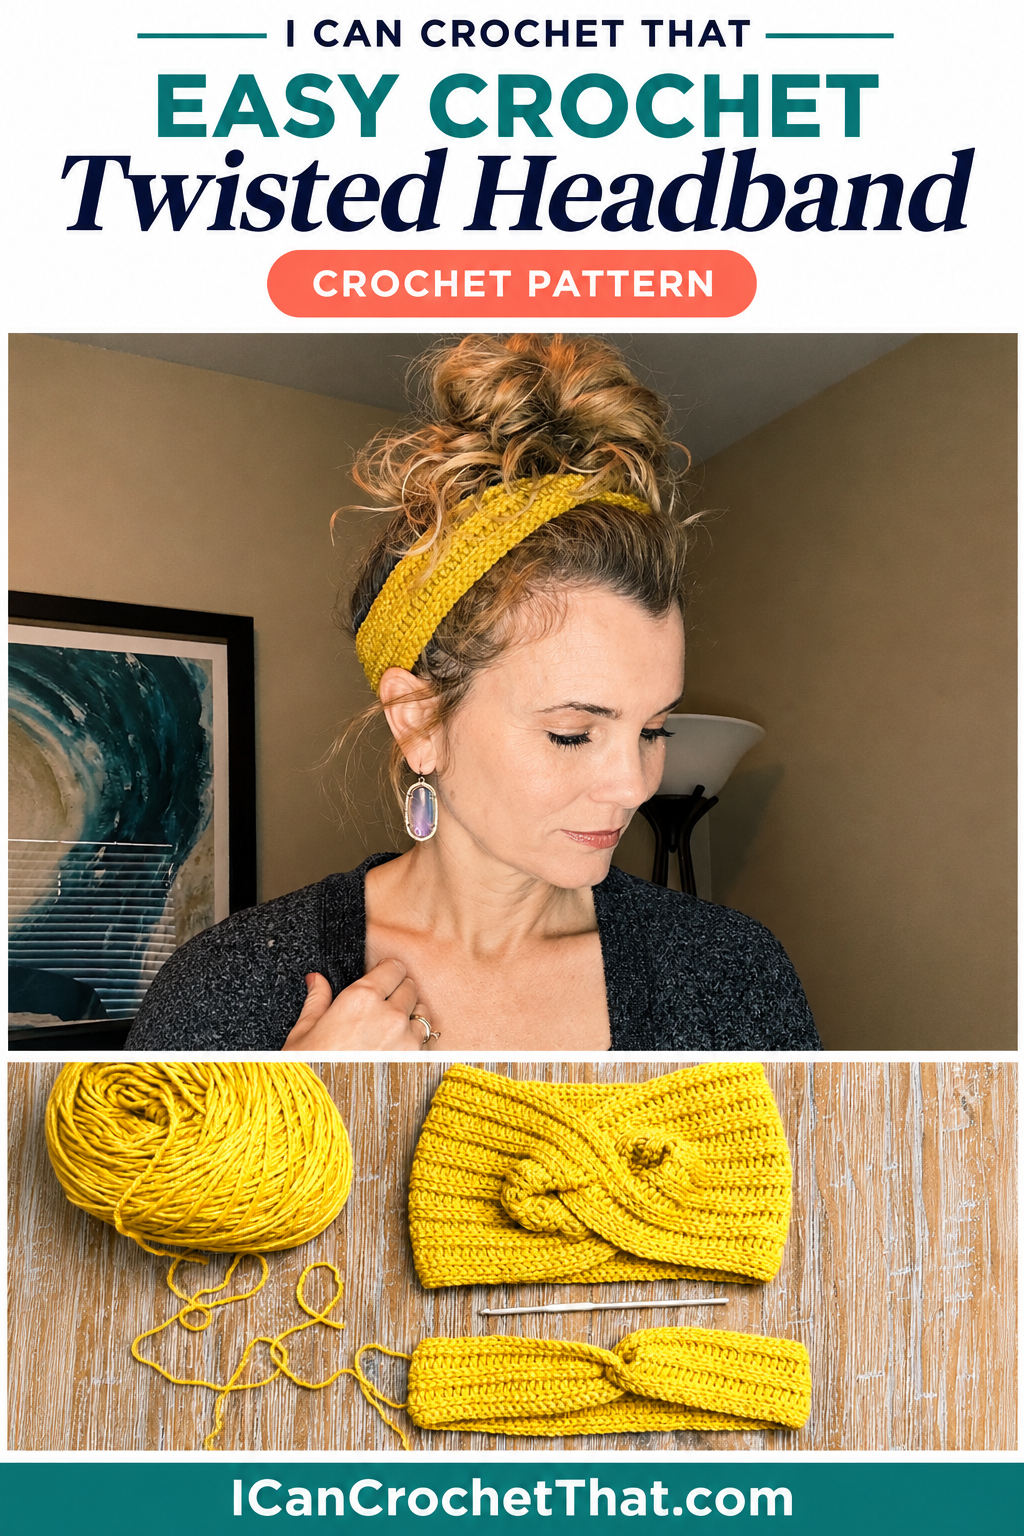
To make the ear warmer:
- Follow the starting chain instructions for your size.
- Continue repeating the stitch pattern, adding more rows until you reach your desired width.
- Finish with the slip stitch rows for a matching edge.
- Seam the ends together using the same twisted seam technique.
That's it! One easy crochet pattern, two different ways to wear it.
Tips for getting the right fit
The length may change as you work the slip stitch rows. Measure after completing the final row, then test the stretch before seaming.
The 100-chain sample measures 18¾ inches and felt tight on my approximately 21-inch head; the 106-chain sample measures 20 inches and fits comfortably.
For children, use the size chart as a starting point and check the wearer’s actual head circumference.
This headband would make a great gift and stocking stuffer. They're quick to make and, of course, made with love. 🙂