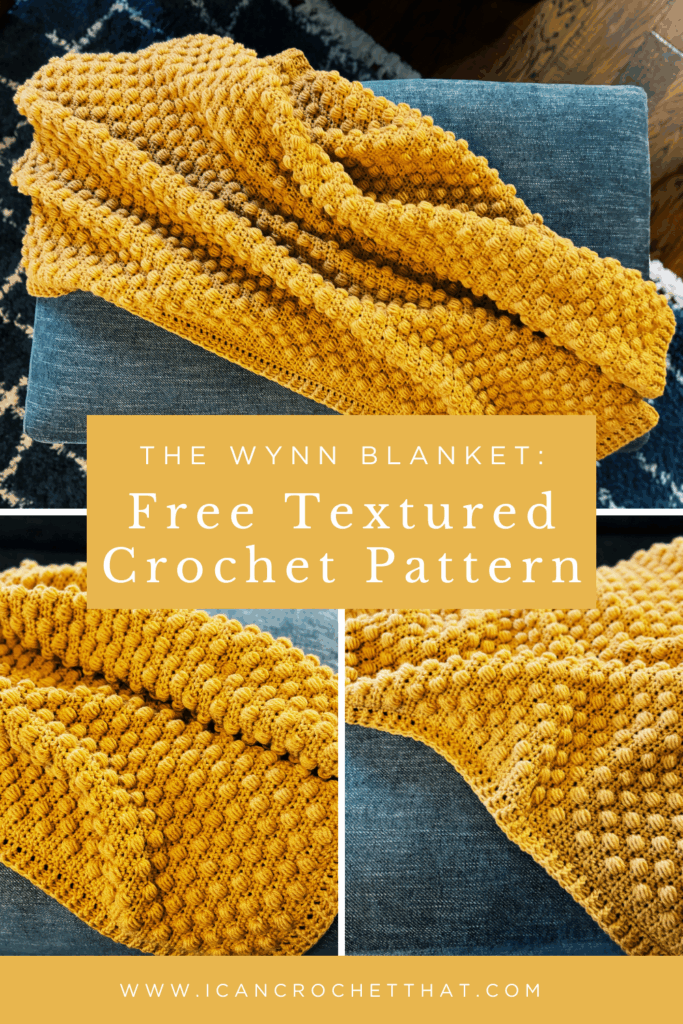
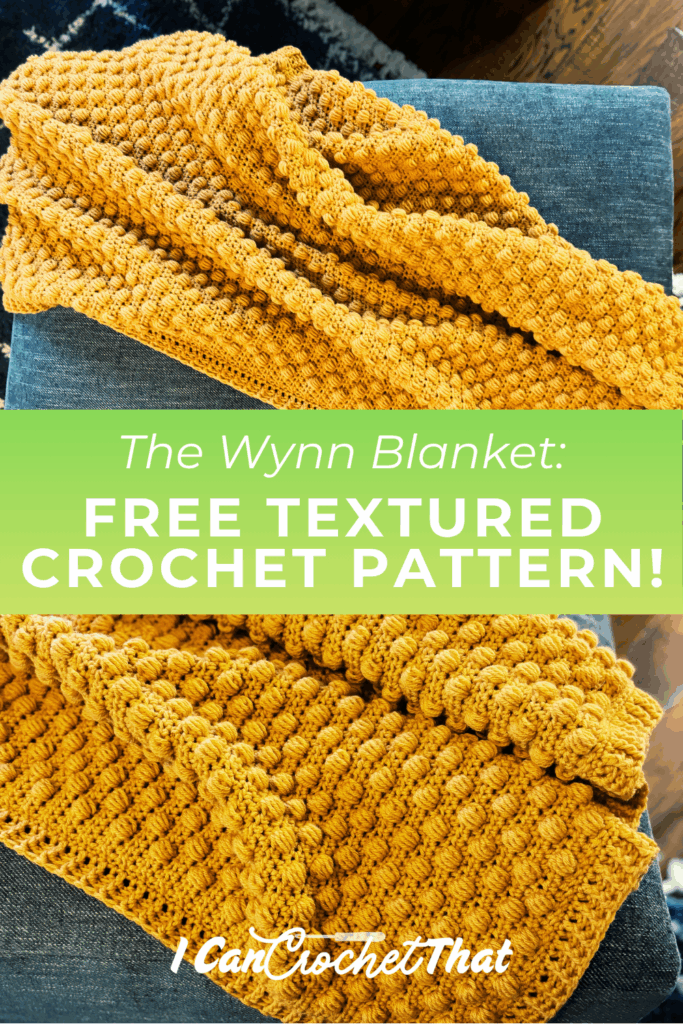
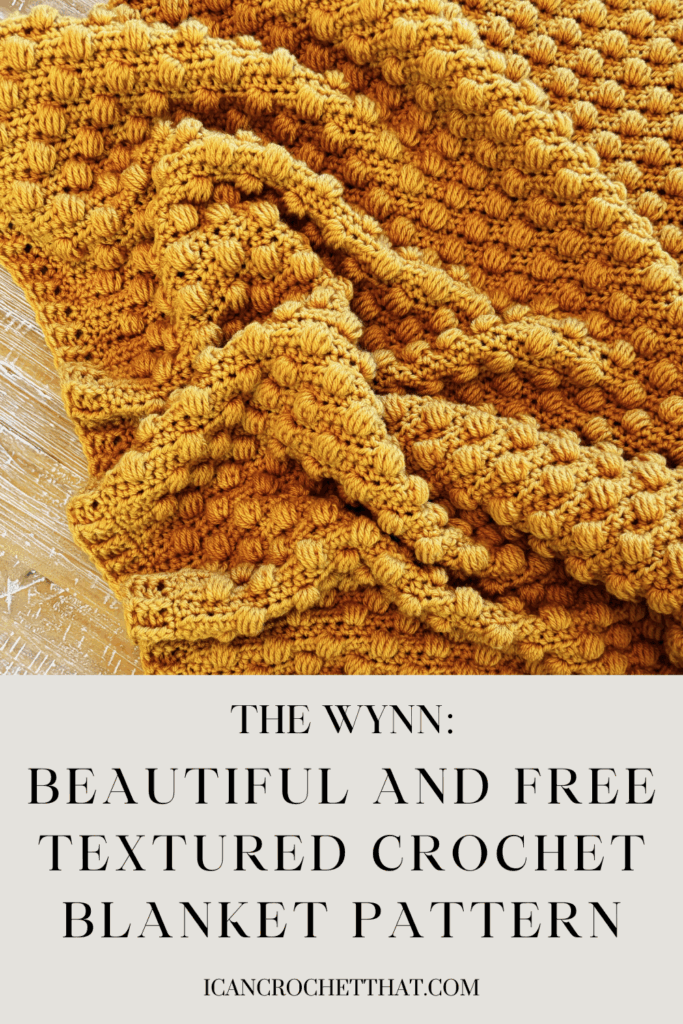
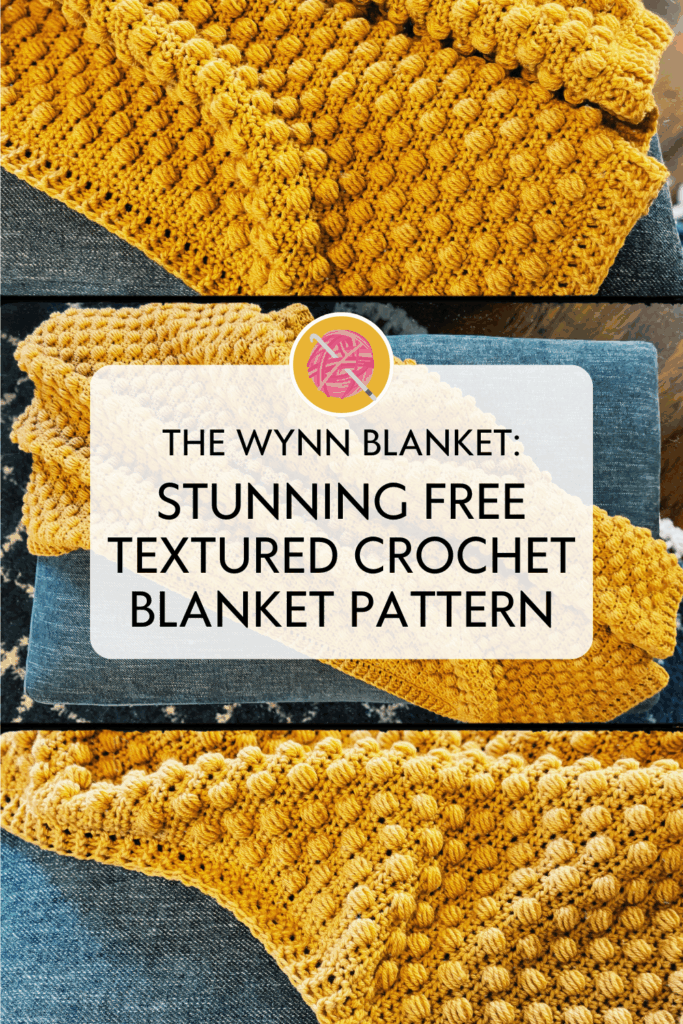
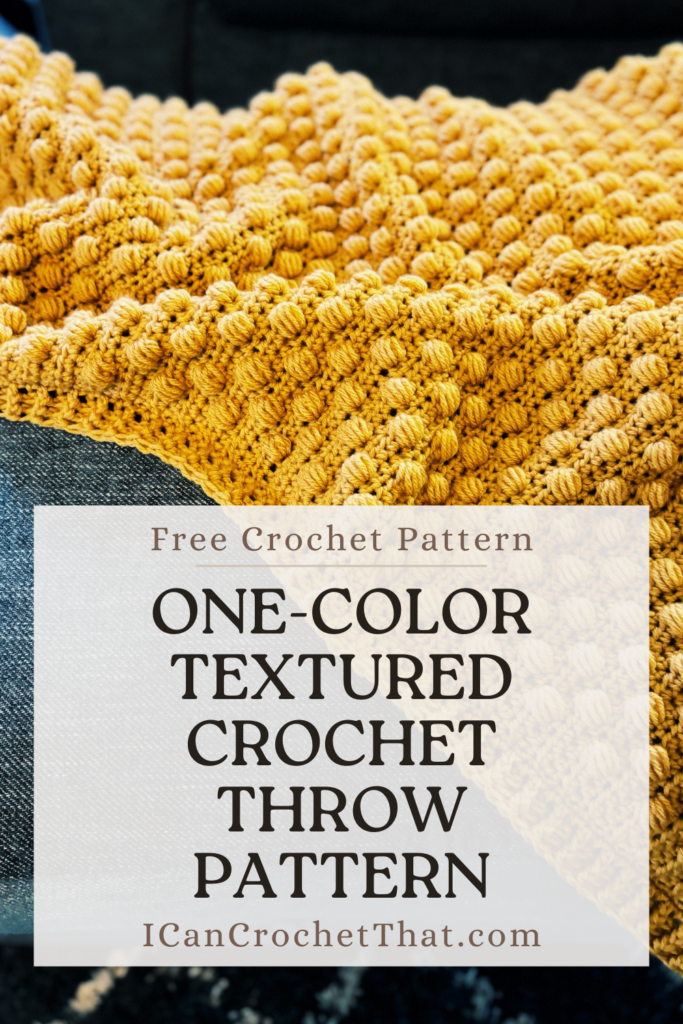
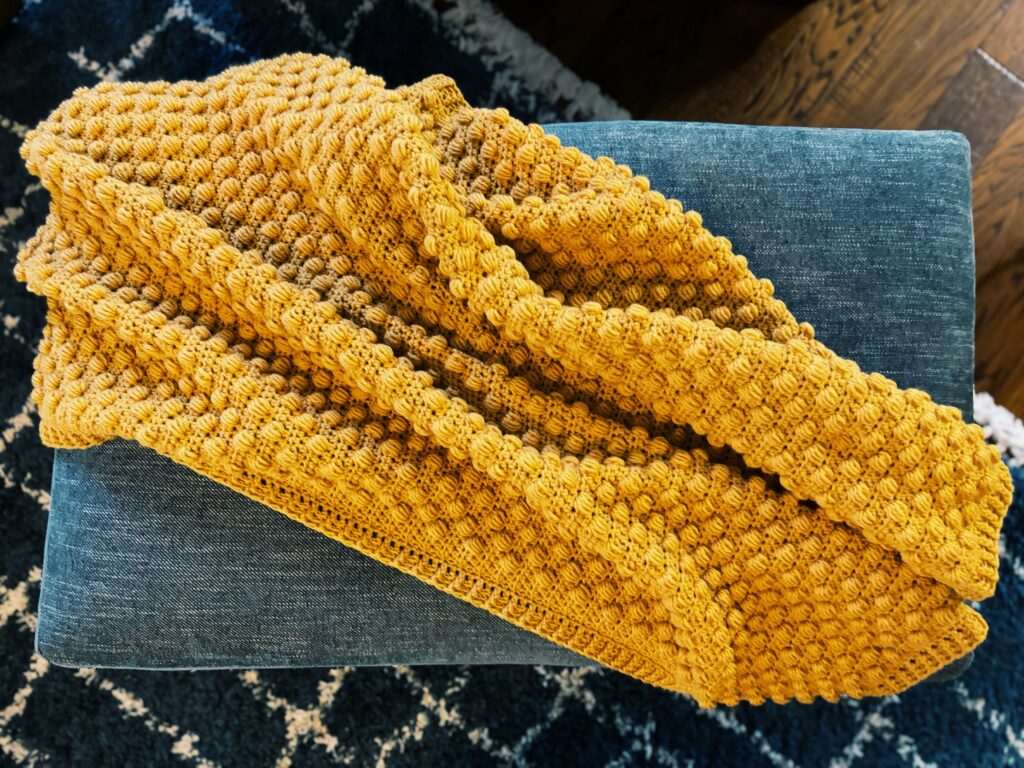
Create the Wynn Blanket, an easy textured crochet blanket pattern featuring puff stitches and a beautiful, stretchy border.
Hey there! Get ready to dive into the cozy and stylish world with the Wynn Blanket.
Purchase a printable PDF copy of this pattern via our shop here or Etsy here.
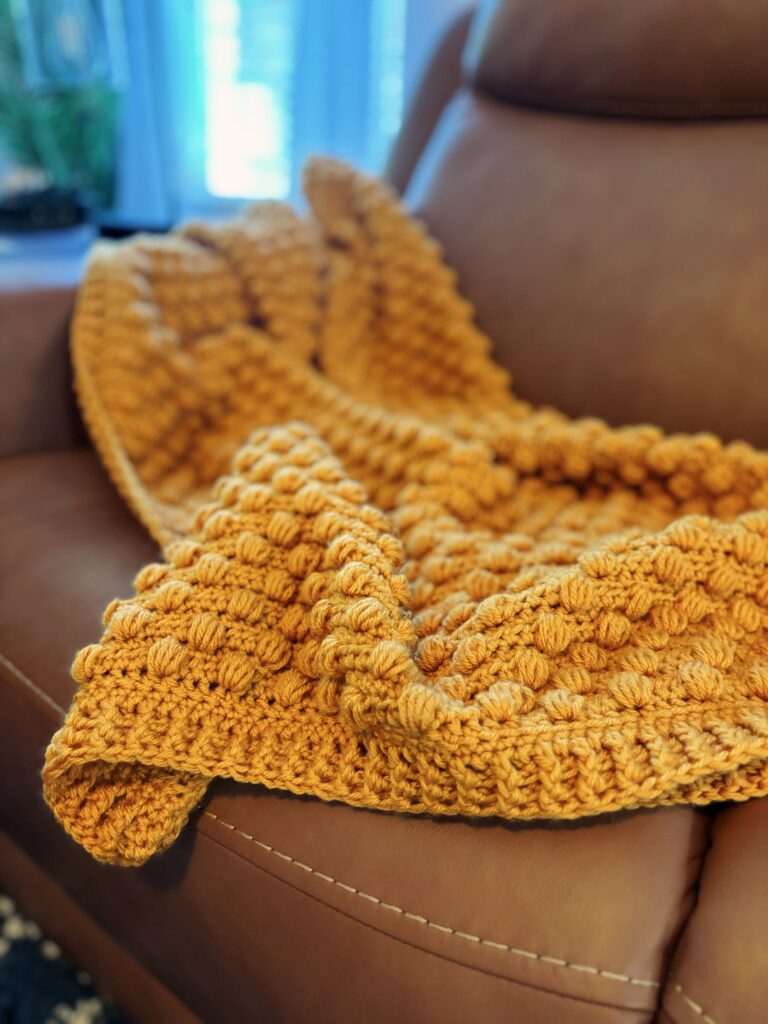
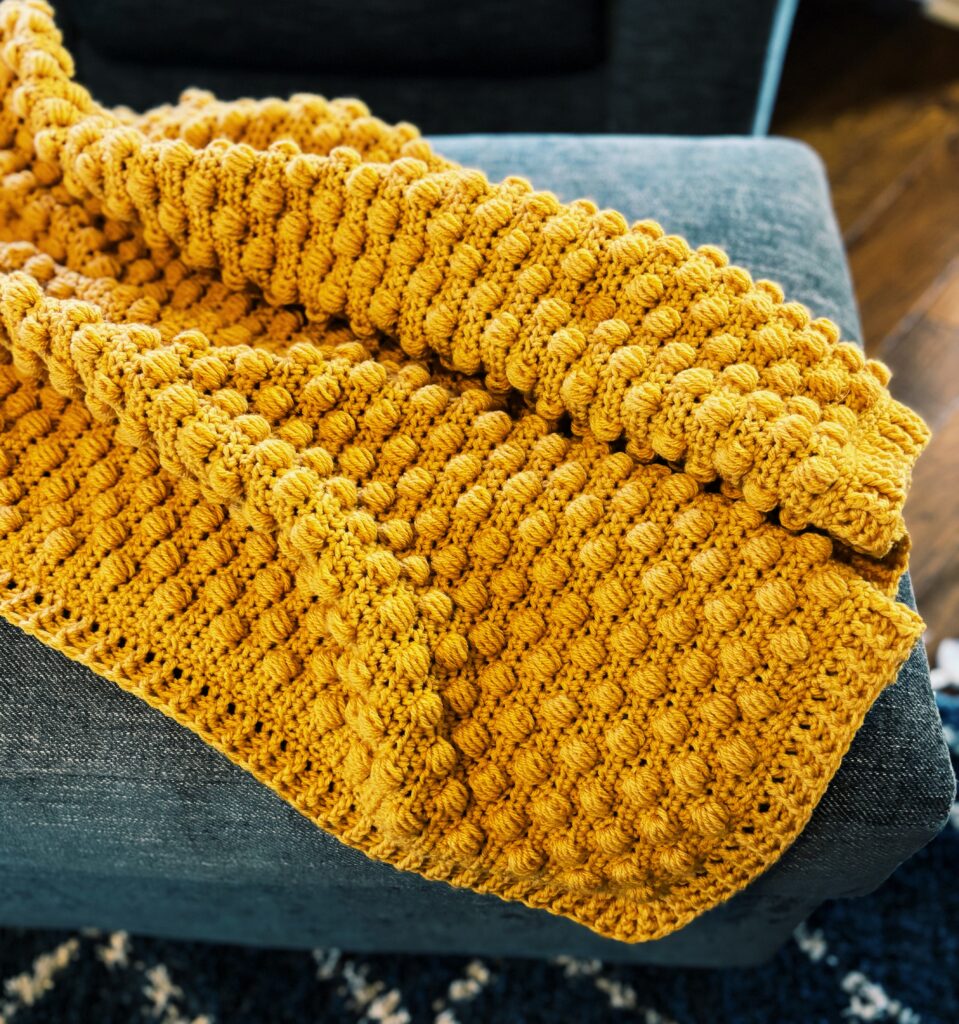
This textured crochet blanket pattern is an absolute dream for anyone, whether you're just starting out or have been crocheting for years. It's got this cool timeless puff stitch mixed with a sleek one-color look that'll fit in anywhere, from your couch to a special handmade gift.
Who doesn't love a cozy throw with a bit of elegance, right? The Wynn Blanket is your go-to for adding both comfort and a splash of style to your space.
Made with lots of love, this crochet throw is all about giving you that cozy feel while looking super chic. Its puff stitches and stretchy edge mean it not only looks awesome but also has the perfect drape.
Jump in and find out how simple it is to whip up this fancy, textured crochet blanket that you’ll totally fall in love with and enjoy for ages.
The Inspiration Behind the Wynn Blanket
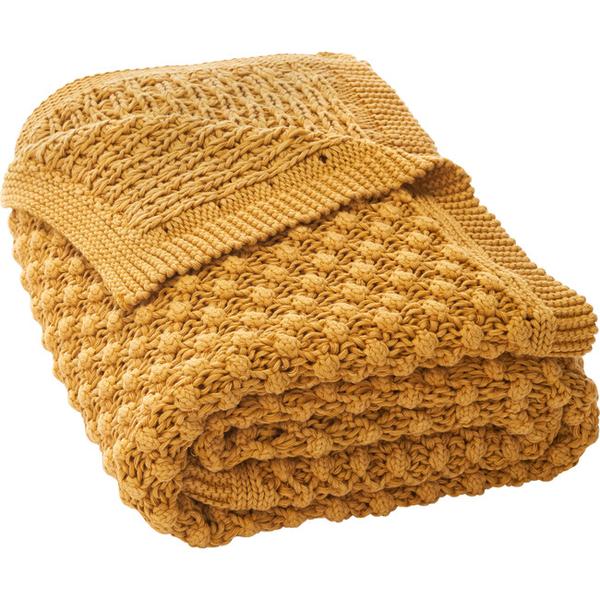
The inspiration for the Wynn Blanket came from a beautifully textured blanket I stumbled upon online.
Its simple yet elegant design immediately caught my eye, and I knew it would make a perfect addition to my collection of crochet patterns.
The combination of the puff stitch and a clean, one-color aesthetic was something I couldn't resist recreating in my way.
But before diving into the design process, I wanted to involve our community and get their input on which blanket I should attempt to create a dupe for.
I sent an email to my list, showcasing a few blanket options I was considering for my next project.
The response was overwhelming (thank you!), and a bunch of you voted for this particular design. (Although this one won by a slim margin over another one I'm also thinking of creating a crochet blanket design for.)
I set out to design the Wynn Blanket, and the result is a pattern that captures the essence of the original and adds my personal touch, making it a special project that I'm excited to share with you all.
Yarn + Materials for this Textured Crochet Blanket Pattern
For the Wynn Blanket, I wanted a yarn that would highlight the rich texture of the puff stitches and provide a soft and cozy finish that you’d love to wrap yourself in.
Purchase a printable PDF copy of this pattern via our shop here or Etsy here.
After some experimenting, I used Joann Fabrics' Big Twist Value Pound+ Yarn in the beautiful Mustard colorway.
Initially, I had planned to use Lion Brand's Pound of Love, but they've discontinued the yellow I used to make our popular Finley blanket, a staple in many of my projects.
But when I came across the Big Twist Value yarn, I knew it was the perfect substitute. Due to its incredible value, softness, and wide range of colors, this yarn has quickly become one of my go-to choices for large projects like this blanket.
The Big Twist Value Pound + yarn worked up beautifully for this pattern and brought out the texture of the puff stitches with its smooth and consistent fiber.
Plus, the mustard color adds a warm, modern touch to the blanket, making it a standout piece in any room.
For this project, you'll need approximately three skeins of this yarn (about 3,279 yards), along with a 6.0 mm (J-10) crochet hook, a tapestry needle for weaving in ends, and a pair of scissors.
With these materials, you're ready to create a cozy and stylish blanket that will become a favorite in your home.
The Stitch: Puff Stitch
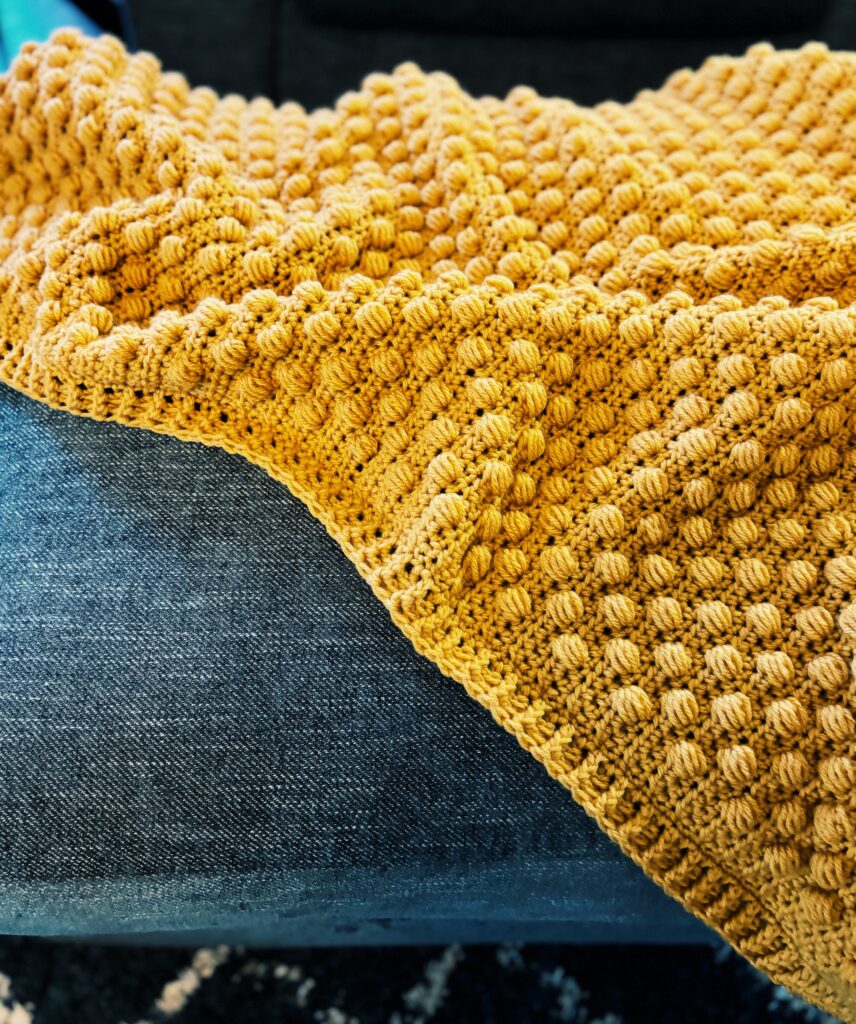
The star of the Wynn Blanket is undoubtedly the crochet puff stitch, a crochet technique that adds an incredible, dimensional texture to any project.
The puff stitch was an easy choice for this blanket because it creates a plush, almost three-dimensional look that stands out against the simplicity of the one-color design.
The result is a luxurious and substantial blanket, making it perfect for curling up on the couch or draping over the back of a chair for a stylish touch.
If you’re new to the puff stitch, don’t worry—it’s simpler than it looks and a joy to crochet once you get the hang of it.
The puff stitch is created by working multiple yarn overs and pulling them through the same stitch. This stitch adds texture and warmth to the blanket, making it visually appealing and incredibly cozy.
If you need a refresher or a step-by-step guide on how to crochet the puff stitch, be sure to check out the tutorial video below.
Please note that while the basics of the puff stitch in our pattern are similar to the one in the video, the Wynn blanket pattern calls for one more yarn over, which means you'll pull through 11 loops on your hook and you will not ch 1 to close the stitch.
Once you've mastered it, the puff stitch works up quickly and adds a beautiful texture to your projects.
The Border: Stretchy and Elegant
The border of the Wynn Blanket is one of my favorite finishing touches, as it adds functionality and style to the overall design.
If you’ve ever admired the ribbing on crochet sweaters, you’ll appreciate the border on this blanket, which is crafted similarly.
The stretchy border not only frames the puff stitch texture beautifully but also provides a neat and durable edge that will stand up to regular use. This type of border gives the blanket a polished, professional look, while also allowing it to stretch and move with ease.
I experimented with this border on the Ophelia Tunisian Crochet Blanket, and it's quickly becoming a go-to technique in my pattern designs.
The flexibility and clean lines it offers are perfect for enhancing the overall structure of a blanket, making it both aesthetically pleasing and practical.
If you’re curious about how to create this particular border, I highly recommend checking out the video tutorial that I used when I first learned it.
The tutorial, which you can find here, walks you through the steps to achieve this beautifully stretchy and elegant border, ensuring your blanket has a flawless finish. Our border is slightly different from the one in the video—instead of doing 9 dc in the corner, you'll only do 7.
The Wynn Blanket Free Crochet Pattern; A Textured Crochet Blanket Pattern
Purchase a printable PDF copy of this pattern via our shop here or Etsy here.
Description: The Wynn Blanket is a cozy and textured crochet masterpiece that combines the delightful puff stitch with the classic half double crochet stitch, creating a rich and tactile surface that’s as pleasing to the touch as it is to the eye.
The blanket is finished with a beautifully stretchy border that adds both elegance and durability, ensuring that it drapes perfectly every time. The vibrant, plush texture makes the Wynn Blanket a stunning addition to any living space, offering warmth and style in one delightful package.
NOTES
- Finished size with border measures 43" x 55"
- This crochet blanket is created with the half double crochet stitch and Puff stitch
- For this puff stitch, you will not ch 1 to close it
- Chain 1 at the end of the row does not count as a stitch
- hdc 2 means to half double crochet in the next 2 stitches, hdc 3 means to half double crochet in the next 3 stitches, etc
- 2sc means 2 single crochet in the same stitch
MATERIALS
HOOK(S)
YARN
Weight 4 • approx. 3,279 yards
Big Twist Value Pound + Yarn in Mustard - 3 skeins
Yarn Alternatives:
Lion Brand Pound of Love - Purchase on LionBrand.com or Amazon.com
Caron One Pound Yarn - Purchase on Amazon.com
NOTIONS
Scissors
Tapestry needle
GAUGE (4 x 4")
11 sts (3 puff sts + 8 hdc sts) x 5 ½ rows
ABBREVIATIONS
ch chain
rep repeat
yo yarn over
sc single crochet
fhdc foundation half double crochet
hdc half double crochet
ps puff stitch
fpdc front post double crochet
bpdc back post double crochet
st(s) stitch(es)
SPECIAL STITCHES
fhdc - Foundation half double crochet
fpdc - Front post double crochet
Yarn over (yo), insert your hook from front to back to front around the post of the next stitch, yo, pull up a loop, yo, pull thru 2 loops on your hook, yo, pull thru remaining two loops on your hook
bpdc - Back post double crochet
Yarn over, insert your hook back-to-front through your work so that the post you want to crochet around is behind your hook, yarn over again and pull through, leaving three loops on your hook. Yarn over, pull through the first two loops, then yarn over and pull through the remaining two loops to complete the stitch.
hdc - Half Double Crochet
Yarn over, insert hook into stitch, yarn over, pull up a loop, yarn over, pull through all three loops on hook
ps - Puff Stitch
- Yarn over
- Insert your hook into the next stitch
- Pull up a loop, so you have three loops on your hook
- Yarn over again
- Insert your hook into the same stitch and pull up a loop, so you have five loops on your hook
- Repeat step 5 three more times, so you have eleven loops on your hook
- Yarn over and pull through all eleven loops on your hook
- For this pattern, do not chain one to close stitch
THE PATTERN
Row 1 Fhdc 117 (or alternately, ch 118, hdc in second ch from hook, hdc across to get a total of 117 sts), ch 1, turn
Row 2 hdc in 1st st, hdc in next st, *puff st, hdc 3*, rep from * to *until there are 3 sts remaining, puff st, hdc 2, ch 1, turn (117 sts)
Row 3 hdc in 1st st, hdc in each st across to end, ch 1, turn (117 sts)
Row 4 hdc in 1st st, hdc in next 3 sts, *puff st, hdc 3*, rep from * to * across until there are 5 sts remaining, puff st, hdc 4, ch 1, turn (117 sts)
Rows 5 - 127 repeat rows 2 - 4, ending with a row 3 (hdc row)
do not fasten off, proceed to border instructions
Border instructions:

Round 1: ch 1, 2sc in same space, sc in each stitch down edge to corner, 2sc in last stitch, 2sc in first stitch; sc in each st across, 2sc in last st, 2sc in first stitch, sc in each stitch along edge, 2sc in last stitch, 2sc in first stitch, sc in each st across, 2sc in last stitch, slip stitch to first sc
For the rest of the border, follow the instructions in this video, but instead of doing 9 dc in corner, do 7 dc in corner
Here are the written out instructions:
Round 2: work dc in corner, work 3 more dc in same st, dc in next st, dc across to next corner
*work 7 dc in corner, dc in next st, dc across to next corner*, rep from * to * around blanket until you get to the first dc worked (which is a total of 4 dc in that corner), work 3 dc in same st as first dc (7 dc total in last corner), sl st to first dc, ch 2 (does not count as st)
Round 3: fpdc in first st, *bpdc in next st, fpdc in next st*, rep from * to * around entire blanket, sl st to first st of row, ch 2
Round 4: repeat round 3, omit ch 2 at the end
Fasten off, weave in all ends
Enjoy your new blanket!
Pin This Crochet Blanket Pattern to Save for Later