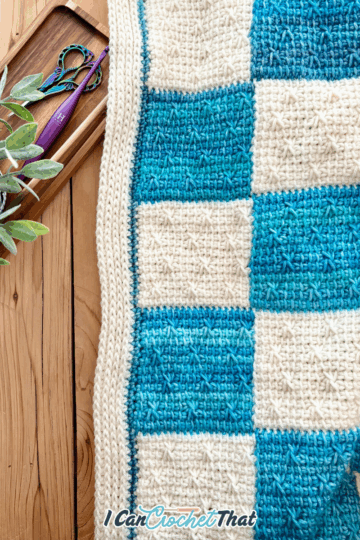
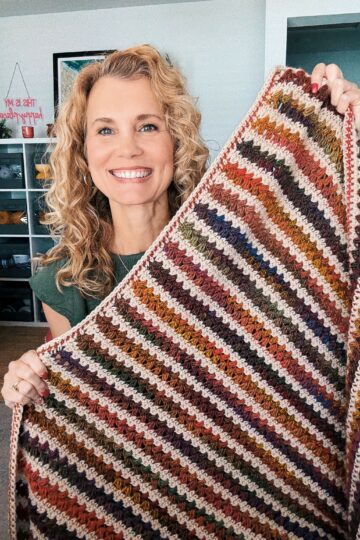
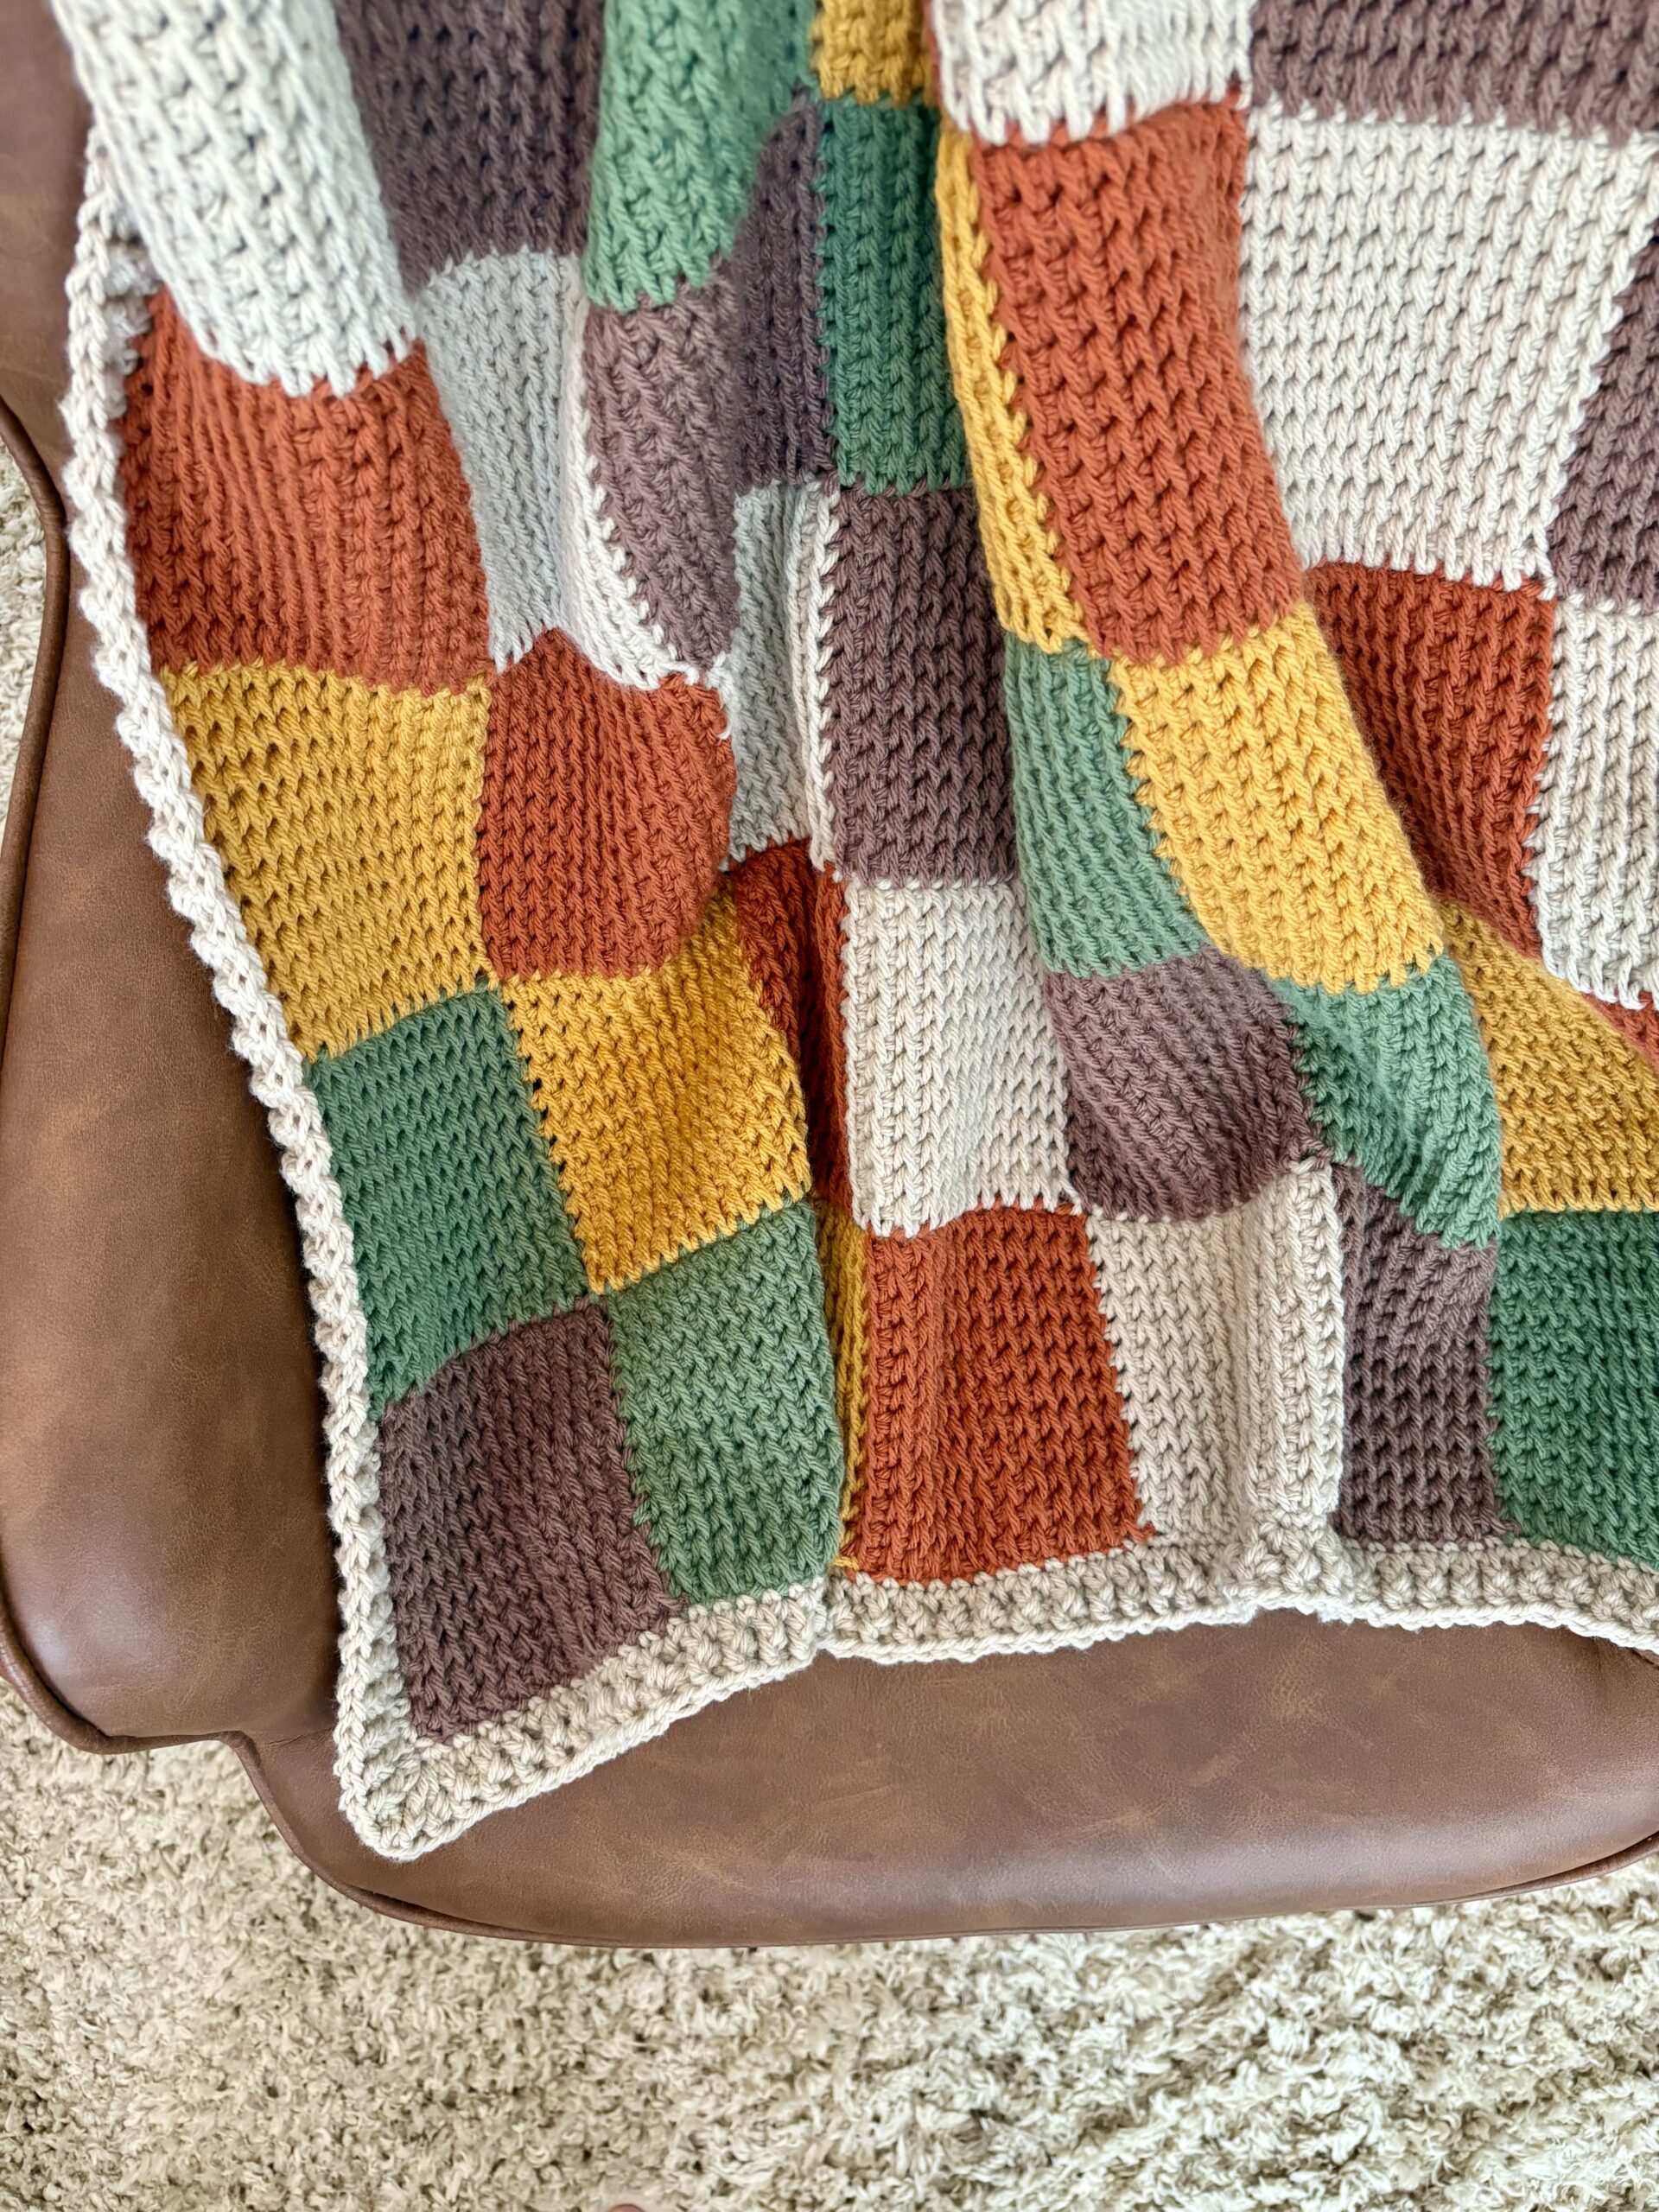
If you’ve been looking for a Tunisian Crochet Entrelac Blanket Pattern that avoids the dreaded curling edges, this one’s for you.
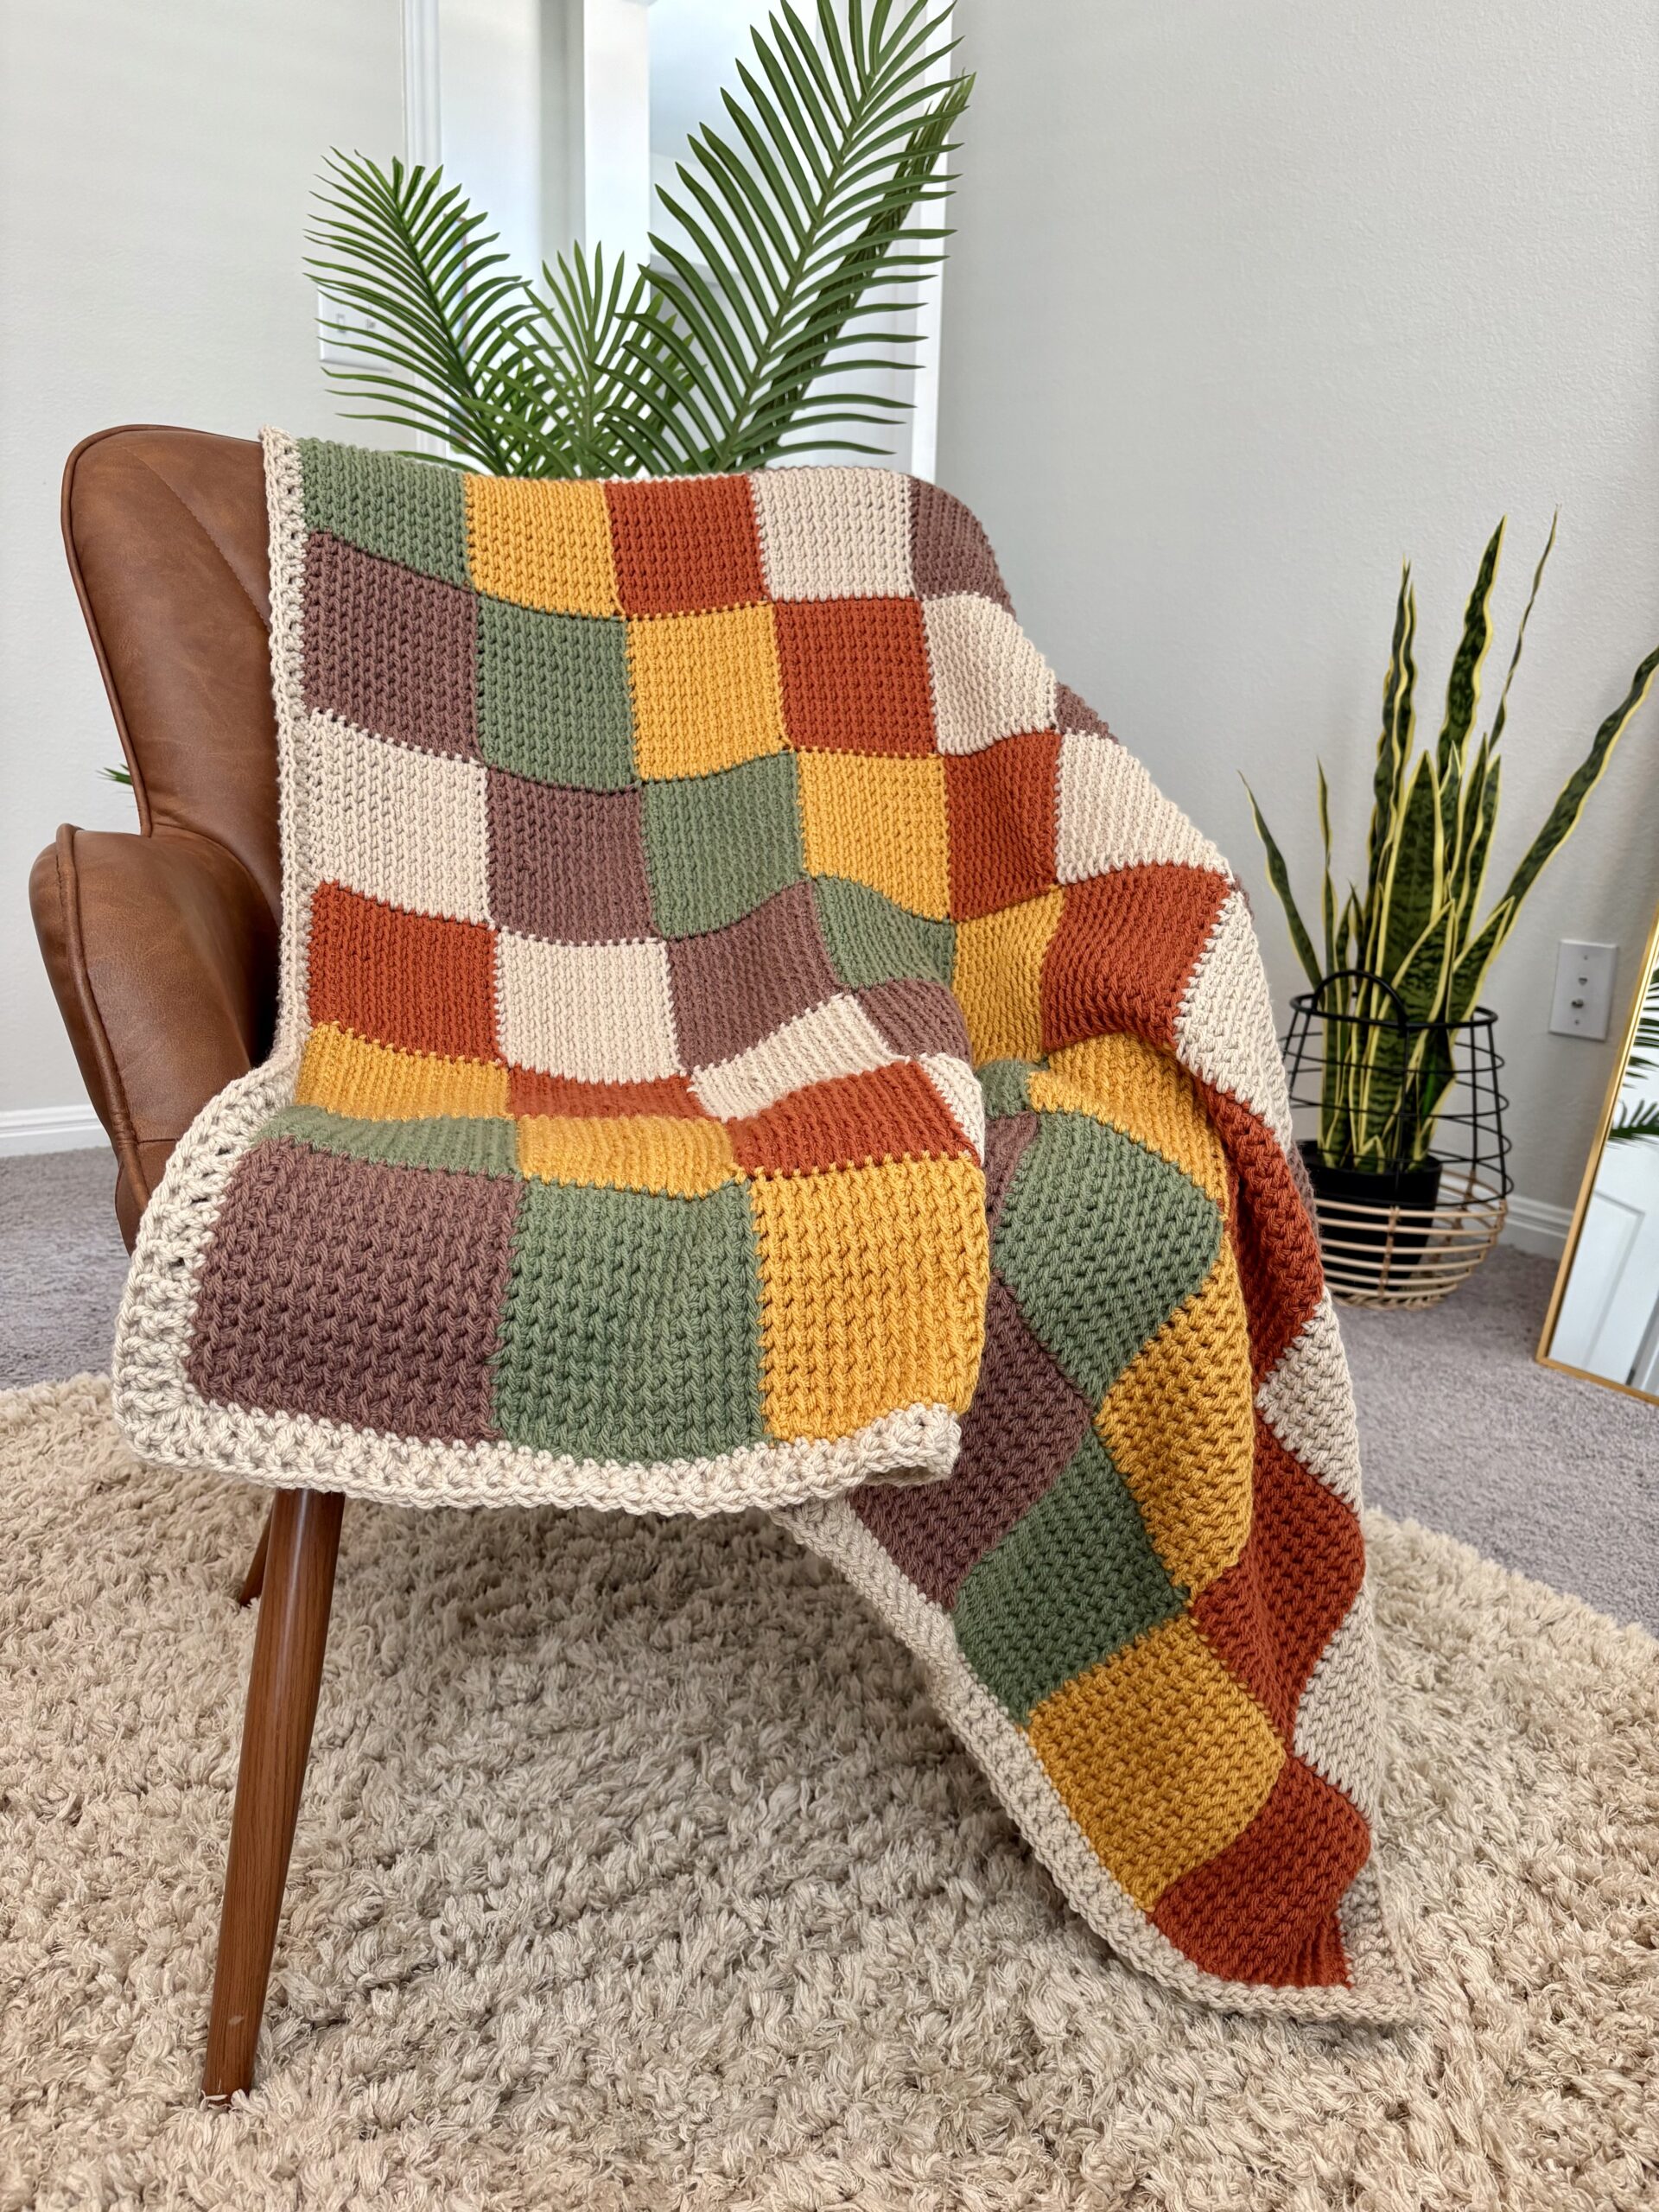
Traditional entrelac designs often use the Tunisian simple stitch, which curls heavily and can be frustrating. I wanted to find a solution that not only looked beautiful but also lay flat without excessive blocking.
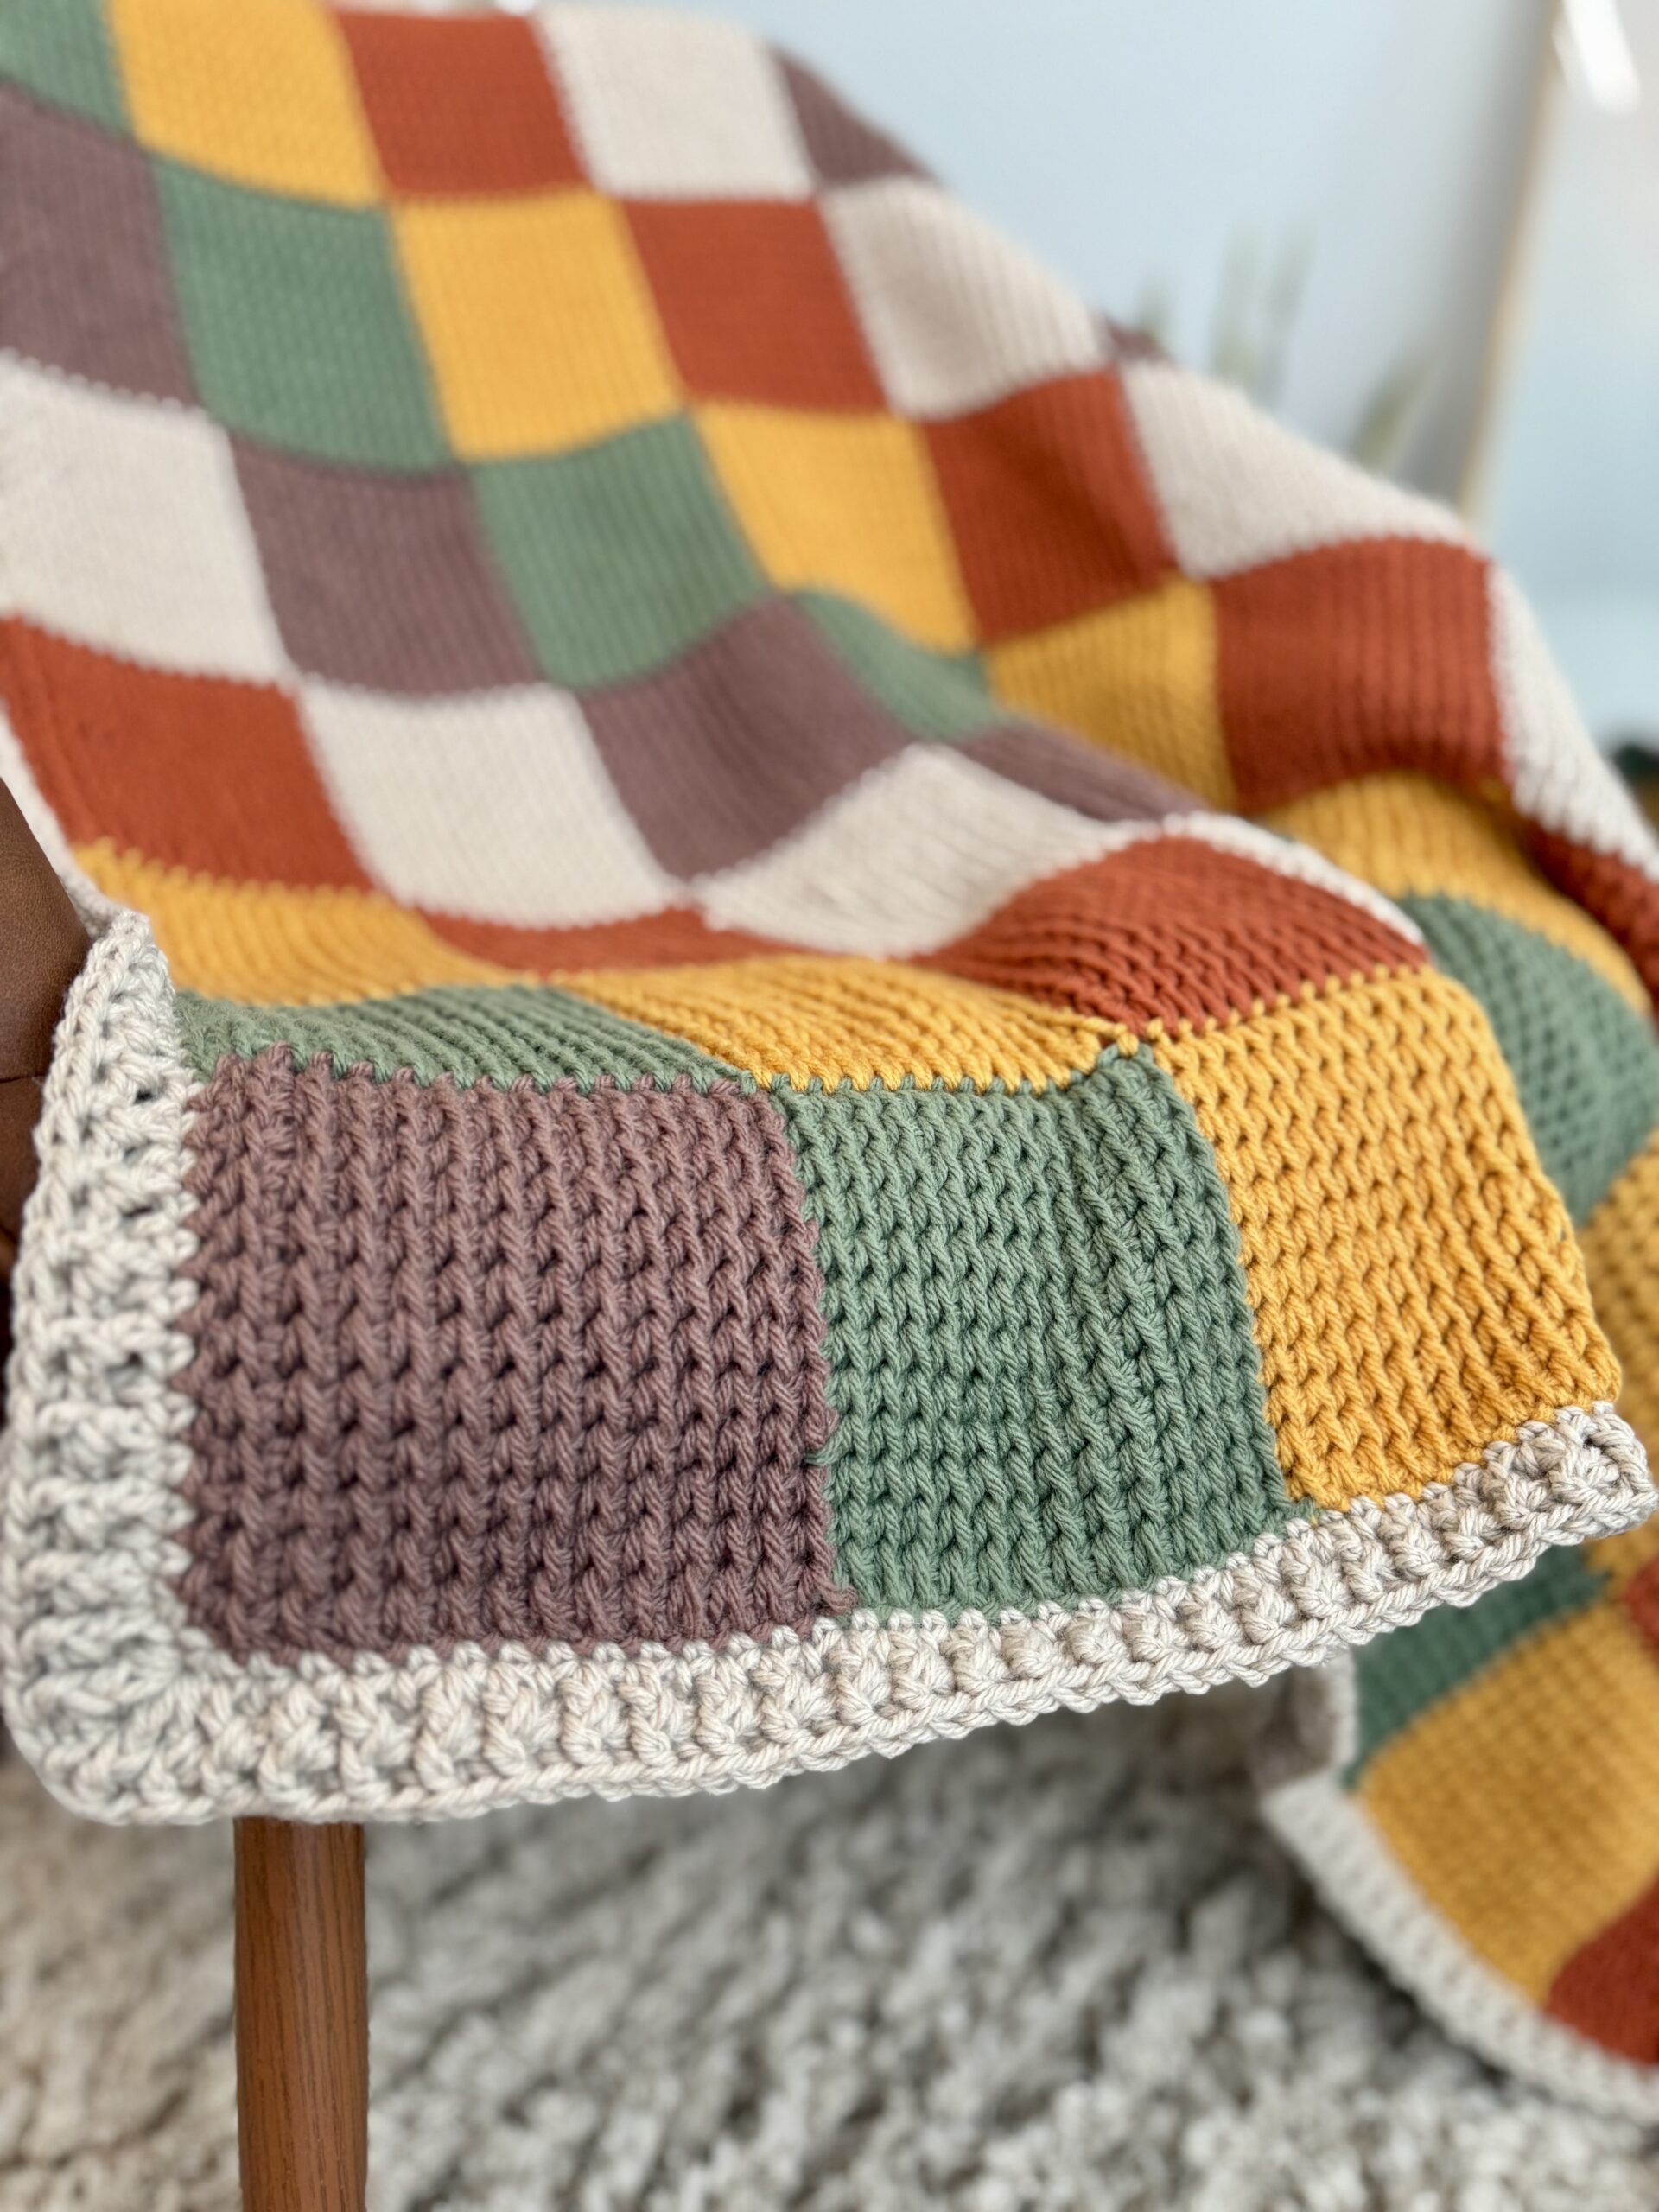
That’s where the Tunisian half double crochet stitch (THDC) comes in. It doesn’t curl, creates a thicker, cozier fabric, and the texture is just incredible.
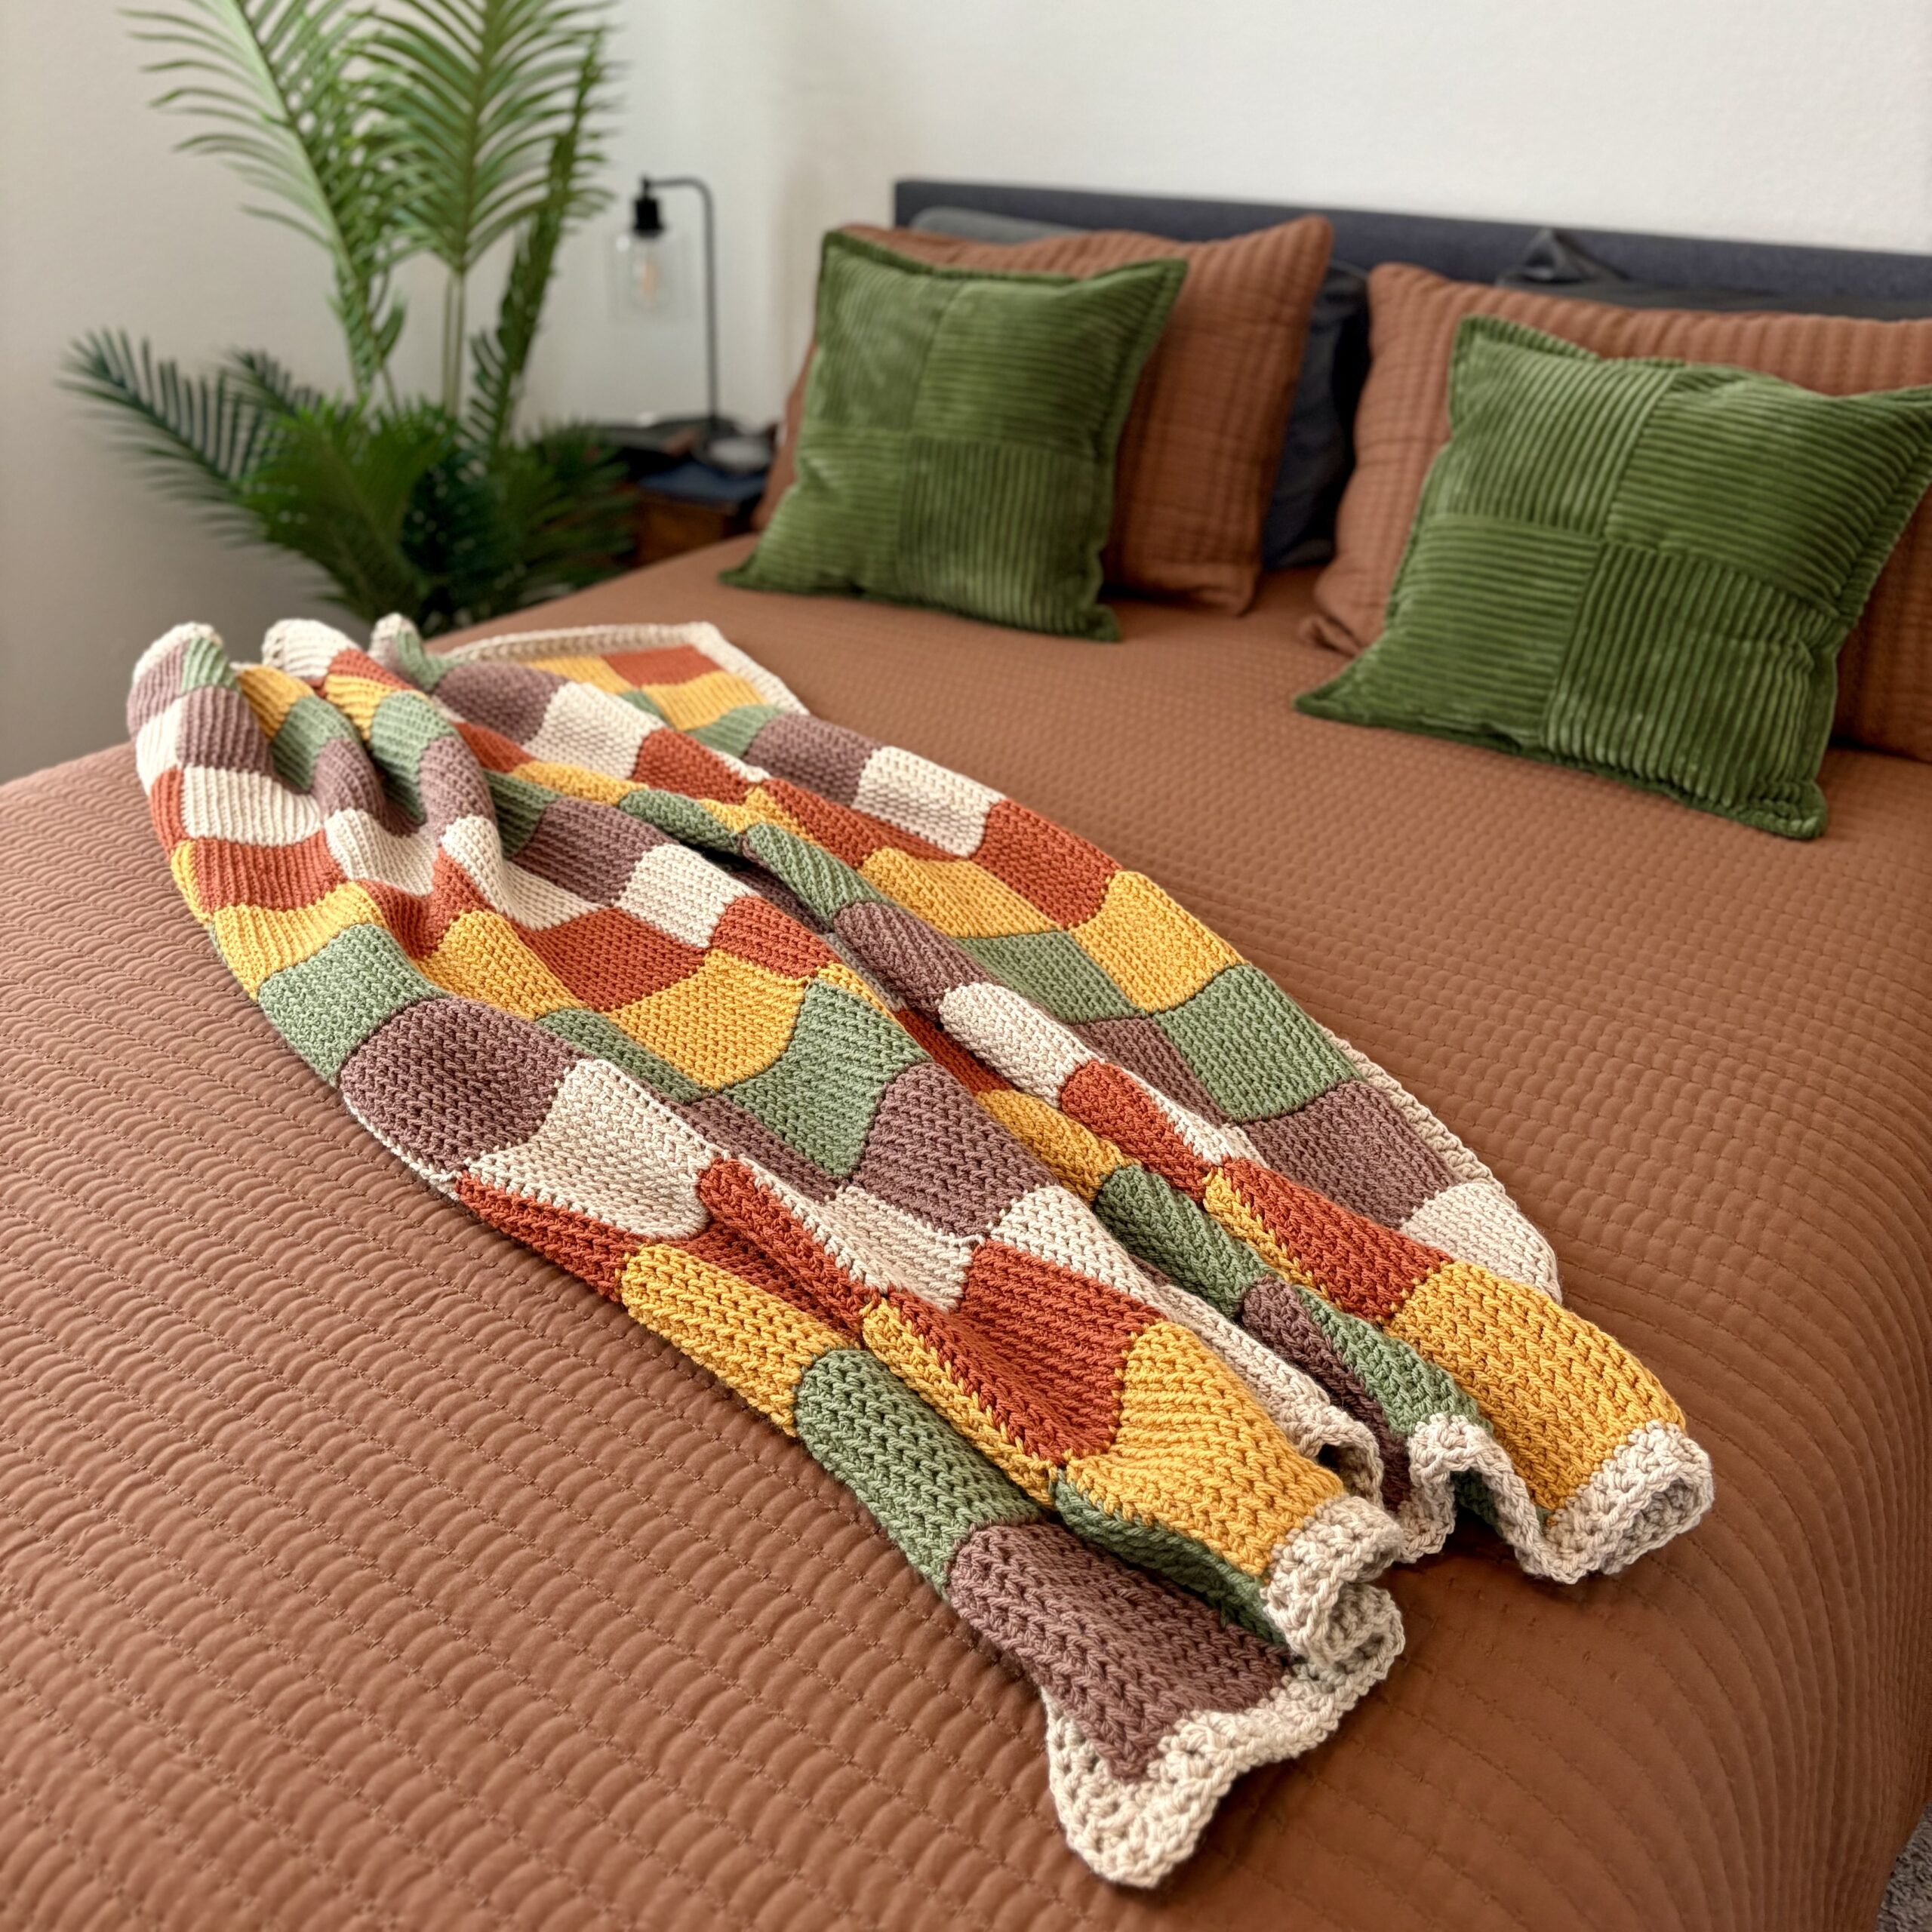
This is my first time designing in the entrelac style, and I couldn’t resist making it in rich fall colors. Of course, the possibilities are endless!

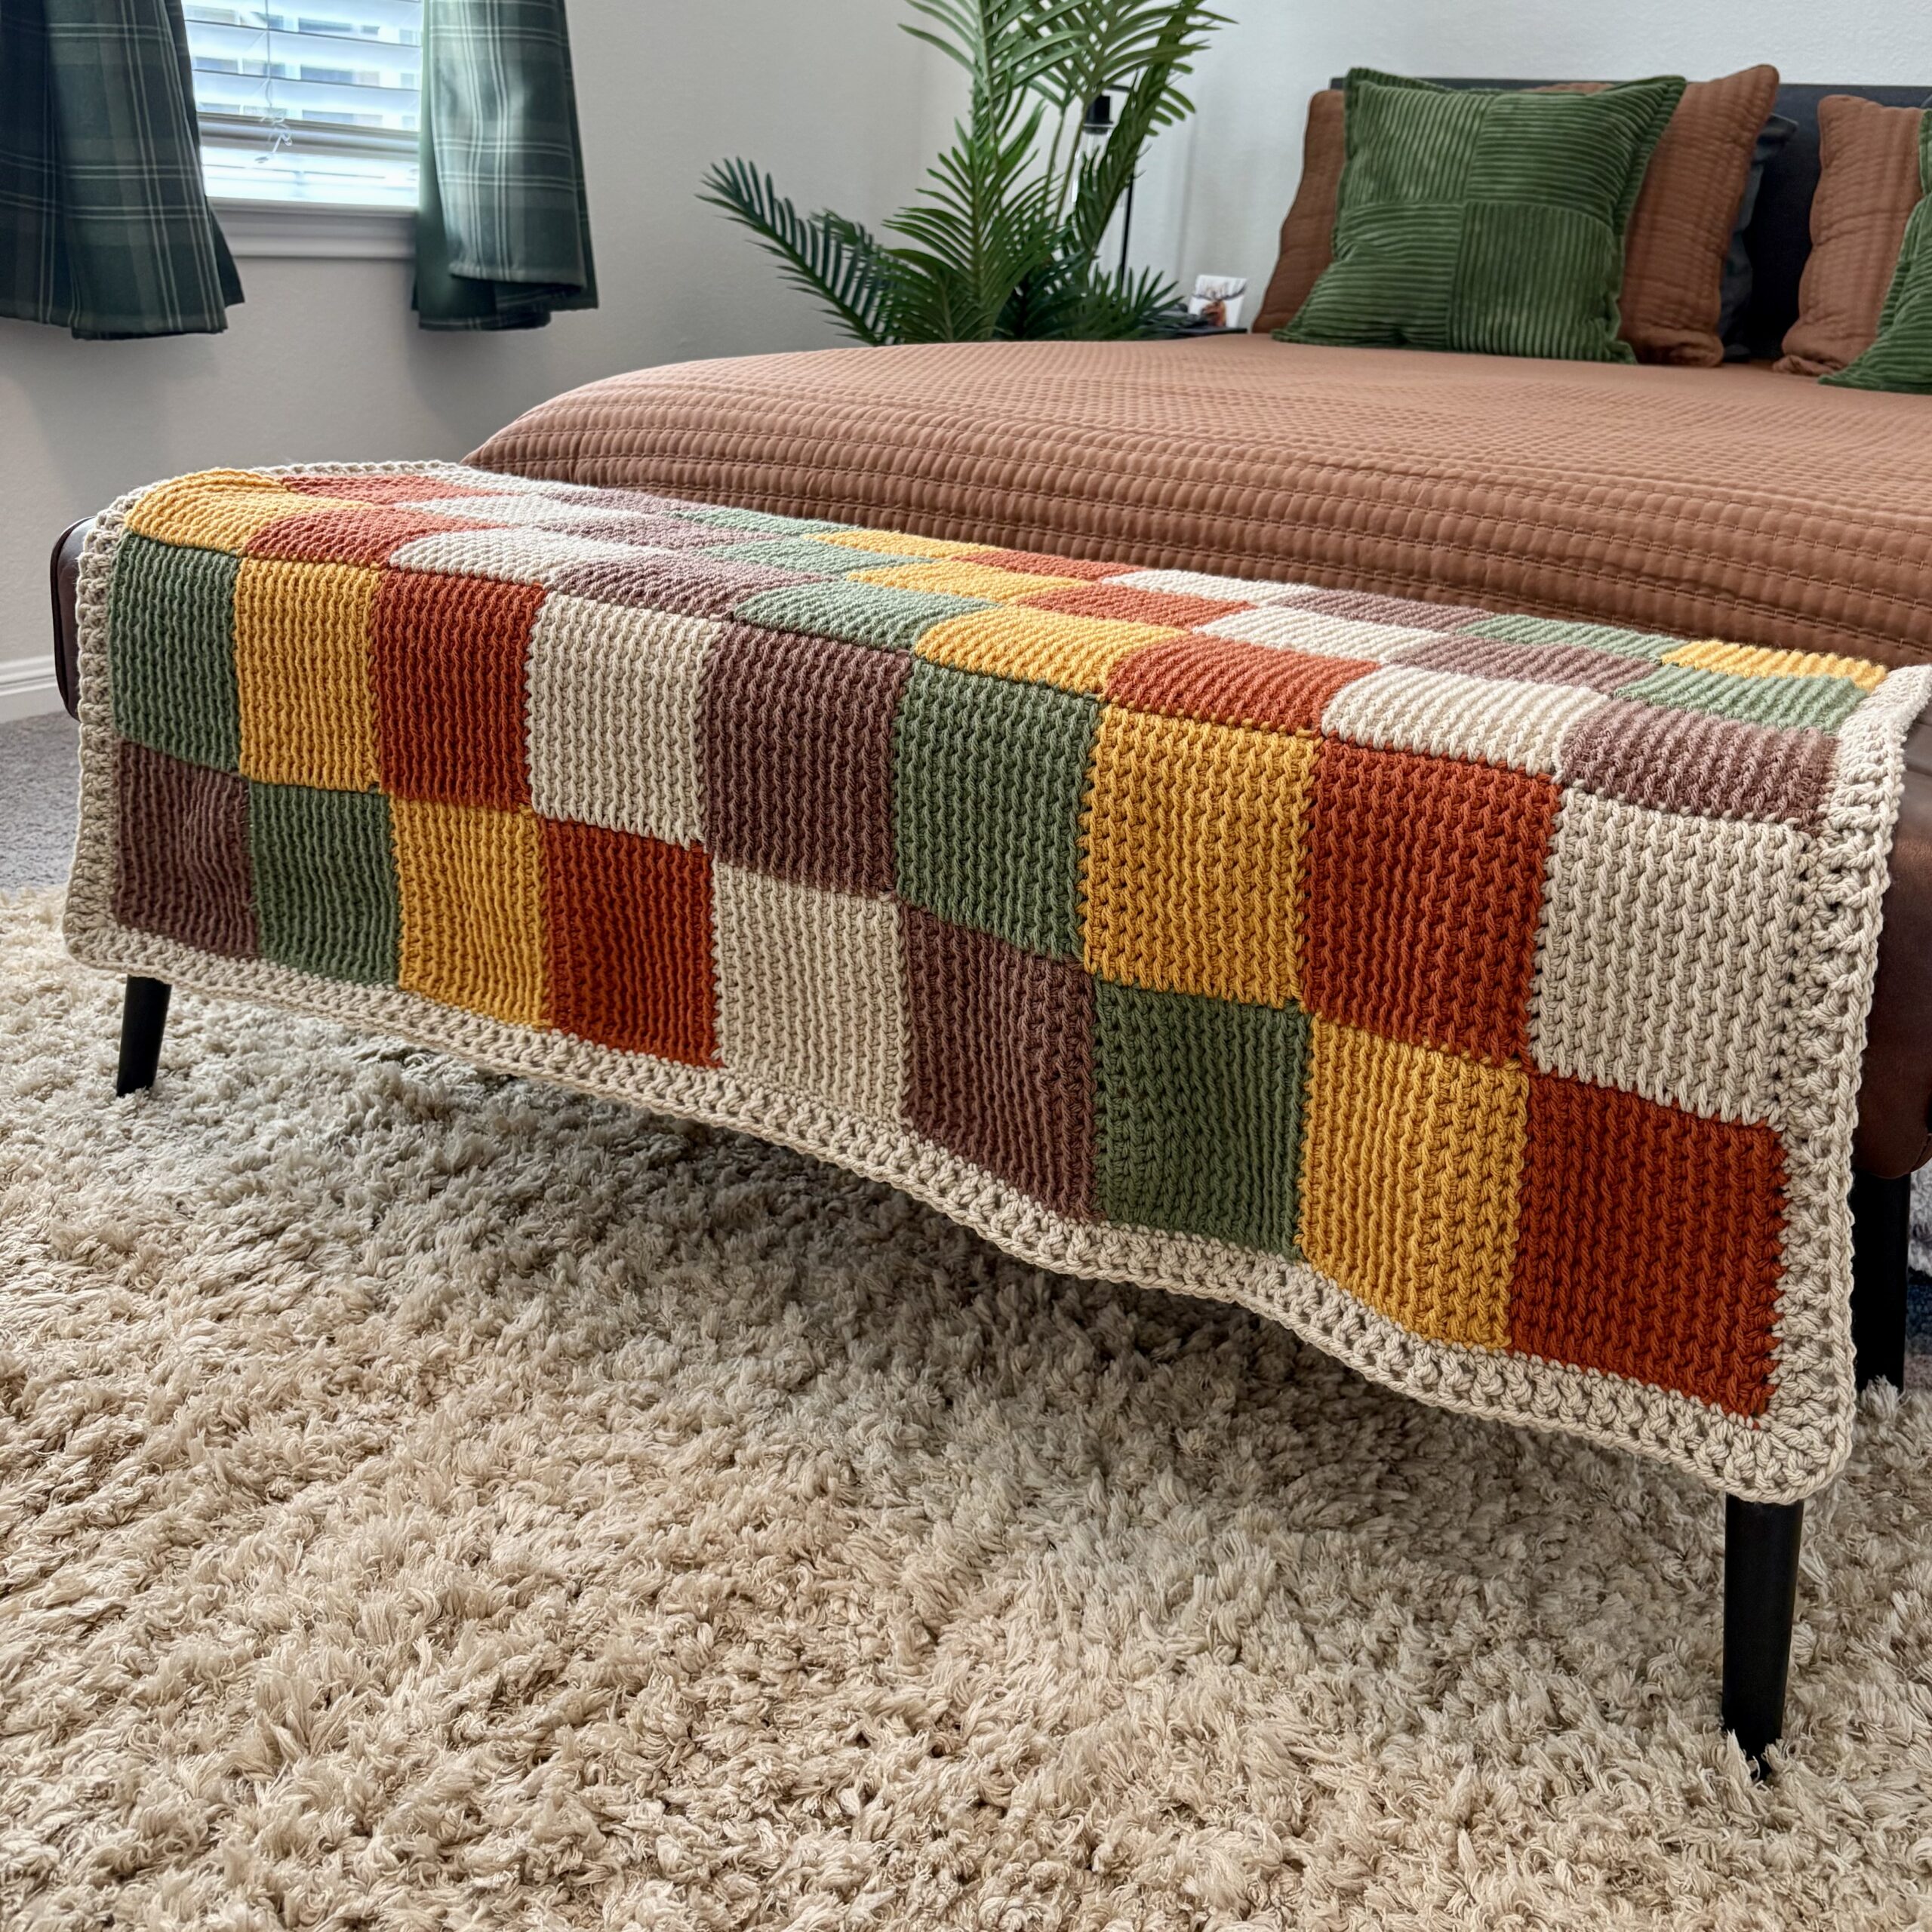
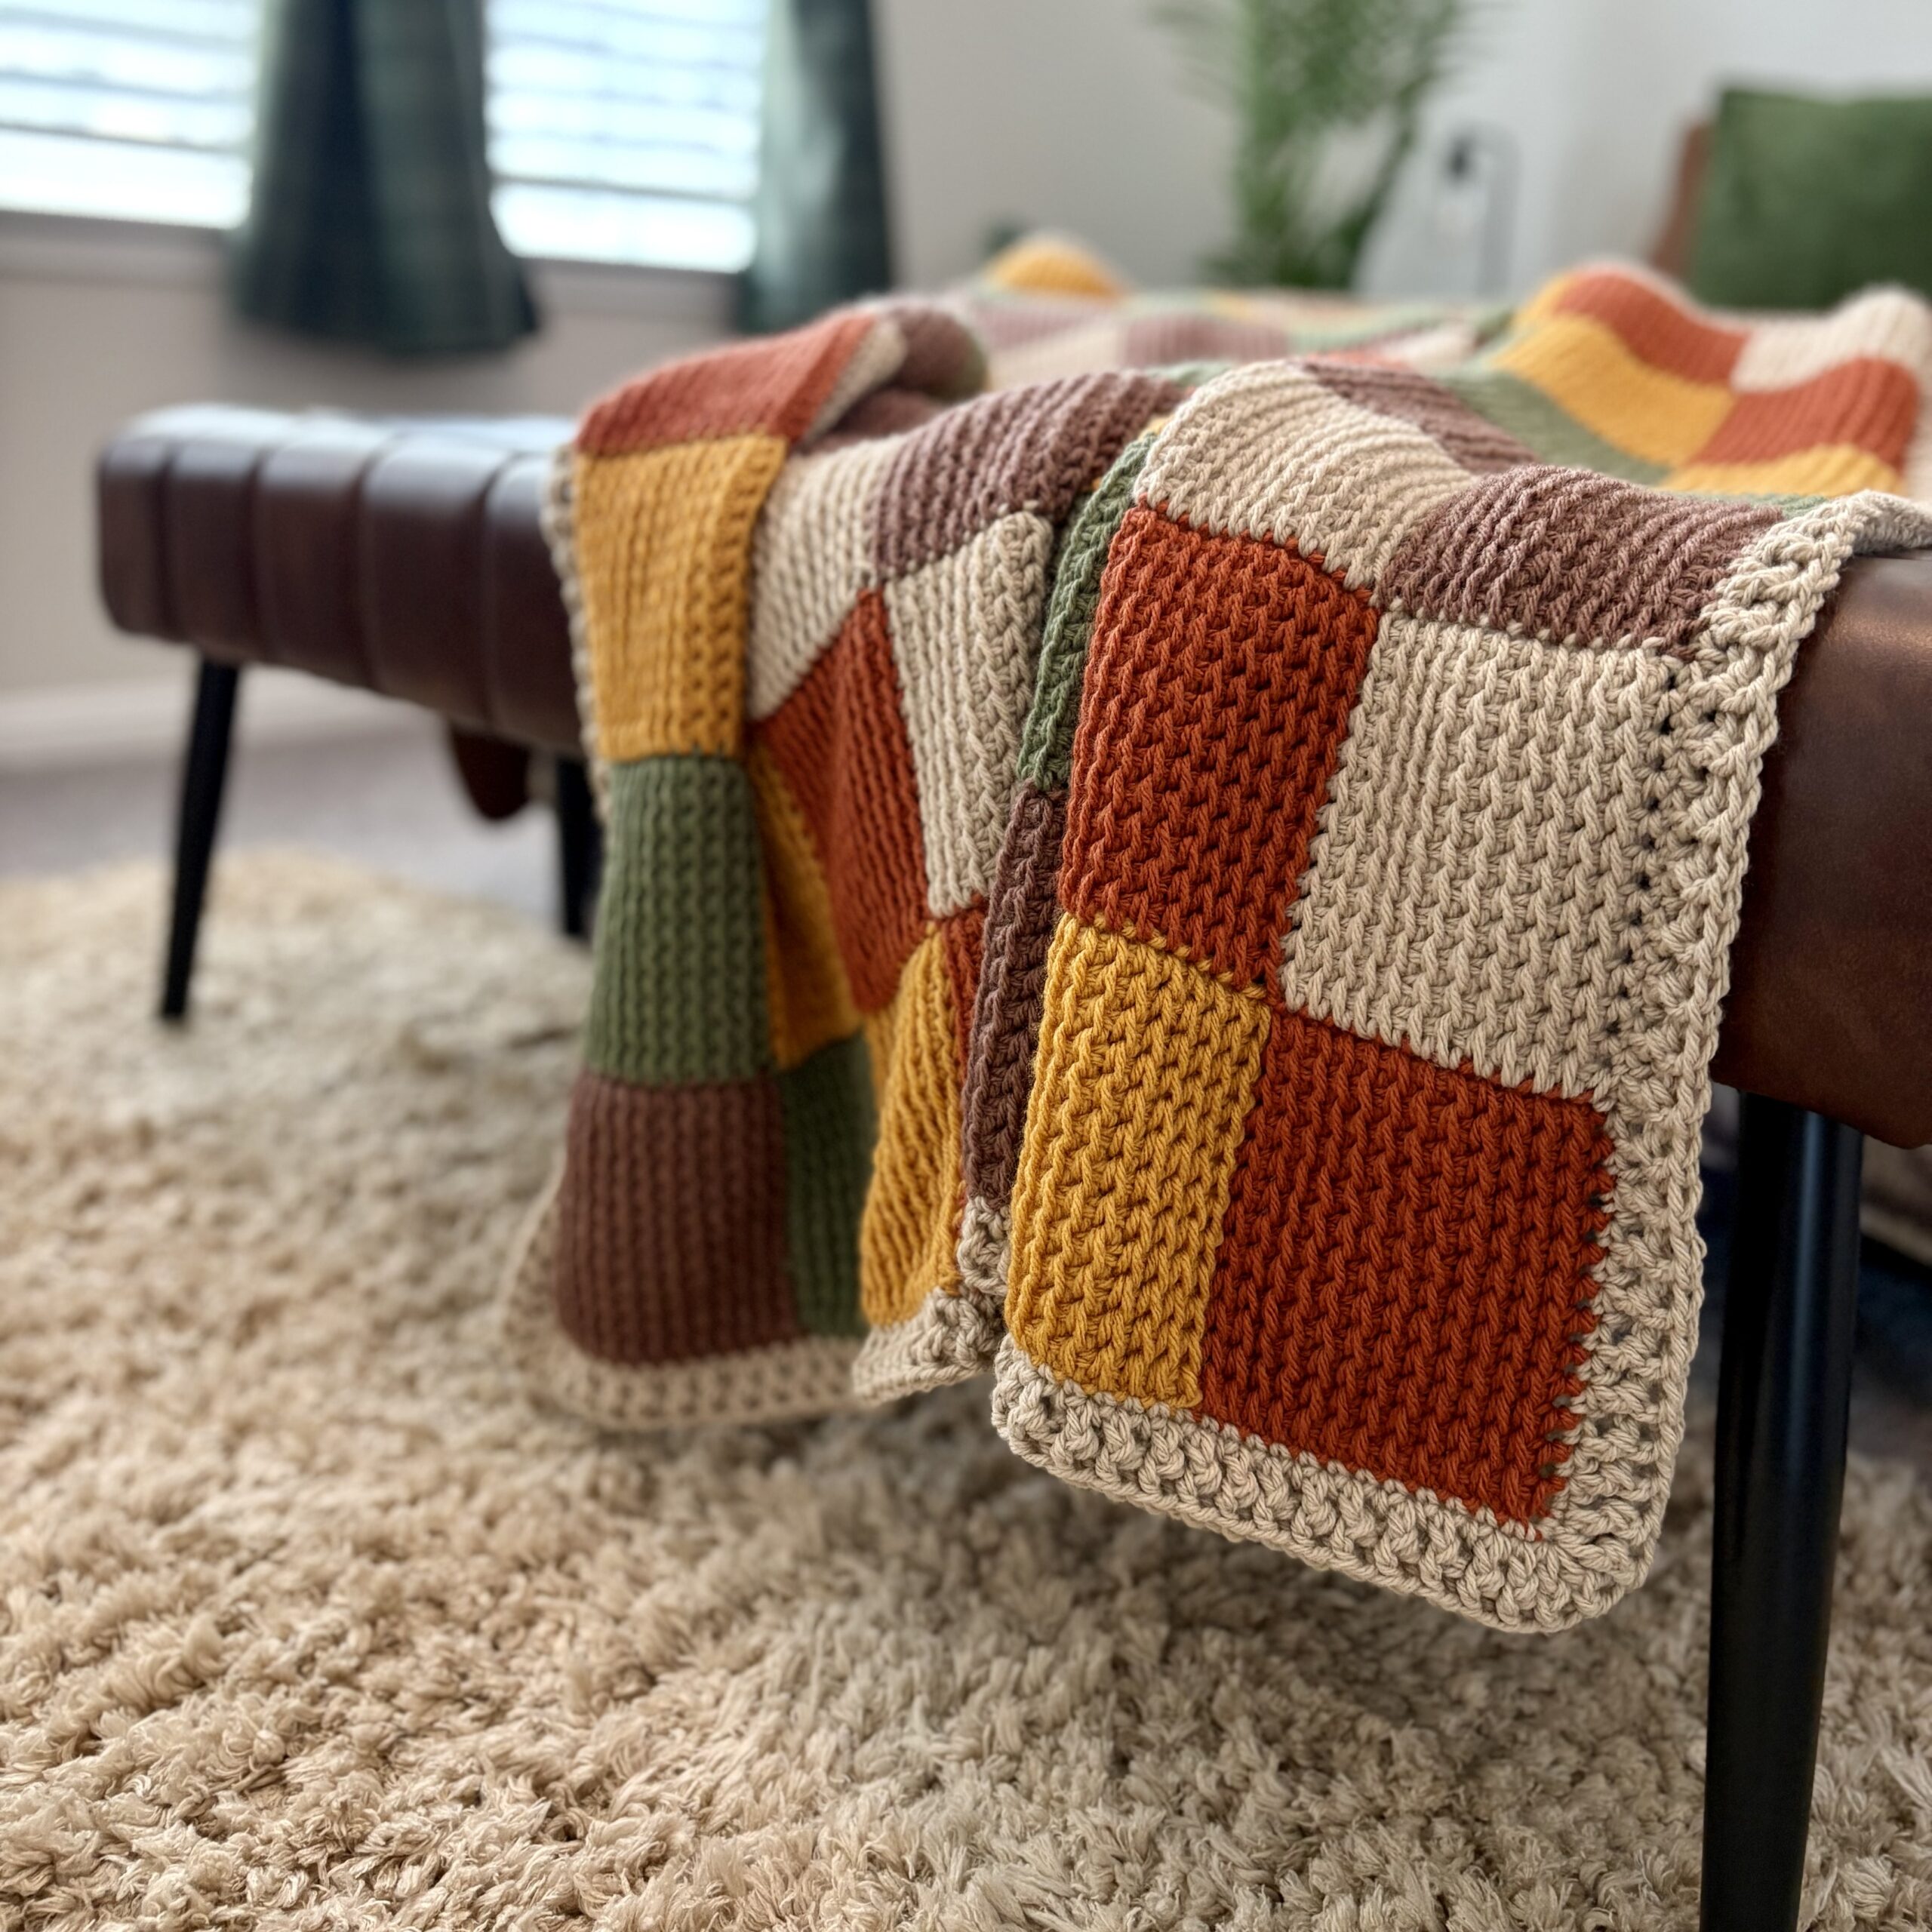
You could work this up in festive Christmas colors, neutrals to match your home decor, brights for a child’s room, or even in your favorite sports or college team colors.
I would consider this an intermediate-level project since it does require prior Tunisian crochet knowledge, but with the nearly hour-long step-by-step video tutorial I created to go along with this pattern, an advanced beginner could absolutely give it a try.
I hope you enjoy making this blanket as much as I enjoyed designing it.
Tunisian Crochet Entrelac Blanket Pattern
This Tunisian crochet blanket is made with the Tunisian half double crochet stitch (THDC) in a classic entrelac style. Worked in squares on the diagonal, it creates a beautiful patchwork effect using five colors of worsted-weight yarn. A simple border finishes it off.
A full step-by-step video tutorial is available below:
*Side note: in the video I said that for the blanket you would chain 21, but I changed the pattern to chain 14 after the video was shot.
Project Supplies
Yarn: 5 colors of worsted-weight yarn:
Colors & Approx. yardage
Yarn A: Pumpkin Spice (Lion Brand Pound of Love): 410 yards
Yarn B: Mustard (Big Twist Value Pound): 430 yards
Yarn C: Olive (Lion Brand Pound of Love): 435 yards
Yarn D: Mocha (Lion Brand Pound of Love): 435 yards
Yarn E: Sugar Cookie (Lion Brand Pound of Love): 995 yards
Hook: 7 mm Tunisian crochet hook for main blanket, 6 mm regular crochet hook for border (This is my favorite set of Tunisian crochet hooks.)
Other: Scissors, tapestry needle.
Where to Purchase Yarn Supplies
Lion Brand Pound of Love Yarn: Amazon.com HERE, LionBrand.com HERE
Big Twist Value Pound+ Yarn (Discontinued): I purchased mine at Mary Maxim HERE; Some other yarn substitutions include Impeccable at Michaels.com HERE, Premiere Anti-Pilling Everyday Worsted at Michaels.com HERE
Dimensions & Gauge
- Finished Size: 42" wide x 56" long
- Gauge: 4 x 4 = 12 sts x 10 rows
Abbreviations
- ch – chain
- yo – yarn over
- THDC – Tunisian half double crochet
- sc single crochet
- dc double crochet
- fpdc front post double crochet
- bpdc back post double crochet
- RetP – Return Pass
- sl st – slip stitch
- st(s) – stitch(es)
Pattern Notes
- This pattern uses Tunisian half double crochet throughout. Shown in video tutorial HERE.
- Work loosely when slip stitching to bind off – you will work into these stitches later.
- Two return passes are used:
- Return Pass 1: ch 1, *yo, pull through 3 loops, rep from * across
- Return Pass 2: *yo, pull through 3 loops across, rep from * across
- Bind Off Row: Work THDC bind off across: insert hook under both vertical bars of the upside down V, yo, pull up a loop, pull through loop on hook.
- Color order repeats: Orange, Yellow, Green, Brown, Cream.
Pattern Directions
*Remember, the "rows" are counted diagonally.
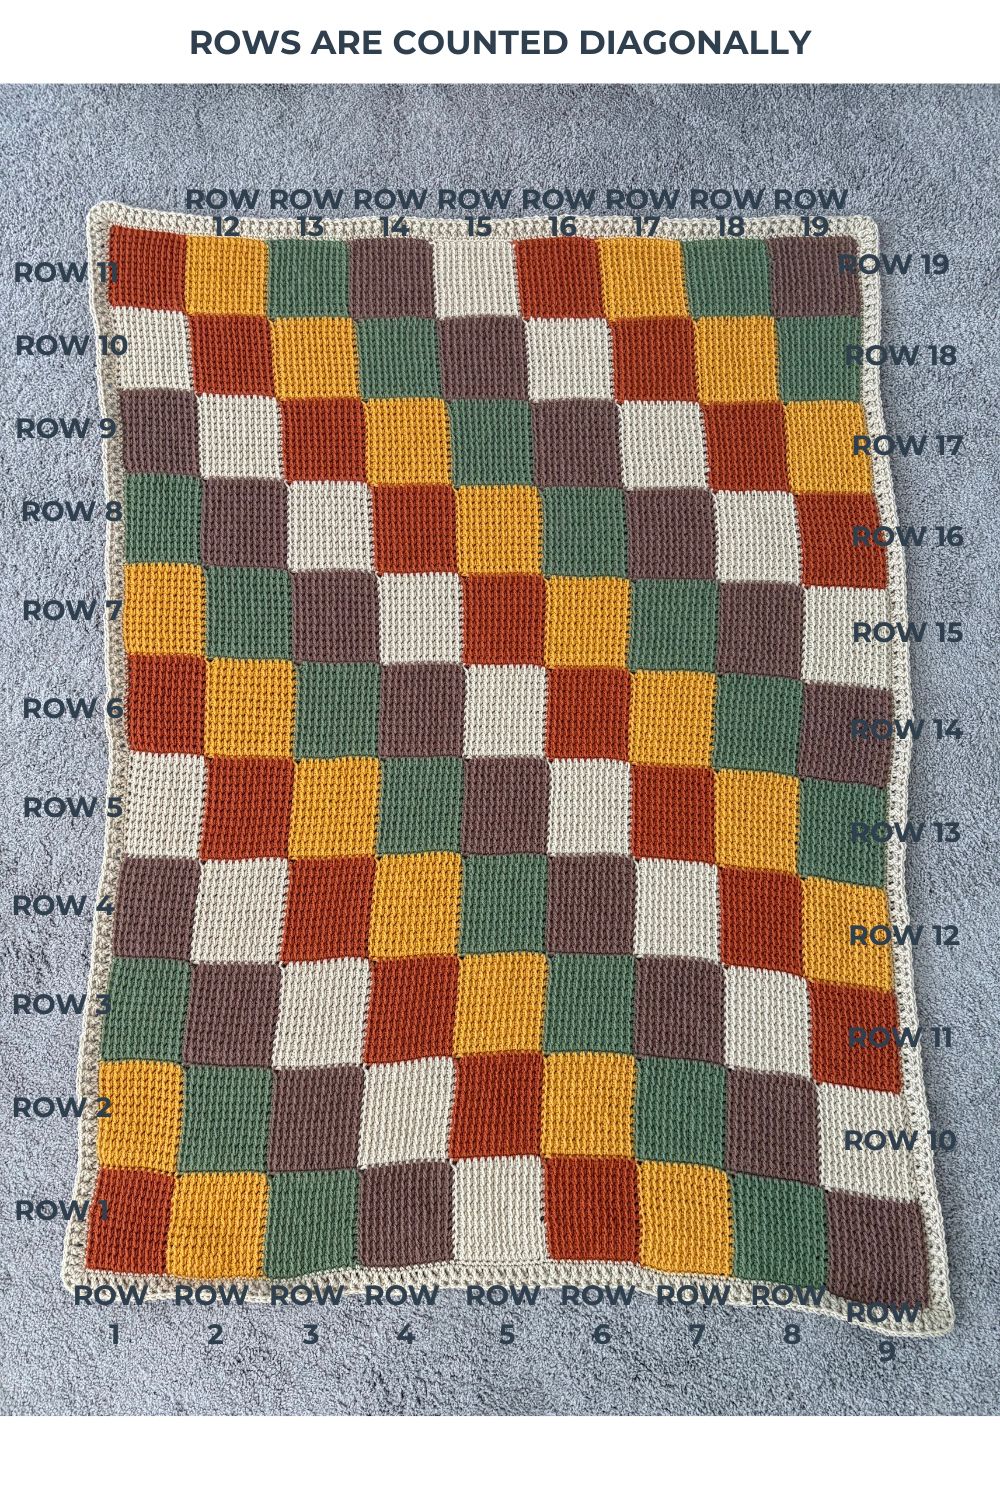
You should have 27 loops on your hook after every forward pass for every row.
Row 1 - Yarn A
- With Yarn A, ch 14.
- Forward pass: *Yo, insert hook in 2nd back bump from hook, pull up loop; rep from * across in each remaining back bump (27 loops on hook). RetP 1.
- Rows 2–12 of square: THDC across. RetP 2.
- Bind Off Row. Fasten off. (Row 1 complete)
Row 2 - Yarn B
- Join new color, Yarn B, with sl st in bottom-right corner of previous square.
- Ch 13. Forward pass: *Yo, insert hook in 2nd back bump from hook, pull up loop; rep from * across in each remaining back bump, yo, insert hook under back bar and 3rd bar of adjacent square's 1st row. RetP 2.
- Rows 2–12 of square: THDC across, joining final st of each row to side of neighboring square. RetP 2.
- Bind Off Row. Last sl st goes under 1st sl st from Row 1 square (Please see video for explanation)
Row 2 cont. Last Square
- *Yo, pull up a loop* in each of the next 12 sl sts along bind off edge, yo, join in last row of square below (27 loops on hook), RetP 1
- Rows 2–12 of square: THDC across. RetP 1.
- Bind Off Row. Fasten off.
Row 3 Yarn C
- Join new color, Yarn C, with sl st in bottom-right corner of previous square.
- Ch 13. Forward pass: *Yo, insert hook in 2nd back bump from hook, pull up loop; rep from * across in each remaining back bump, yo, insert hook under back bar and 3rd bar of adjacent square's 1st row. RetP 2.
- Rows 2–12 of square: THDC across, joining final st of each row to side of neighboring square. RetP 2.
- Bind Off Row. Last sl st goes under 1st sl st from Row 2 square (Please see video for explanation)
Row 3 cont.
- *Yo, pull up a loop* in each of the next 12 sl sts along bind off edge, yo, join in first row of adjacent square (Row 2 square), RetP 2
- Rows 2–12 of square: THDC across. RetP 2.
- Bind Off Row. Last sl st goes under 1st sl st from Row 2 square
Row 3 cont. Last Square
- *Yo, pull up a loop* in each of the next 12 sl sts along bind off edge, yo, join in last row of square below, RetP 1
- Rows 2–12 of square: THDC across. RetP 1.
- Bind Off Row. Fasten off.
Row 4 Yarn D
- Join new color, Yarn D, with sl st in bottom-right corner of previous square.
- Ch 13. Forward pass: *Yo, insert hook in 2nd back bump from hook, pull up loop; rep from * across in each remaining back bump, yo, insert hook under back bar and 3rd bar of adjacent square's 1st row. RetP 2.
- Rows 2–12 of square: THDC across, joining final st of each row to side of neighboring square. RetP 2.
- Bind Off Row. Last sl st goes under 1st sl st from Row 3 square (Please see video for explanation)
Row 4 cont.
- *Yo, pull up a loop* in each of the next 12 sl sts along bind off edge, yo, join in first row of adjacent square (Row 3 square), RetP 2
- Rows 2–12 of square: THDC across. RetP 2.
- Bind Off Row. Last sl st goes under 1st sl st from Row 3 square
Row 4 cont.
- *Yo, pull up a loop* in each of the next 12 sl sts along bind off edge, yo, join in first row of adjacent square (Row 3 square), RetP 2
- Rows 2–12 of square: THDC across. RetP 2.
- Bind Off Row. Last sl st goes under 1st sl st from Row 3 square
Row 4 cont. Last Square
- *Yo, pull up a loop* in each of the next 12 sl sts along bind off edge, yo, join in last row of square below, RetP 1
- Rows 2–12 of square: THDC across. RetP 1.
- Bind Off Row. Fasten off.
Row 5 Yarn E
- Join new color, Yarn E, with sl st in bottom-right corner of previous square.
- Ch 13. Forward pass: *Yo, insert hook in 2nd back bump from hook, pull up loop; rep from * across in each remaining back bump, yo, insert hook under back bar and 3rd bar of adjacent square's 1st row. RetP 2.
- Rows 2–12 of square: THDC across, joining final st of each row to side of neighboring square. RetP 2.
- Bind Off Row. Last sl st goes under 1st sl st from Row 4 square (Please see video for explanation)
Row 5 cont.
- *Yo, pull up a loop* in each of the next 12 sl sts along bind off edge, yo, join in first row of adjacent square (Row 4 square), RetP 2
- Rows 2–12 of square: THDC across. RetP 2.
- Bind Off Row. Last sl st goes under 1st sl st from Row 4 square
Row 5 cont.
- *Yo, pull up a loop* in each of the next 12 sl sts along bind off edge, yo, join in first row of adjacent square (Row 4 square), RetP 2
- Rows 2–12 of square: THDC across. RetP 2.
- Bind Off Row. Last sl st goes under 1st sl st from Row 4 square
Row 5 cont.
- *Yo, pull up a loop* in each of the next 12 sl sts along bind off edge, yo, join in first row of adjacent square (Row 4 square), RetP 2
- Rows 2–12 of square: THDC across. RetP 2.
- Bind Off Row. Last sl st goes under 1st sl st from Row 4 square
Row 5 cont. Last Square
- *Yo, pull up a loop* in each of the next 12 sl sts along bind off edge, yo, join in last row of square below, RetP 1
- Rows 2–12 of square: THDC across. RetP 1.
- Bind Off Row. Fasten off.
Rows 6 - 9 Yarns A,B,C,D
Repeat Row 5 instructions, increasing by one square every row.
Row 10 Yarn E
You are no longer increasing the width, only the length of the blanket
- Attach new yarn to beginning of bind off edge on Row 9, you should have one loop on your hook *Yo, pull up a loop* in each of the next 12 sl sts along bind off edge, yo, join in first row of adjacent square (Row 9), RetP 2
- Rows 2–12 of square: THDC across. RetP 2.
- Bind Off Row. Last sl st goes under 1st sl st from Row 9 square
*Row 10 cont.
- *Yo, pull up a loop* in each of the next 12 sl sts along bind off edge, yo, join in first row of adjacent square (Row 9 square), RetP 2
- Rows 2–12 of square: THDC across. RetP 2.
- Bind Off Row. Last sl st goes under 1st sl st from Row 9 square
Row 10 cont.
*Repeat these steps until you get to the last square
Row 10 cont. - Last Square
- *Yo, pull up a loop* in each of the next 12 sl sts along bind off edge, yo, join in last row of square below, RetP 1
- Rows 2–12 of square: THDC across. RetP 1.
- Bind Off Row. Fasten off.
Row 11 Yarn A
Repeat Row 10 instructions
You will now be decreasing each row by one square.
Row 12 Yarn B
You are no longer increasing the length of the blanket; you are only filling in with the remaining squares.
- Attach new yarn to beginning of bind off edge on Row 11, you should have one loop on your hook, *Yo, pull up a loop* in each of the next 12 sl sts along bind off edge, yo, join in first row of adjacent square (Row 11), RetP 2
- Rows 2–12 of square: THDC across. RetP 2.
- Bind Off Row. Last sl st goes under 1st sl st from Row 11 square
*Row 12 cont.
- *Yo, pull up a loop* in each of the next 12 sl sts along bind off edge, yo, join in first row of adjacent square (Row 11 square), RetP 2
- Rows 2–12 of square: THDC across. RetP 2.
- Bind Off Row. Last sl st goes under 1st sl st from Row 11 square
Row 12 cont.
*Repeat these steps until you get to the last square
Row 12 cont. - Last square
- *Yo, pull up a loop* in each of the next 12 sl sts along bind off edge, yo, join in first row of adjacent square (Row 11 square), RetP 2
- Rows 2–12 of square: THDC across. RetP 2.
- Bind Off Row. Last sl st goes under 1st sl st from Row 11 square. Fasten off.
Rows 13 - 18
Repeat Row 12, decreasing by one square every row
Row 19 - Last Square (You did it! Congrats 😊)
- Attach new yarn to beginning of bind off edge on Row 18, you should have one loop on your hook, *Yo, pull up a loop* in each of the next 12 sl sts along bind off edge, yo, join in first row of adjacent square (Row 18), RetP 2
- Rows 2–12 of square: THDC across. RetP 2.
- Bind Off Row. Last sl st goes under 1st sl st from Row 18 square
- Fasten off!
Weave in all ends and continue to border instructions.
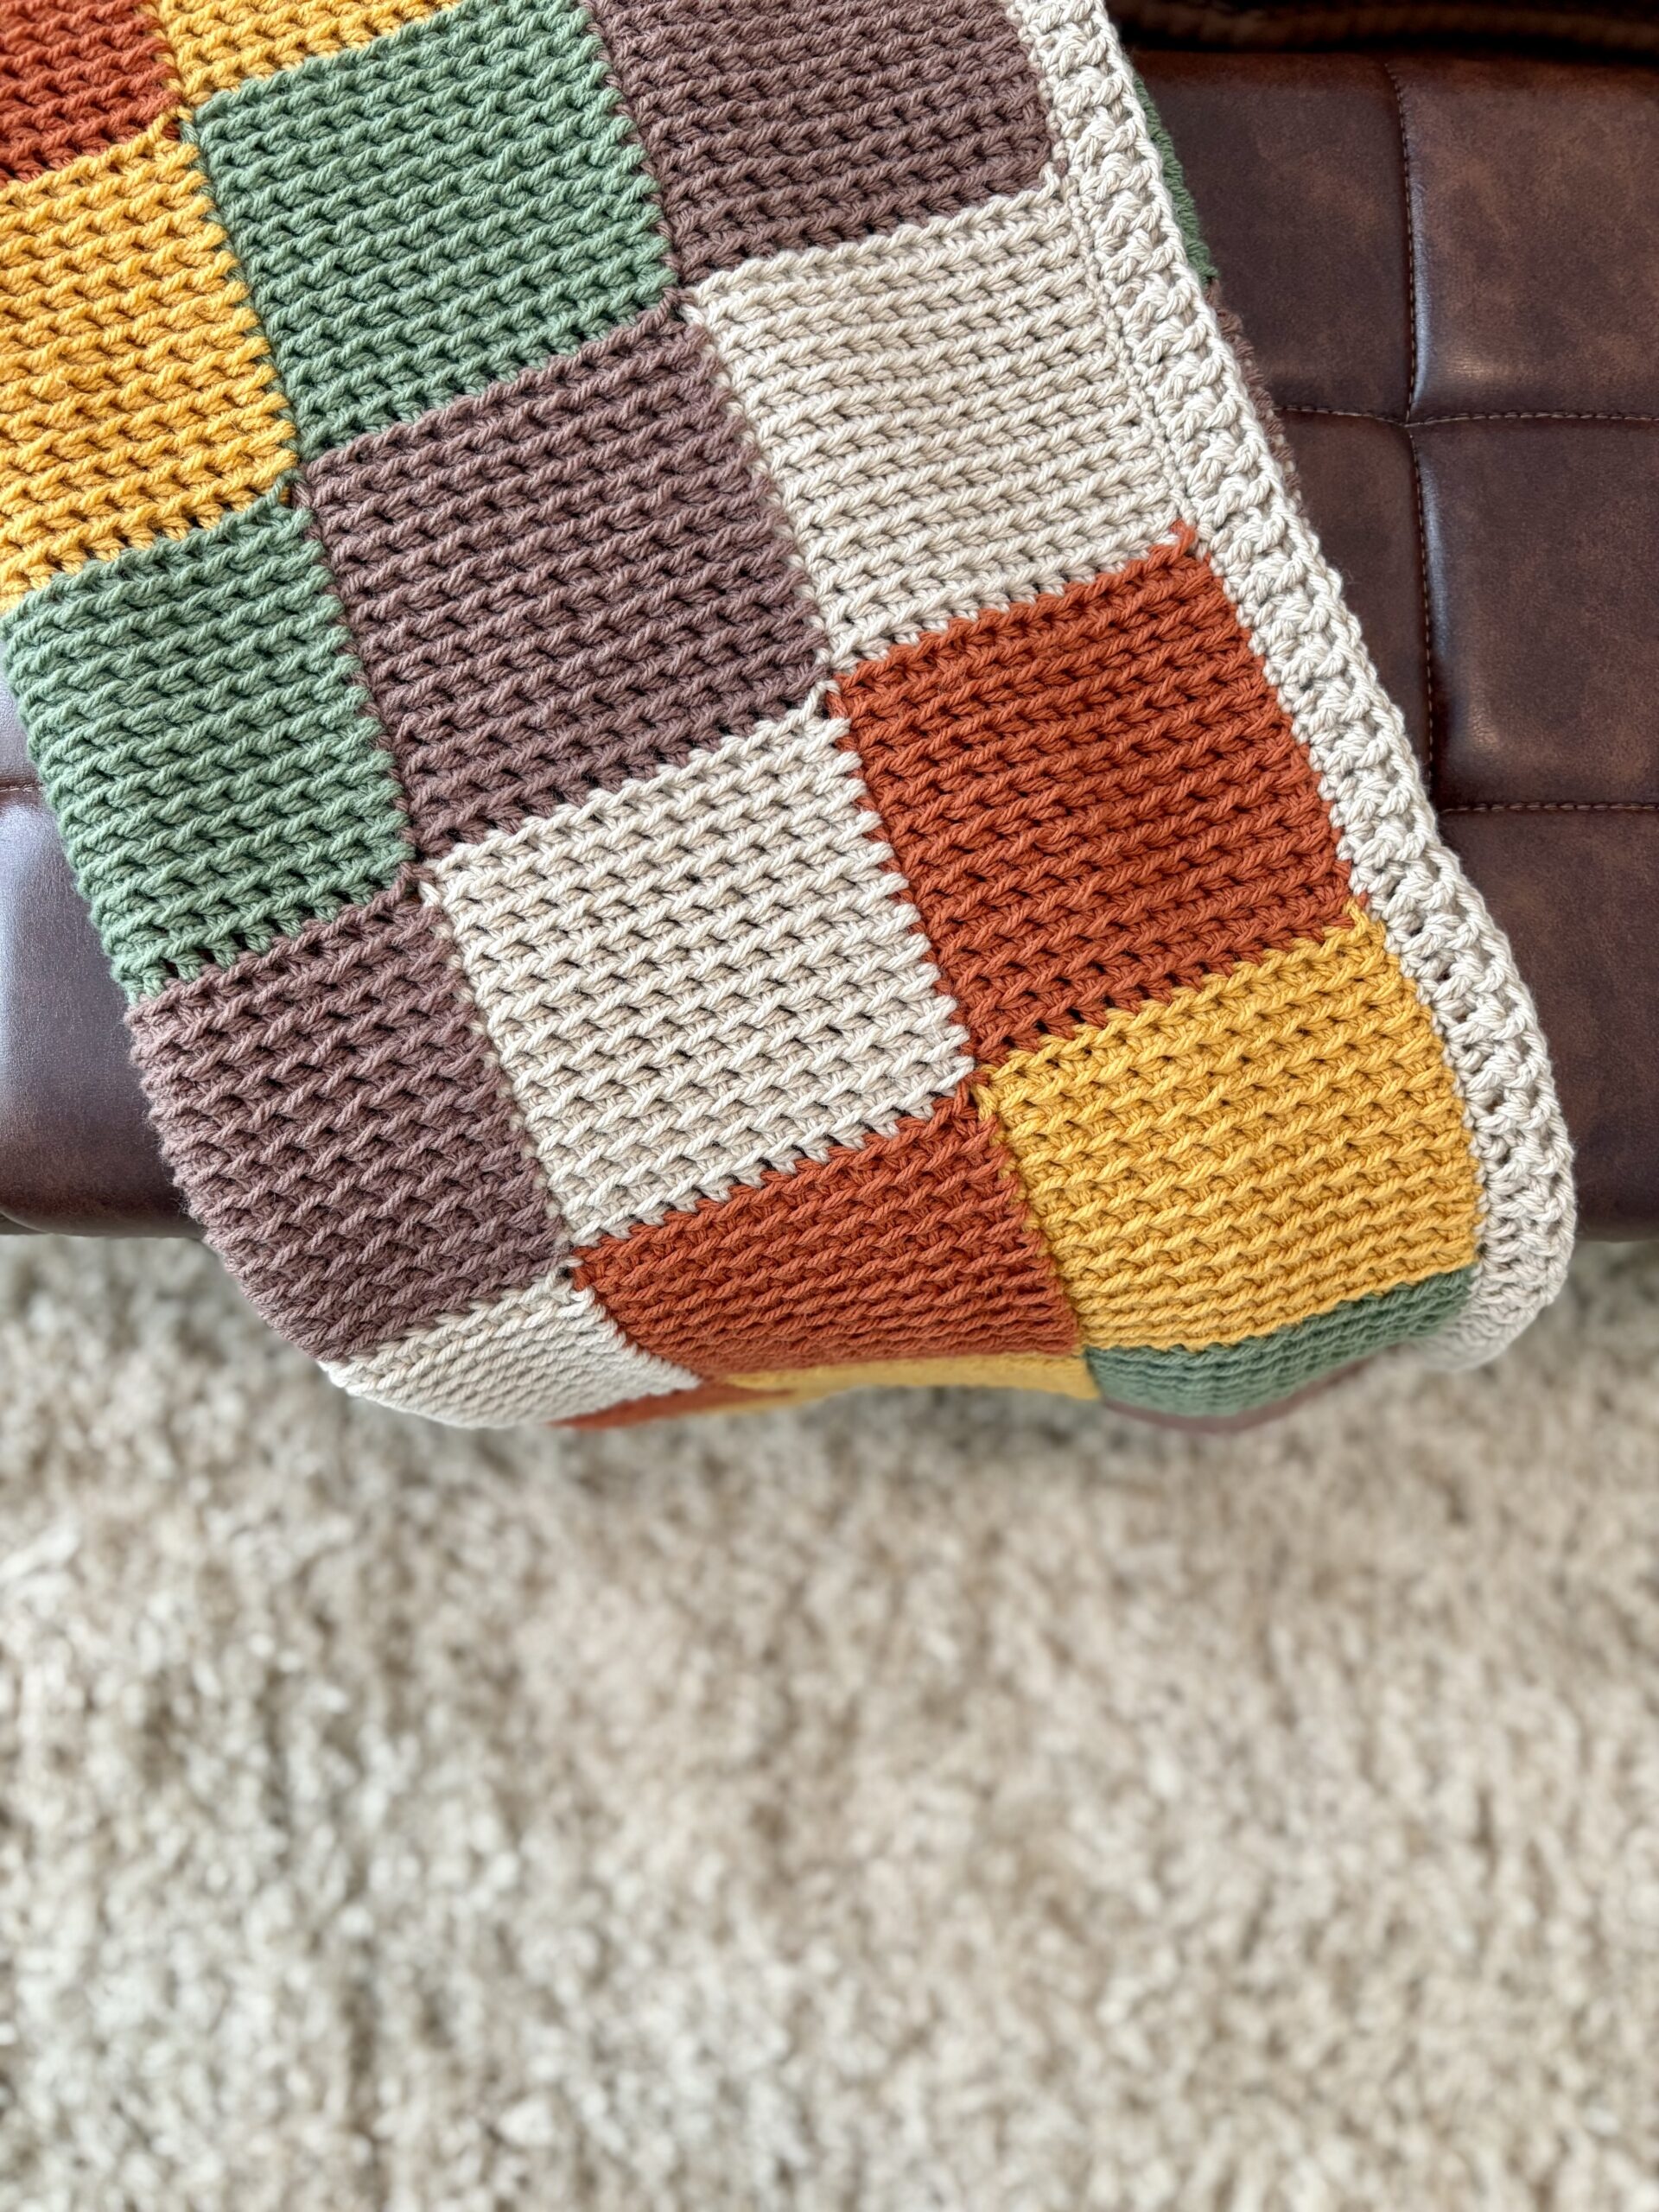
Border Instructions
For the single crochet border section watch the video tutorial here
For the dc, fpdc and bpdc border section, watch the video tutorial here
Switch to 6 mm regular crochet hook for border
Attach Sugar Cookie yarn in corner of blanket
Round 1
ch 1, 2sc in same space, sc in each stitch down edge to corner, 2sc in last stitch, 2sc in first stitch; sc in each st across, 2sc in last st, 2sc in first stitch, sc in each stitch along edge, 2sc in last stitch, 2sc in first stitch, sc in each st across, 2sc in last stitch, slip stitch to first sc
For the rest of the border, follow the instructions in this video.
Here are the written-out instructions:
Round 2
work dc in corner, work 3 more dc in same st, dc in next st, dc across to next corner
*work 7 dc in corner, dc in next st, dc across to next corner*, rep from * to * around blanket until you get to the first dc worked (which is a total of 4 dc in that corner), work 3 dc in same st as first dc (7 dc total in last corner), sl st to first dc, ch 2 (does not count as st)
Round 3
fpdc in first st, *bpdc in next st, fpdc in next st*, rep from * to * around entire blanket, sl st to first st of row, fasten off, weave in ends
Want More Tunisian Half Double Crochet Patterns?
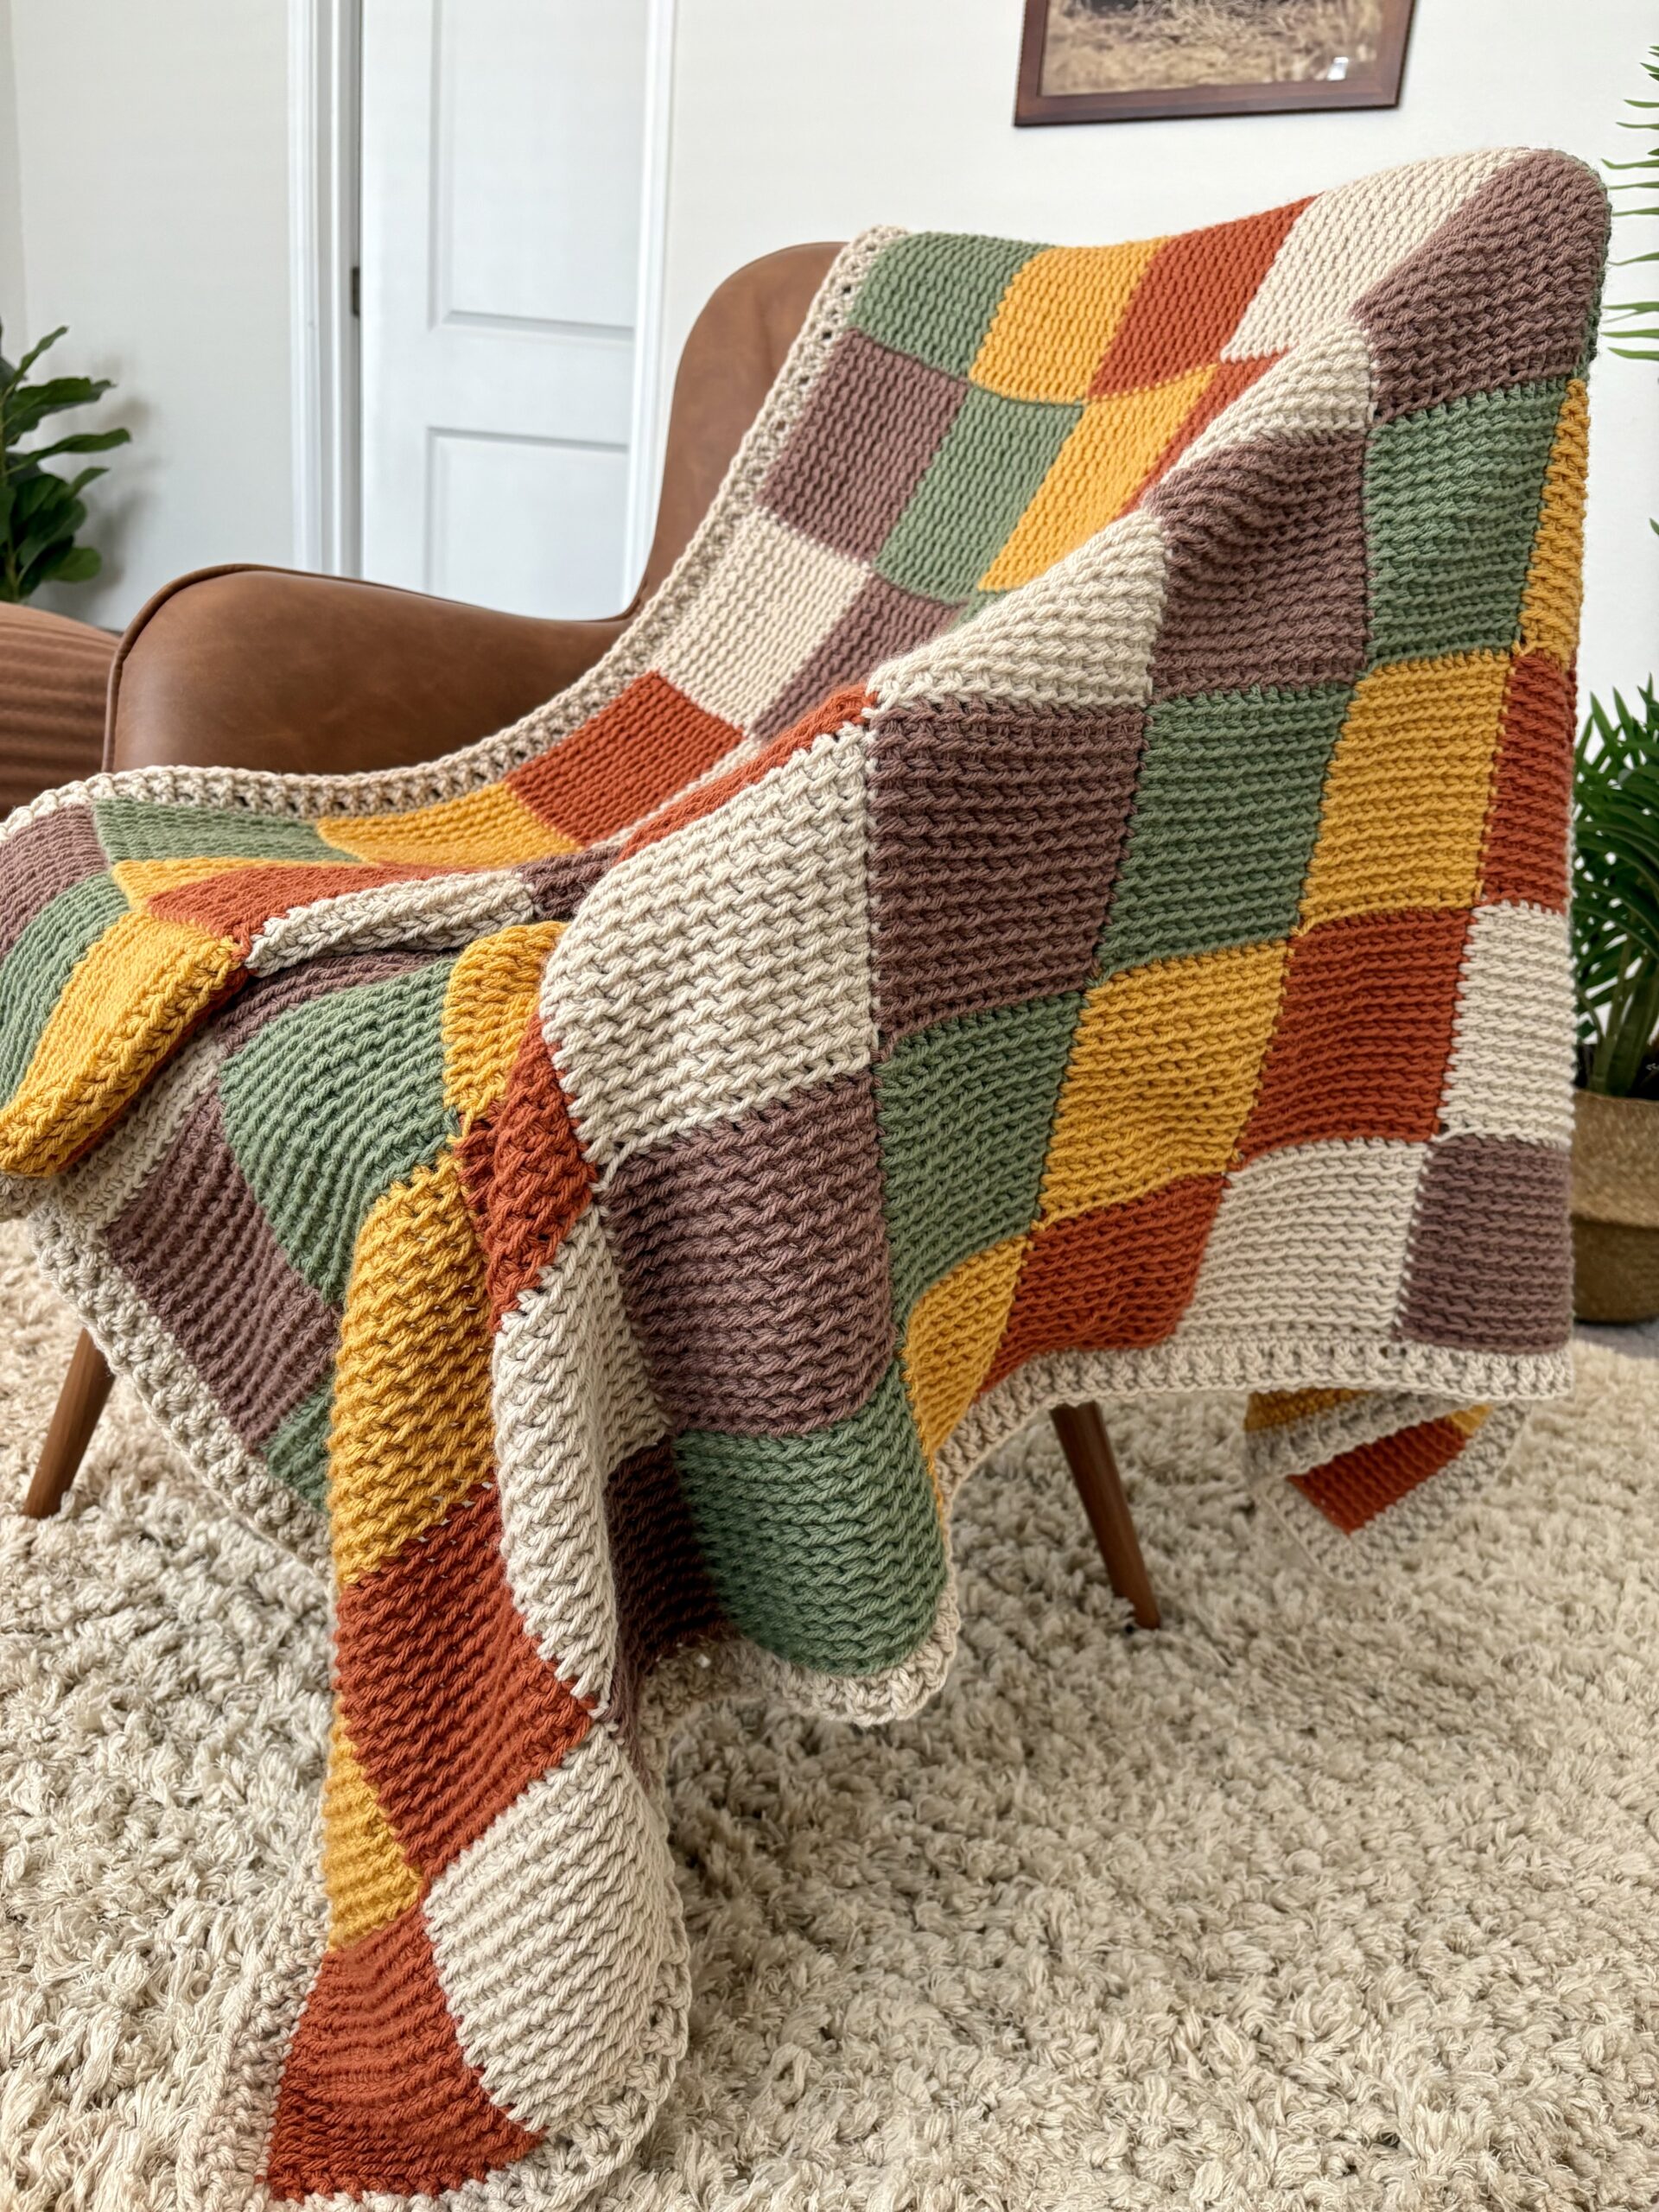
Congratulations on finishing your Tunisian Crochet Entrelac Blanket!
I hope this project has brought you as much joy and satisfaction as it brought me while designing and crocheting it.
If you loved working with the Tunisian half double crochet stitch, I’d love for you to check out some of my other patterns using this same technique:
- Tunisian Crochet Fall Stripes Blanket
- Tunisian Crochet Blanket Scarf
- Quinn Camping Blanket
- Tunisian Crochet Ear Warmer Pattern
Each of these projects highlights the versatility of the THDC stitch and gives you even more ways to enjoy its curl-free, cozy texture.

