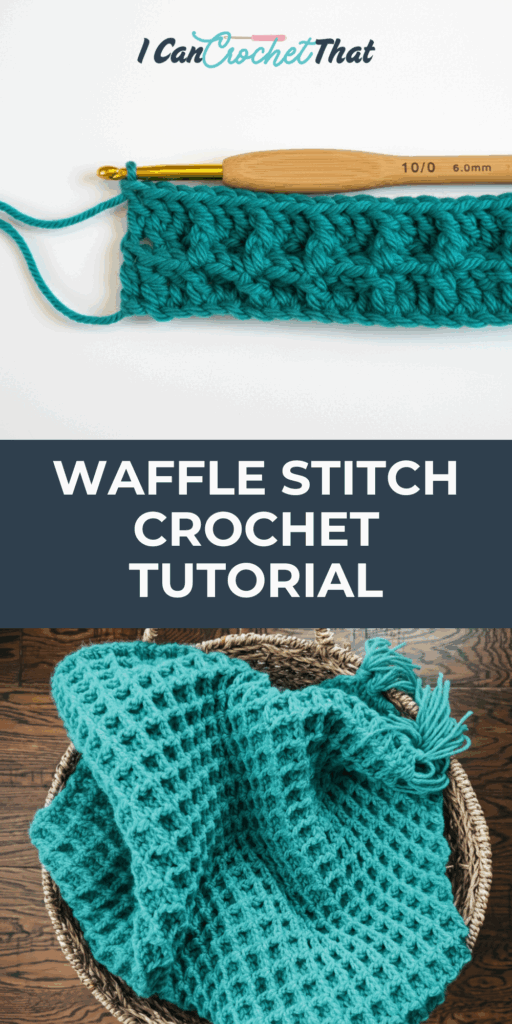
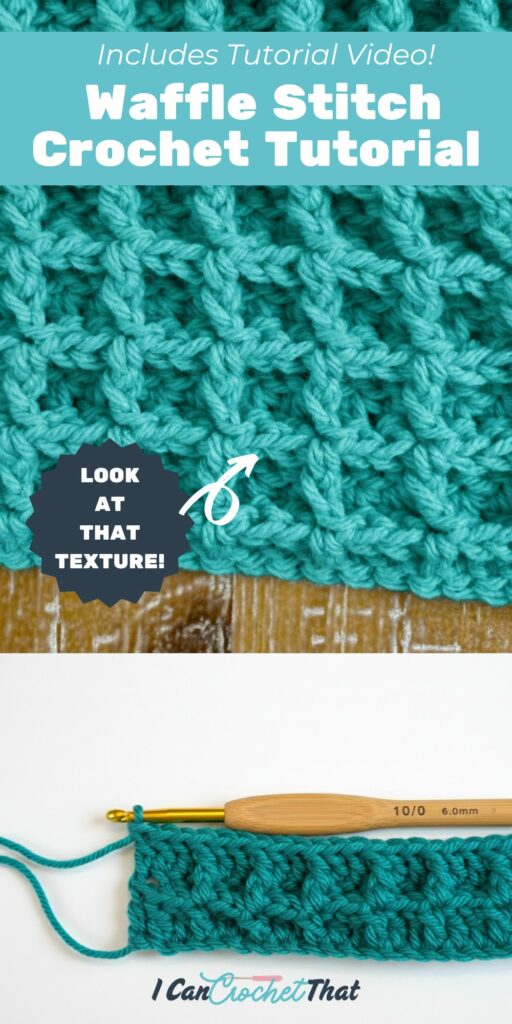
Welcome to our step-by-step tutorial on the waffle stitch, one of the most cherished stitches in the crochet community! It's definitely one of our favorites.

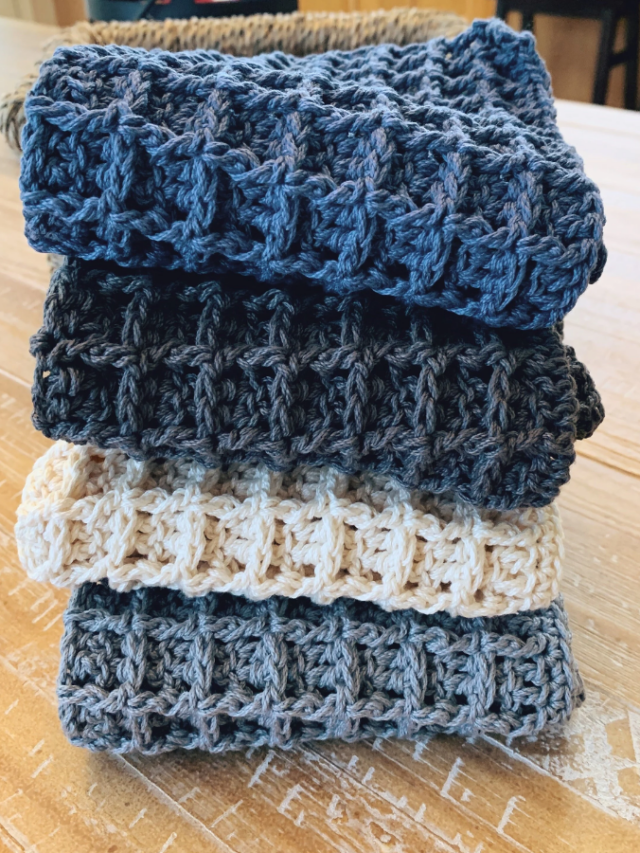
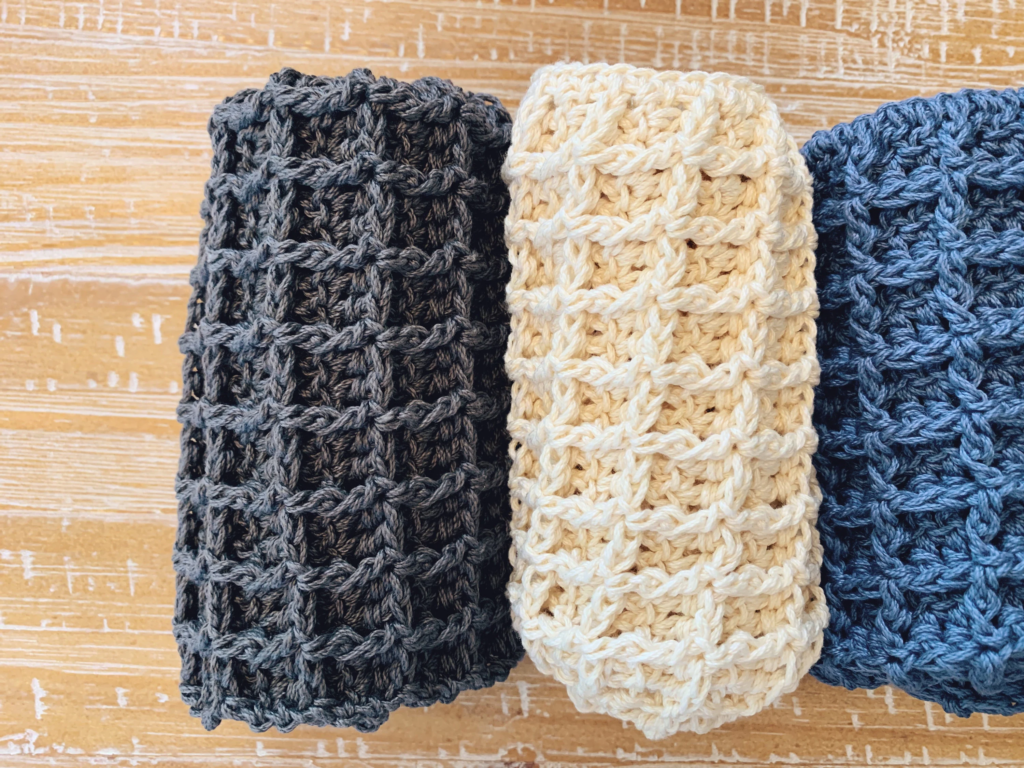
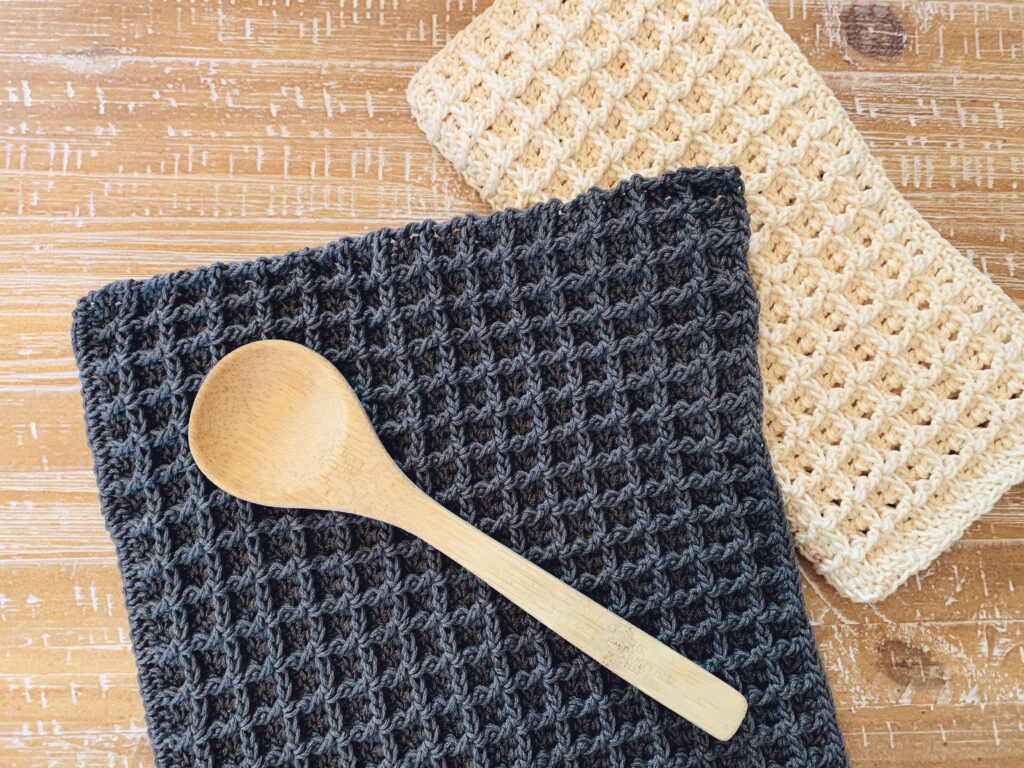
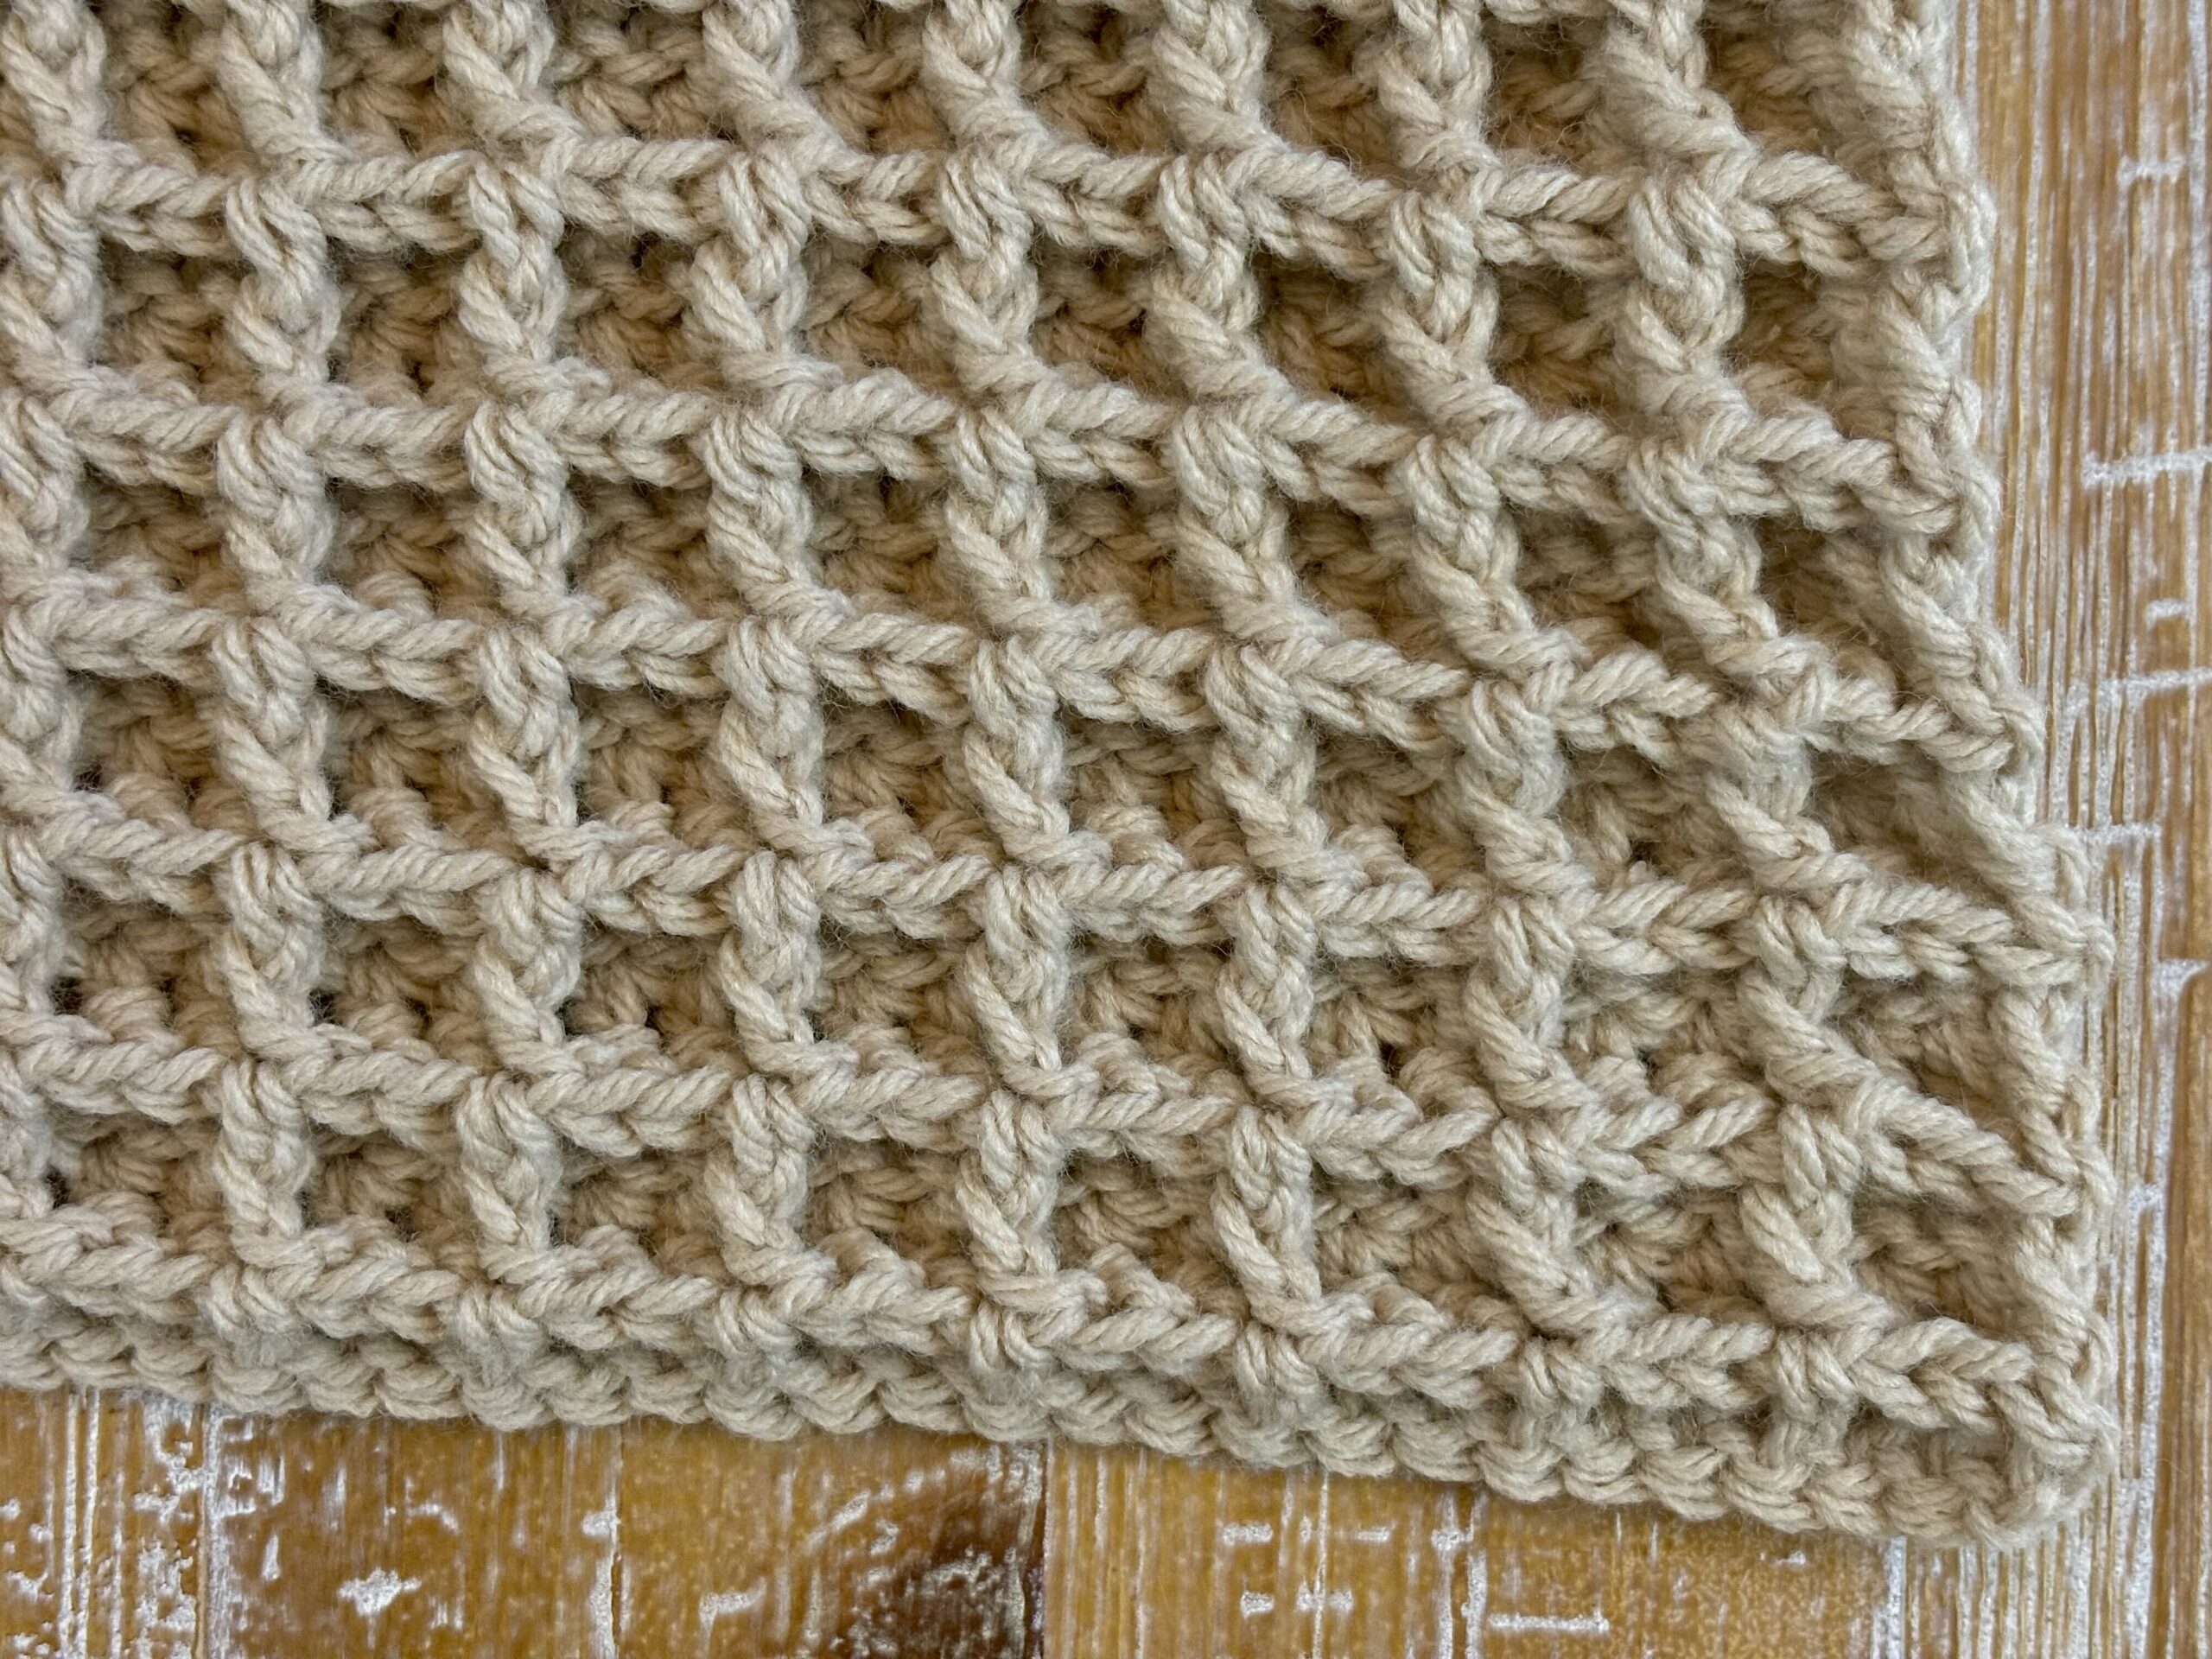
Known for its deeply textured, grid-like appearance, this stitch adds a wonderful dimension to any project. From cozy blankets to tactile dishcloths, the waffle stitch offers versatility and visual interest, making it a favorite among crocheters of all skill levels.
Today, we'll explore everything you need to start creating with this delightful pattern. Perfect for those who love engaging textures in their crafts, our guide will help you master the waffle stitch with ease.
If you've enjoyed our popular waffle stitch crochet dishcloths, you'll find even more to love as we expand on this technique with clear instructions and helpful tips.
What You'll Need
Before starting on your journey with the waffle stitch, gathering the right materials is key. Here’s a list of what you'll need to begin crafting your textured creations:
Yarn
- Type: For beginners, a medium weight yarn (Category 4) is ideal as it's easy to handle and shows off the waffle stitch's texture well. This is my all-time favorite category 4 yarn.
- Color: Choose solid colors to highlight the depth and shadows of the waffle pattern. Lighter shades can particularly accentuate the stitch definition. If you're a beginner crocheter, I highly recommend going with a lighter shade of yarn instead of dark. The darker the yarn, the harder it is to see the stitches.
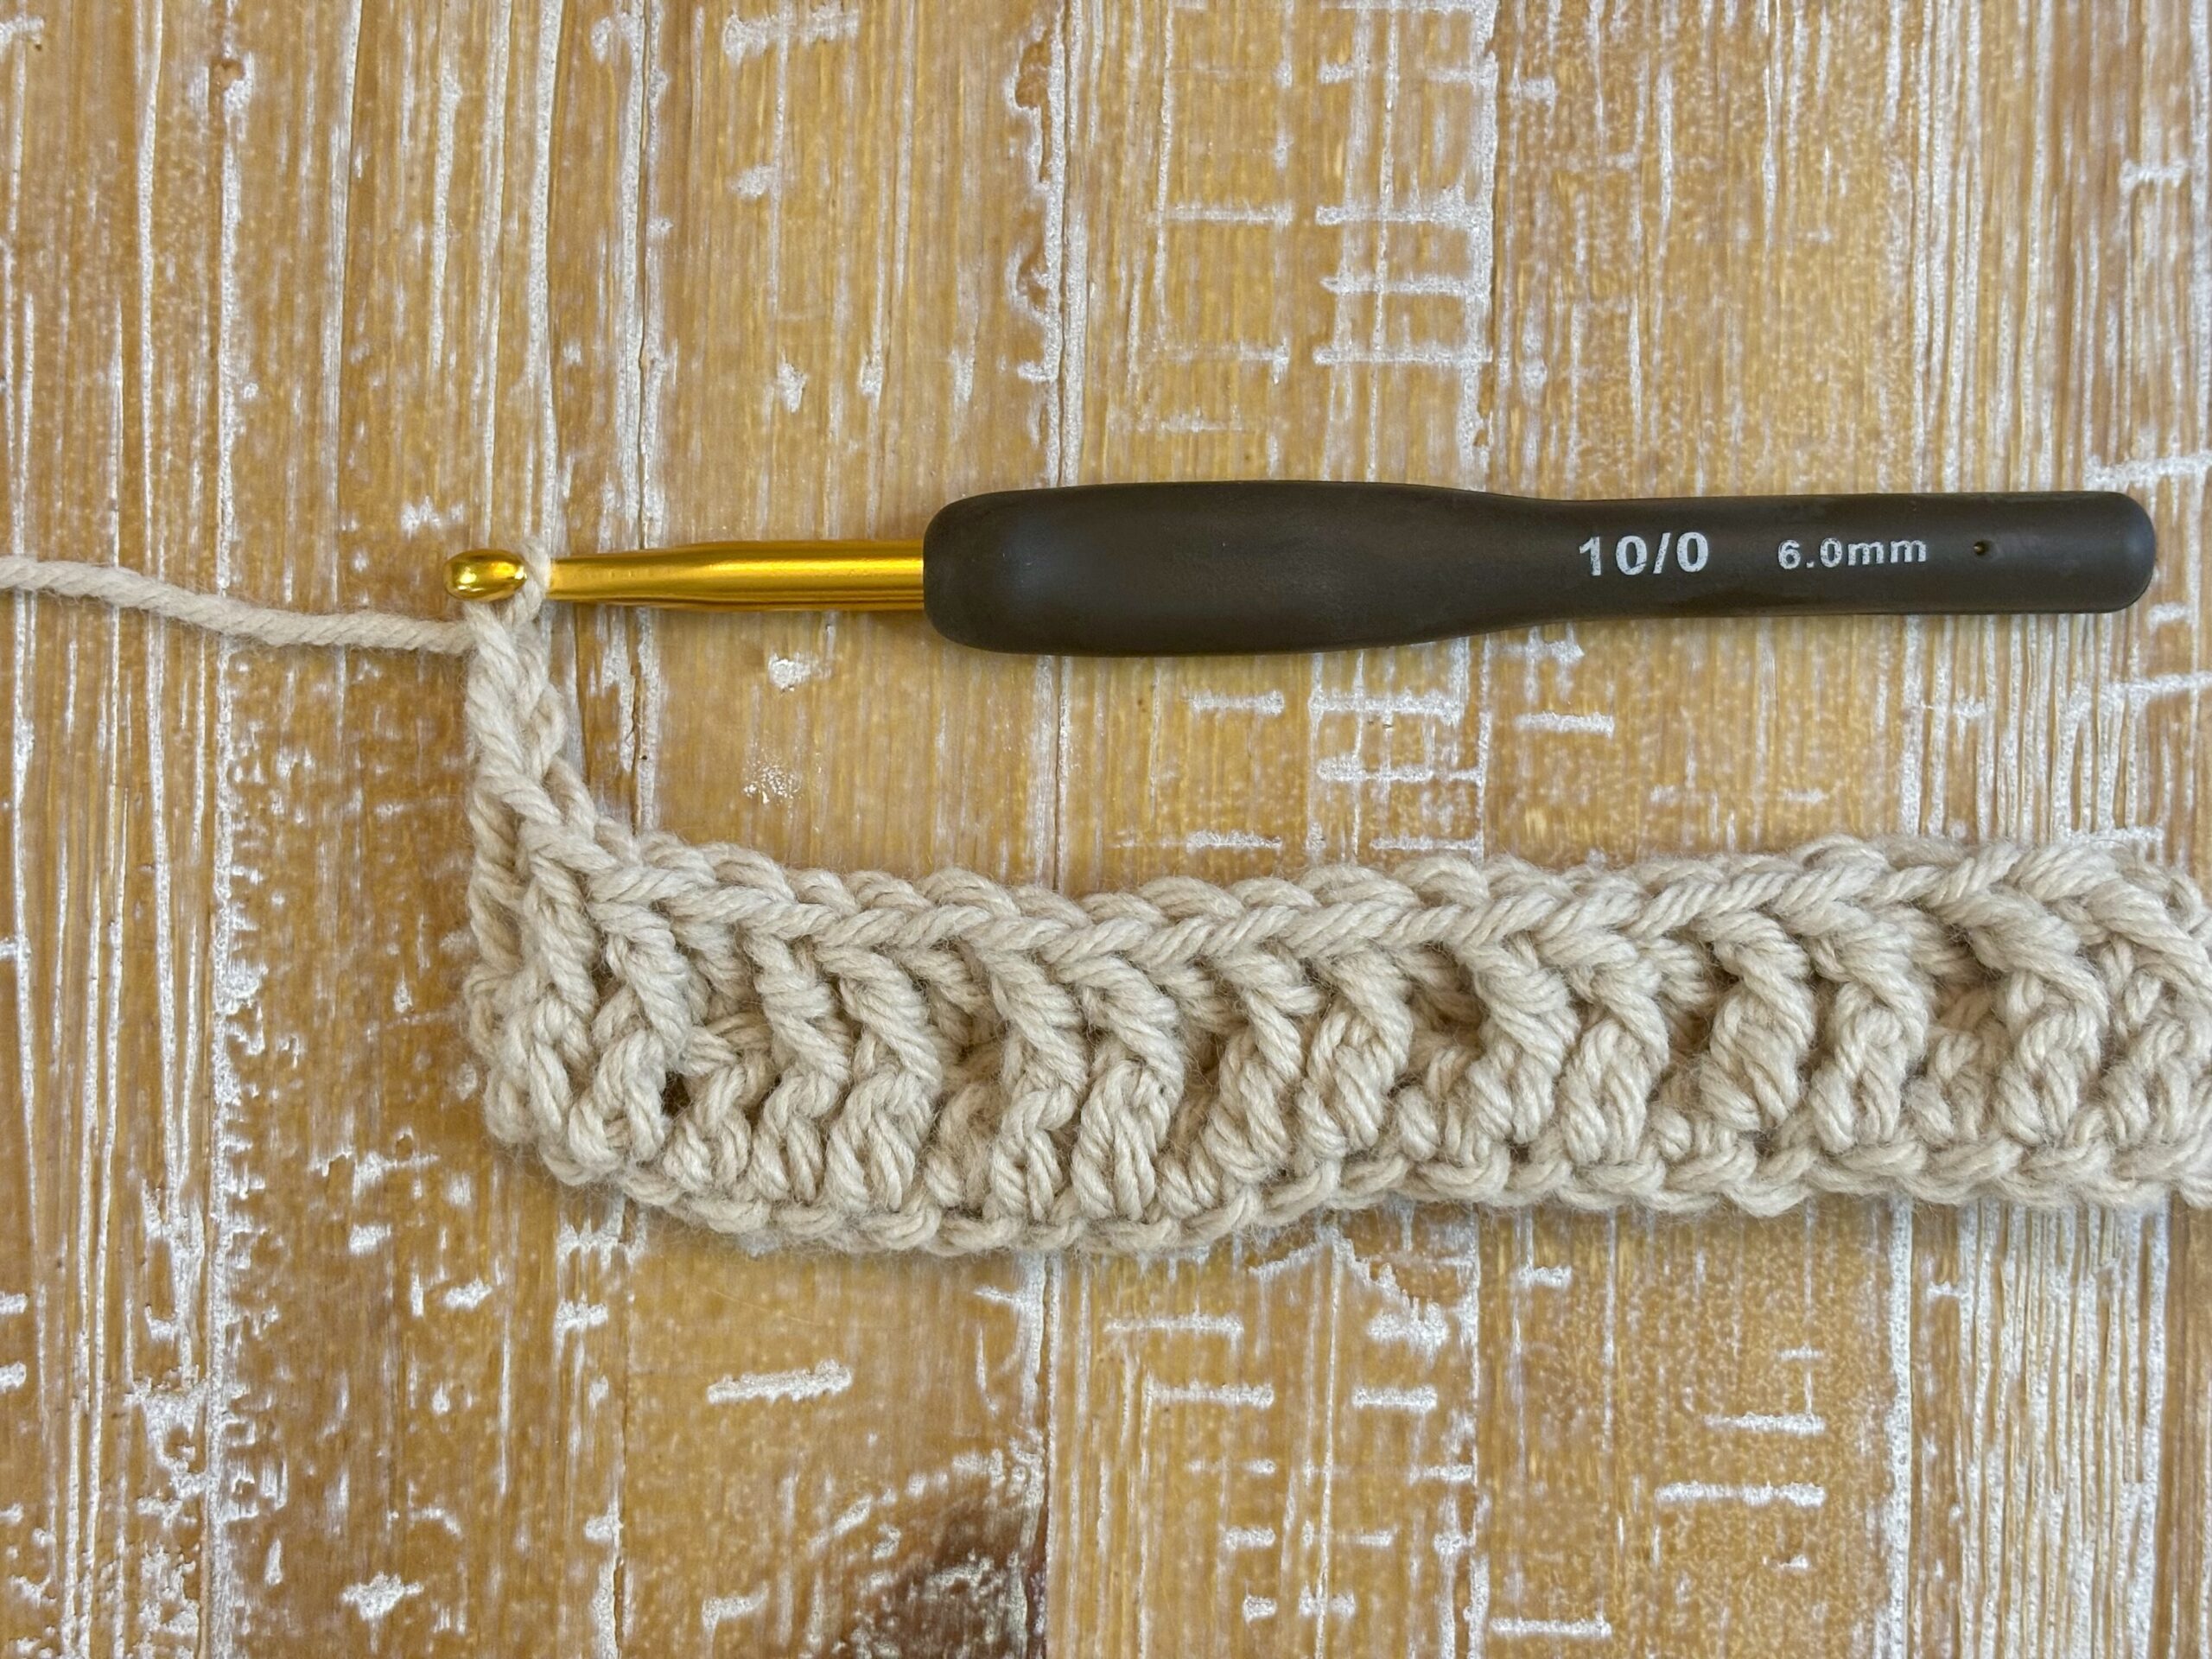
Crochet Hook
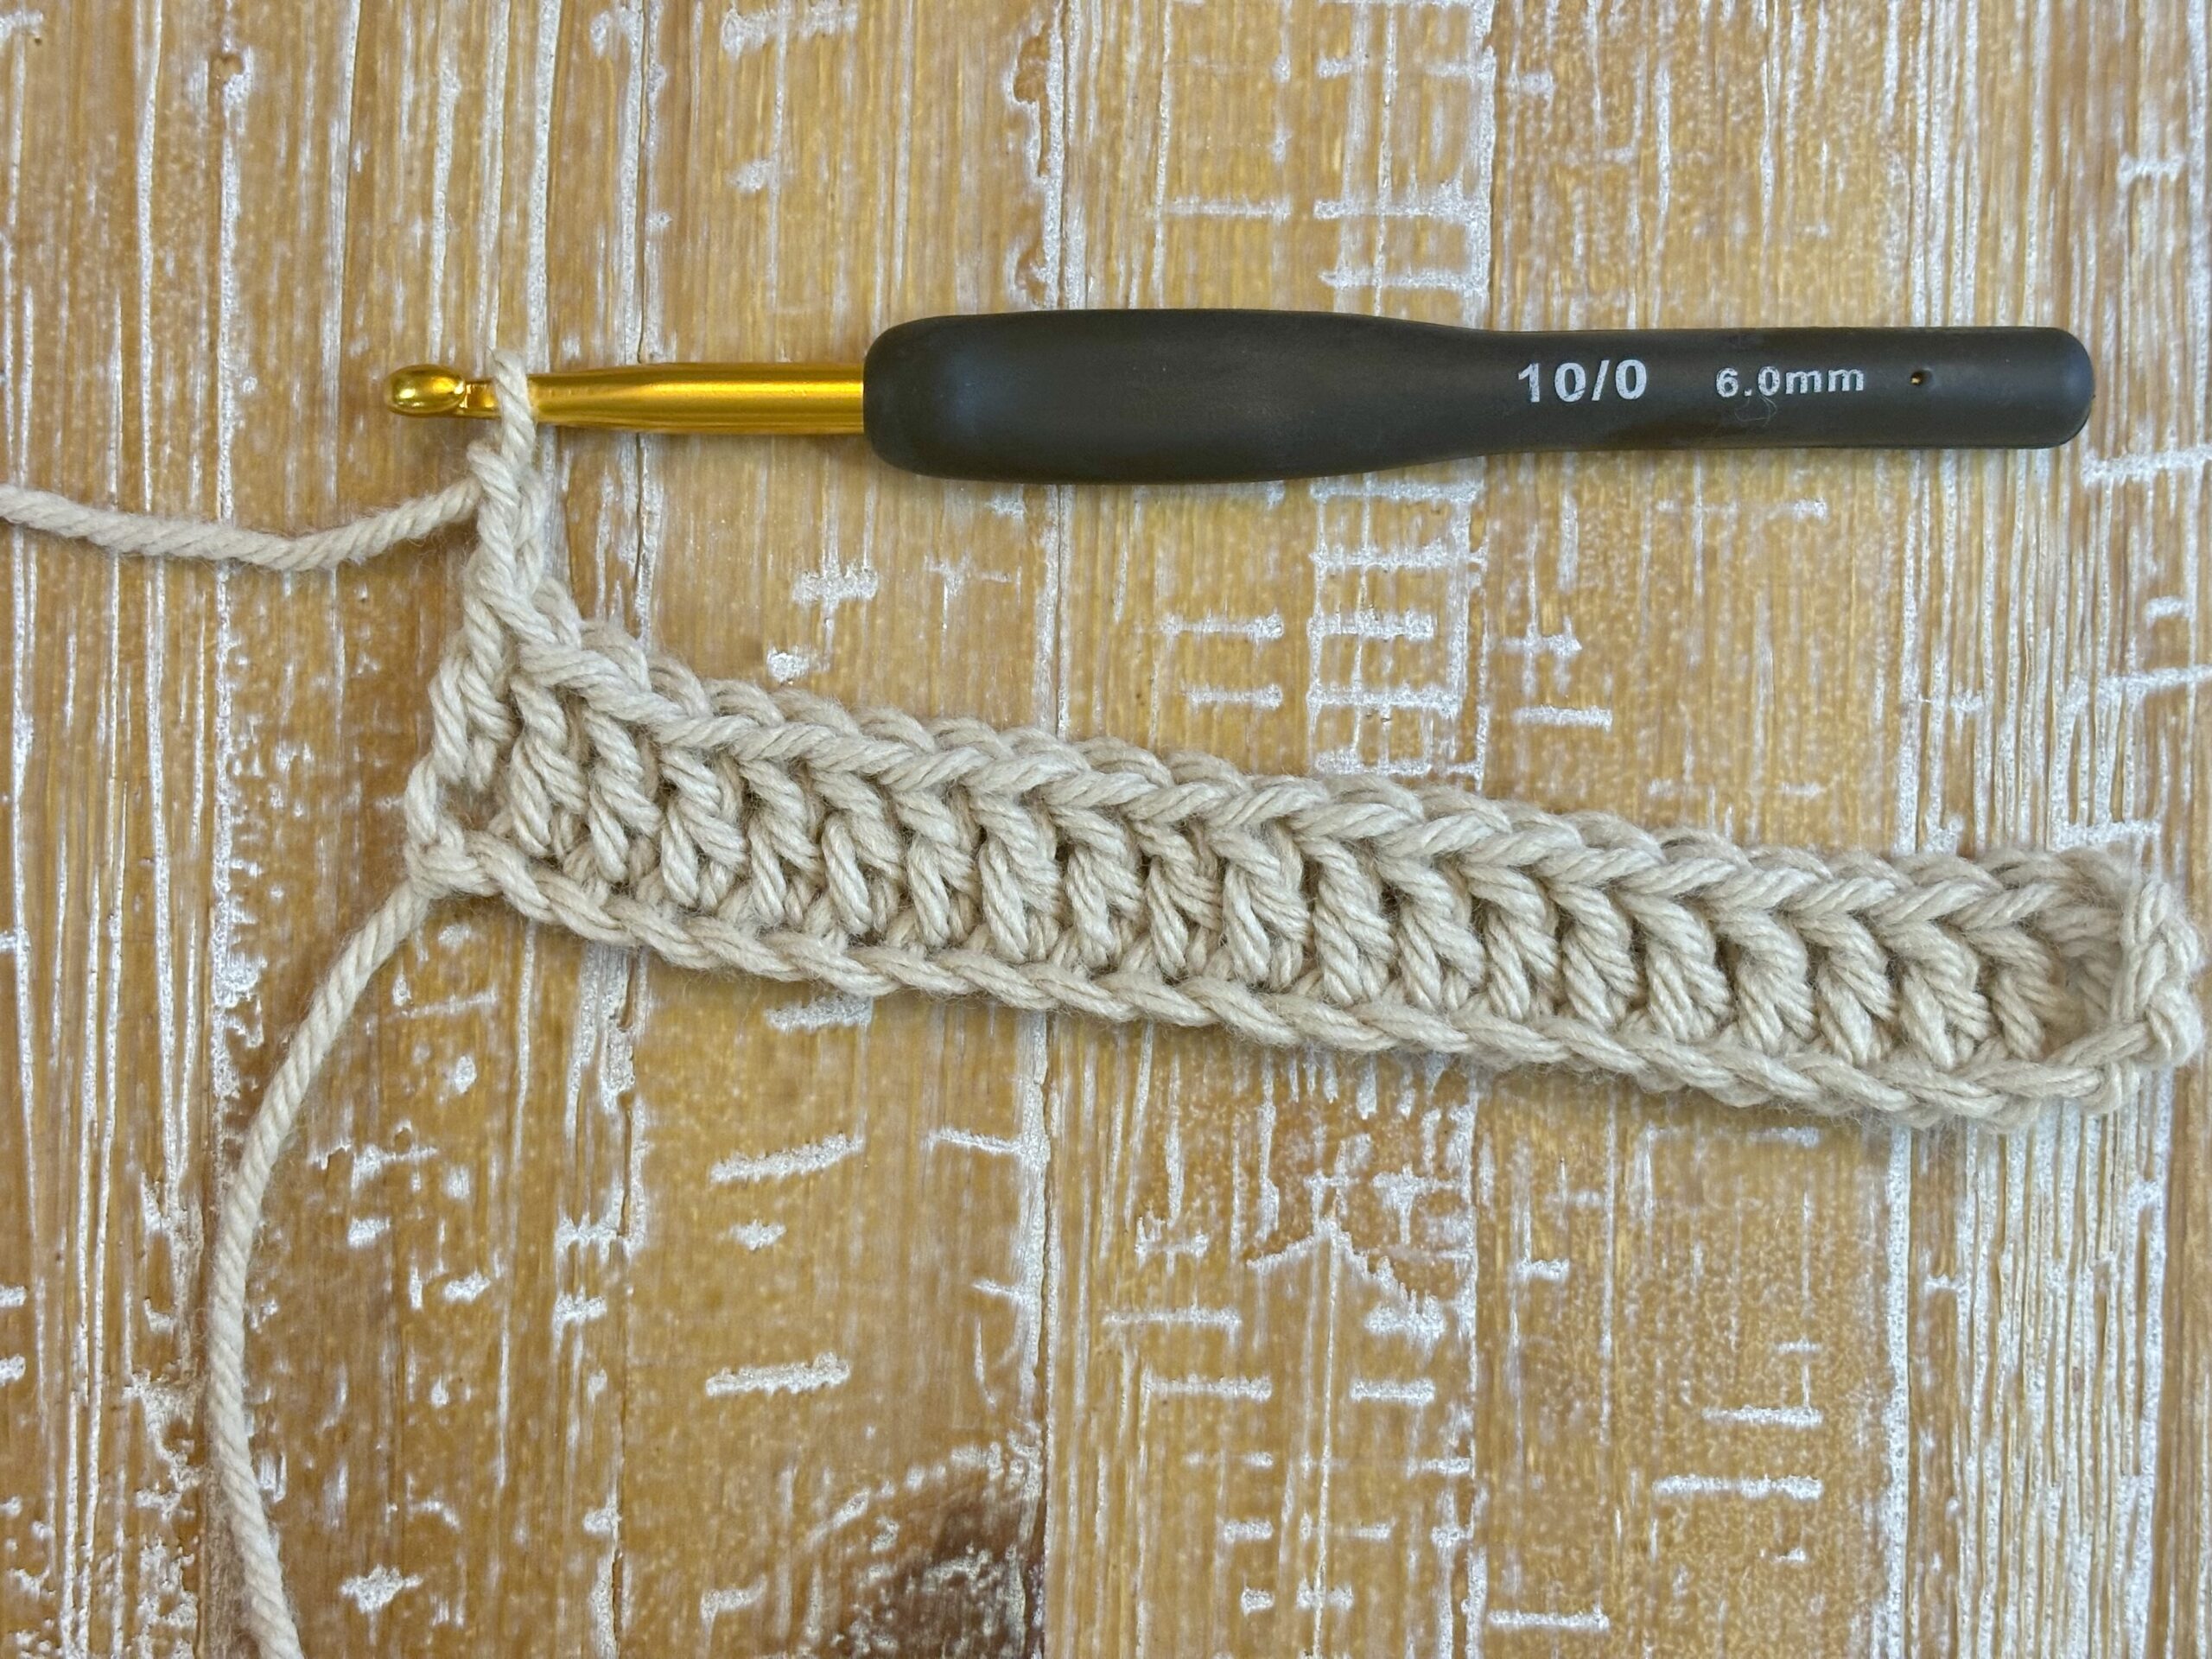
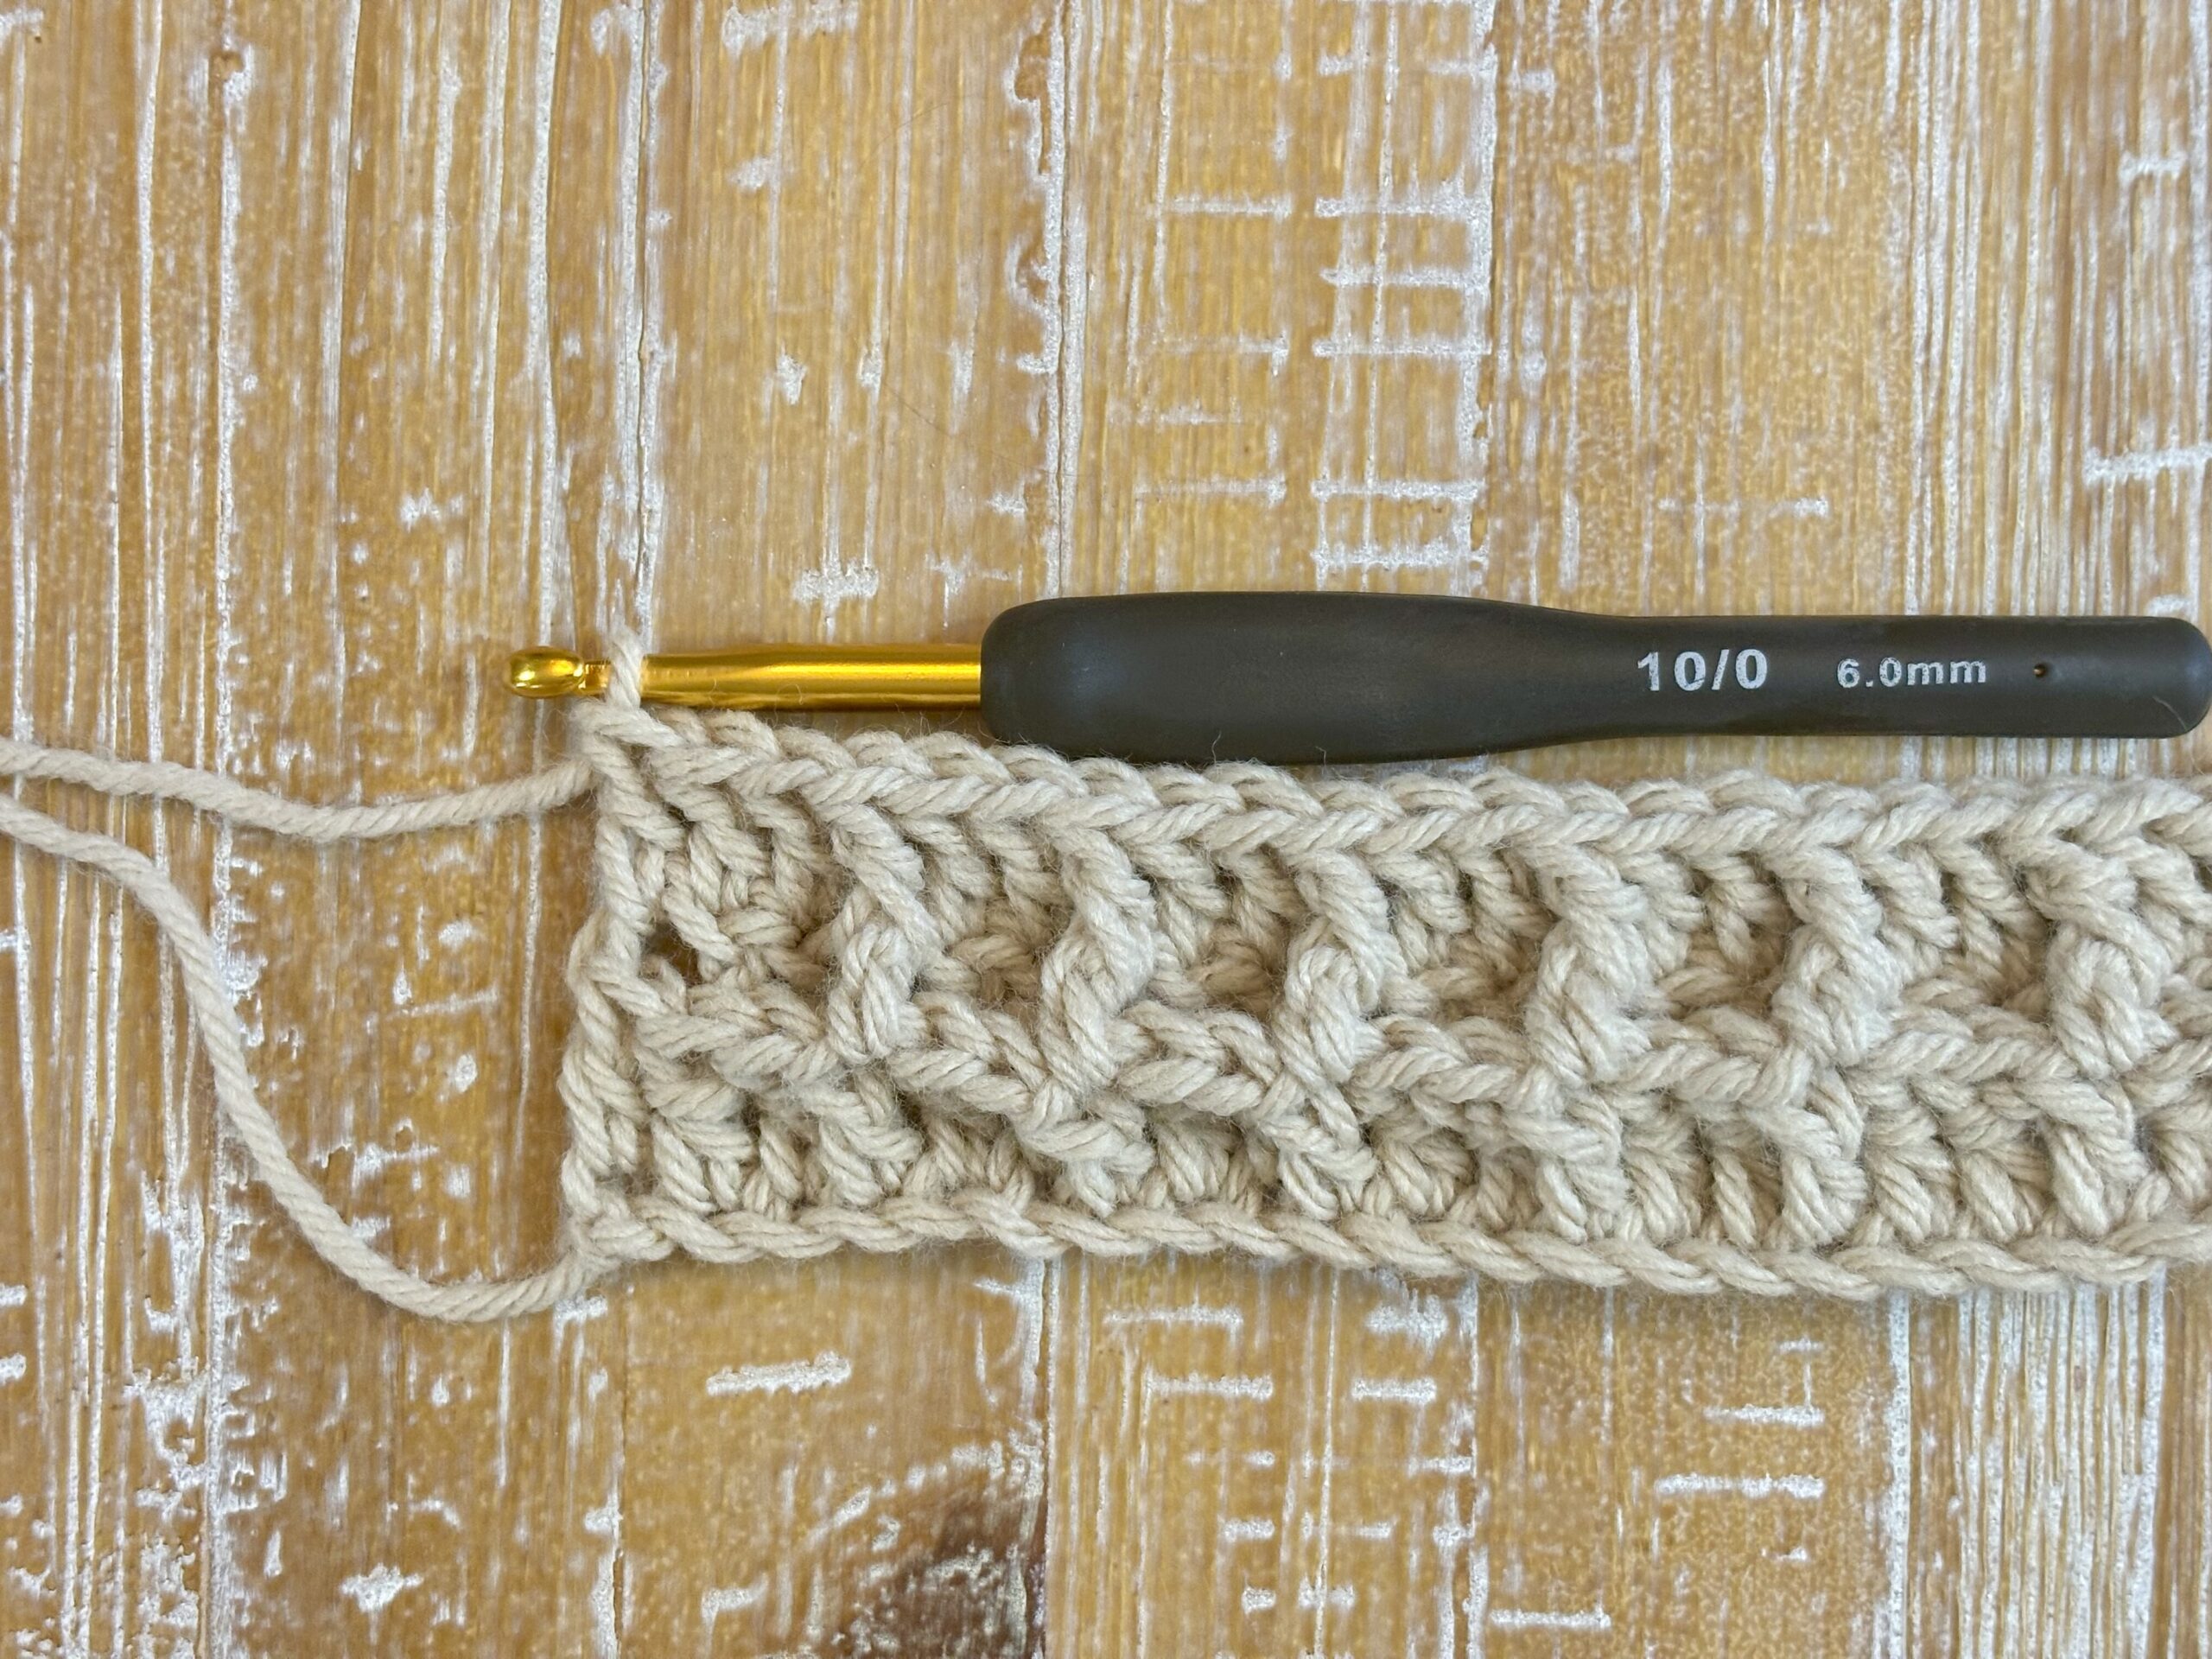
- Size: A 6.00mm / US J-10 is a good size with medium-weight yarn. Adjust the hook size if you choose a different yarn weight to keep your stitches tight and defined.
Additional Tools
- Scissors: For cutting yarn when finishing your project. I have these small scissors and for some reason they make me incredibly happy every time I use them. lol
- Yarn Needle: To weave in ends for a neat finish. I recommend this set. It's what I personally use.
- Stitch Markers: Optional, but helpful for marking your place in more complex patterns or large projects. I prefer these and these.
- Measuring Tape: Useful for checking gauge and the dimensions of your project as you go. I use this set for measuring the size of my projects and this one for measuring gauge.
Before you start, make sure your yarn and hook are compatible to maintain consistent tension throughout your work. This setup will not only make your crocheting experience more enjoyable but will also help in producing a beautifully textured waffle stitch project.
Basic Stitch Overview
Before diving into the waffle stitch, it's important to familiarize yourself with the foundational crochet stitches that form the basis of this pattern. Understanding these will make following the tutorial much smoother.
I show how to do each of these stitches in the crochet waffle stitch video tutorial below.
Foundational Stitches:
- Chain Stitch (ch): The starting point for most crochet projects, used to create the initial length of work.
- Double Crochet (dc): A basic stitch that is taller and builds the fabric quickly.
- Front Post Double Crochet (FPdc): Similar to a double crochet but worked around the post of the stitch below instead of into the top, creating a raised texture.
Tension Tip: Consistent tension is crucial as it affects the texture and evenness of your fabric. If your stitches are too tight or loose, the waffle stitch's defined texture might not be as pronounced.
Step-by-Step Tutorial: Video and Photo
Now that you know the basic stitches, let's create the waffle stitch pattern.
Crochet Waffle Stitch Video Tutorial
Crochet Waffle Stitch Photo Tutorial
Remember: Chain 2 does count as the first stitch
Foundation Row:
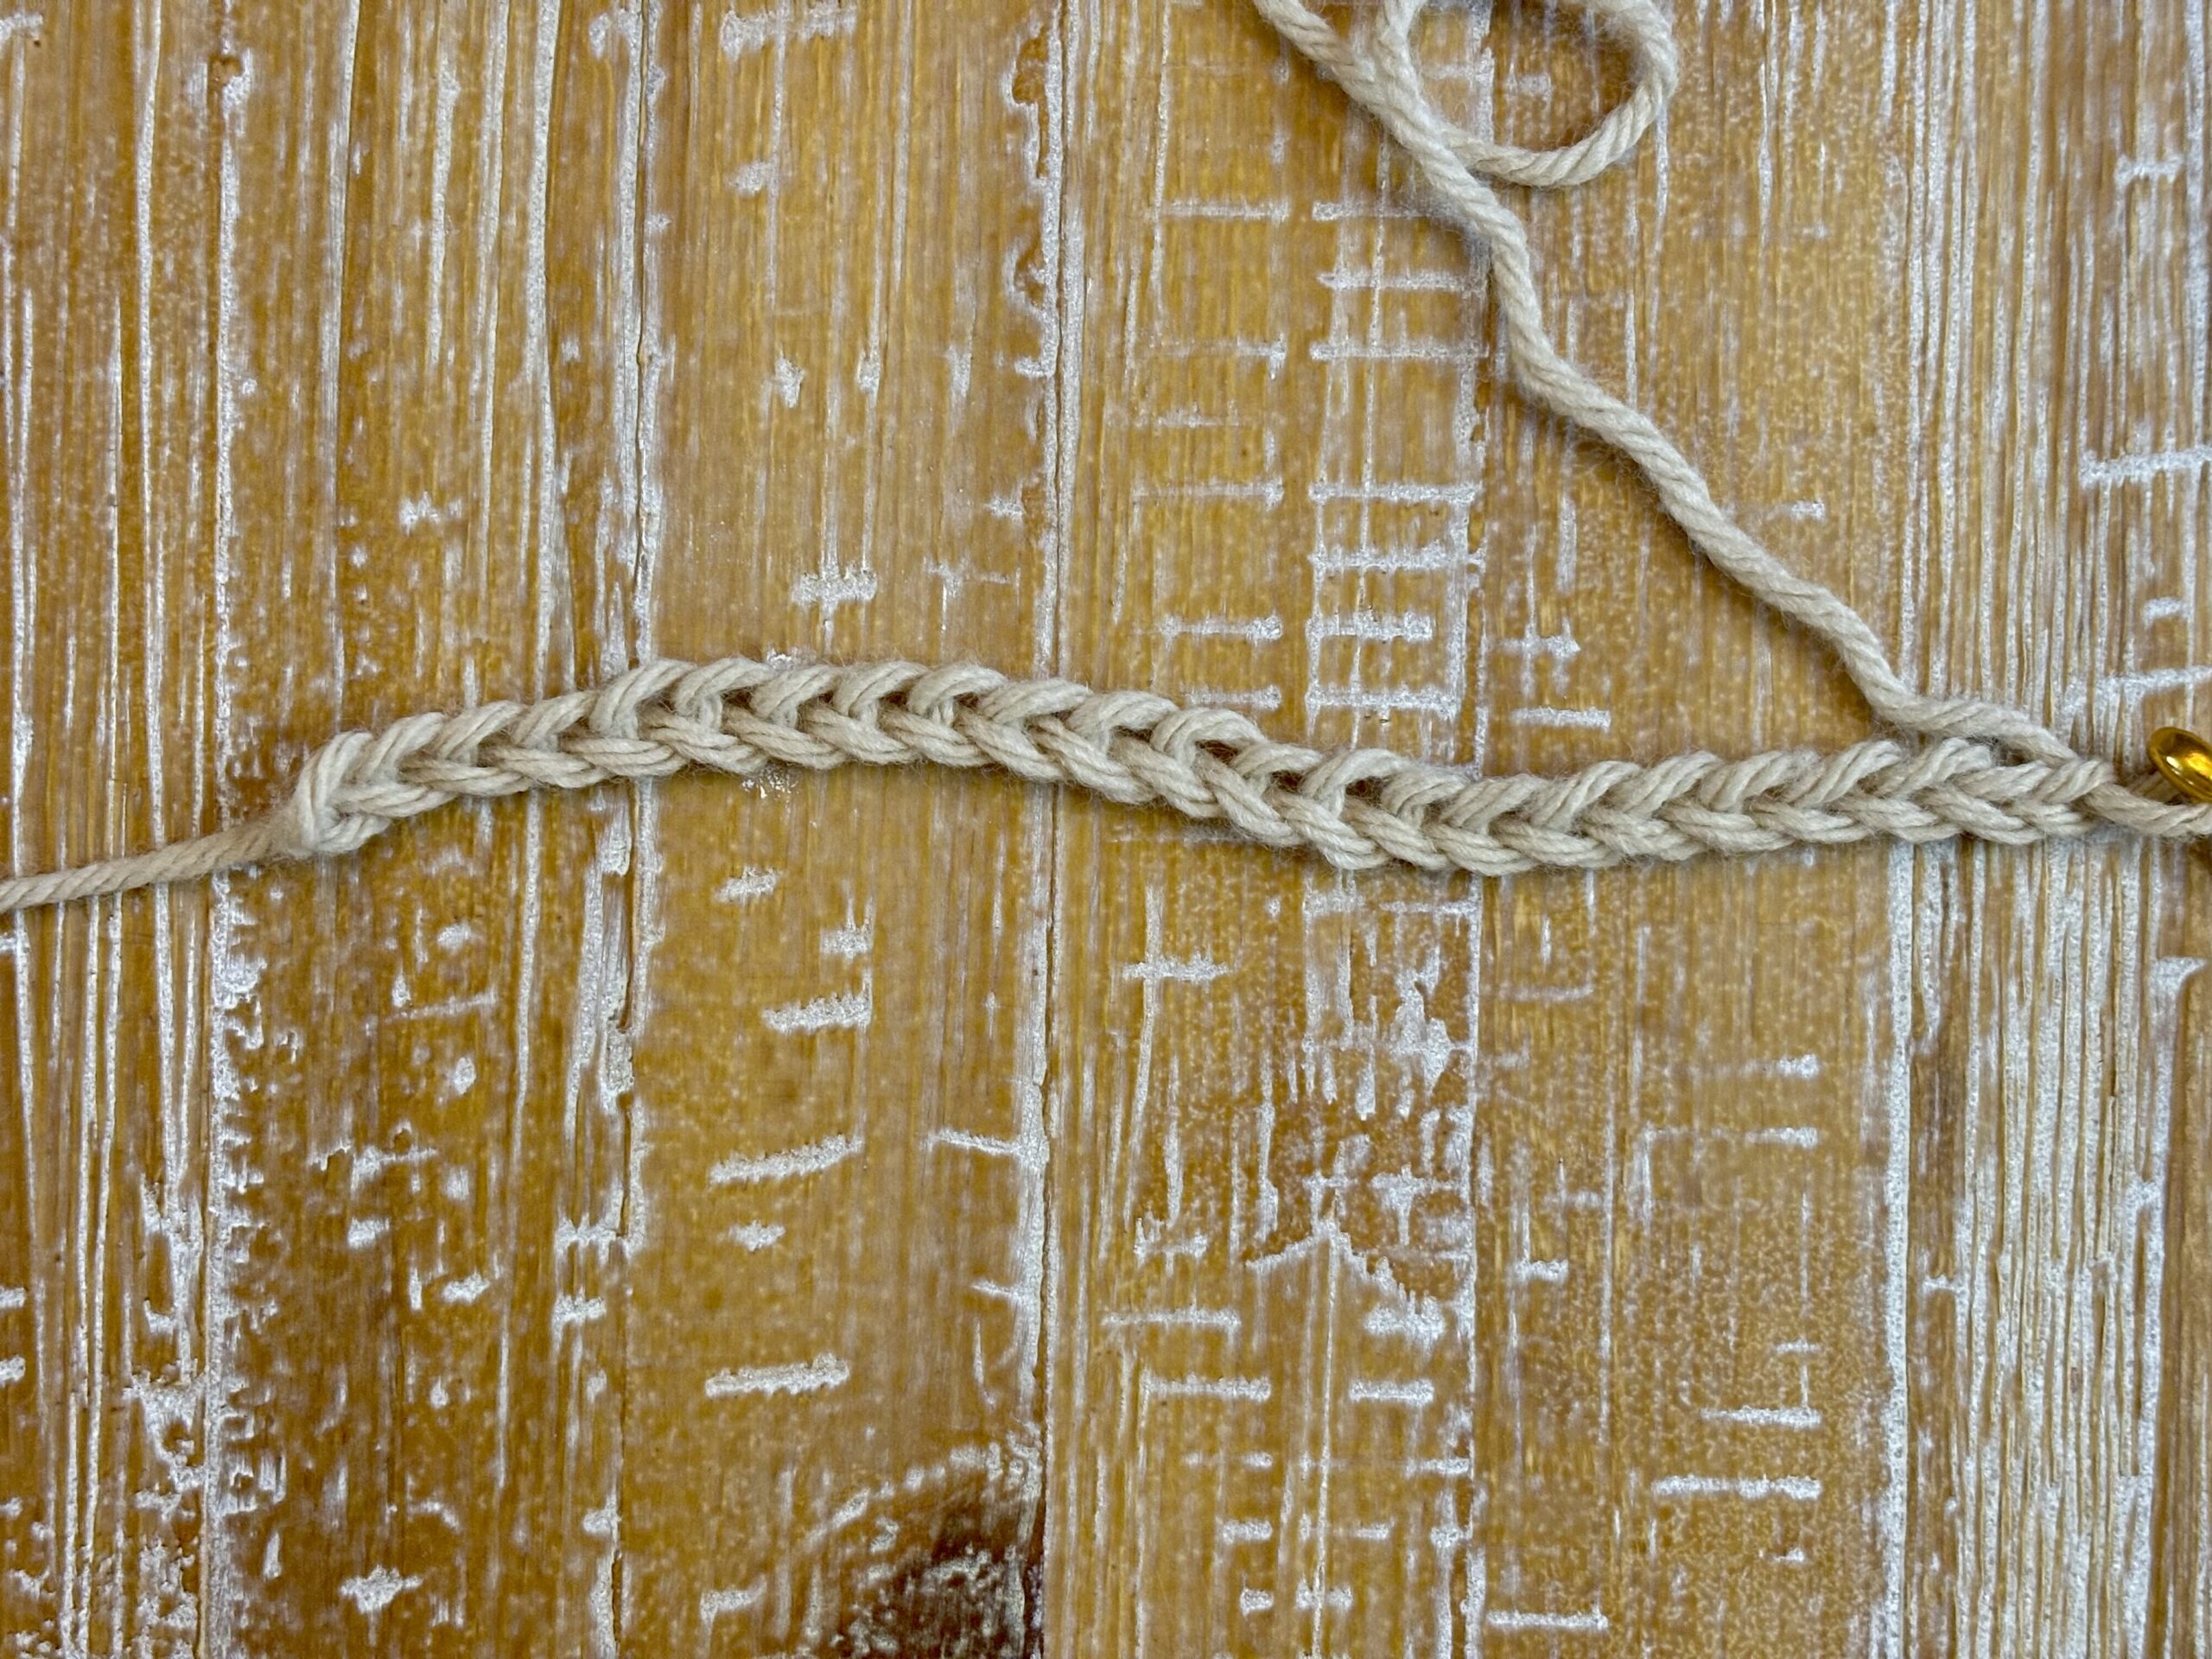
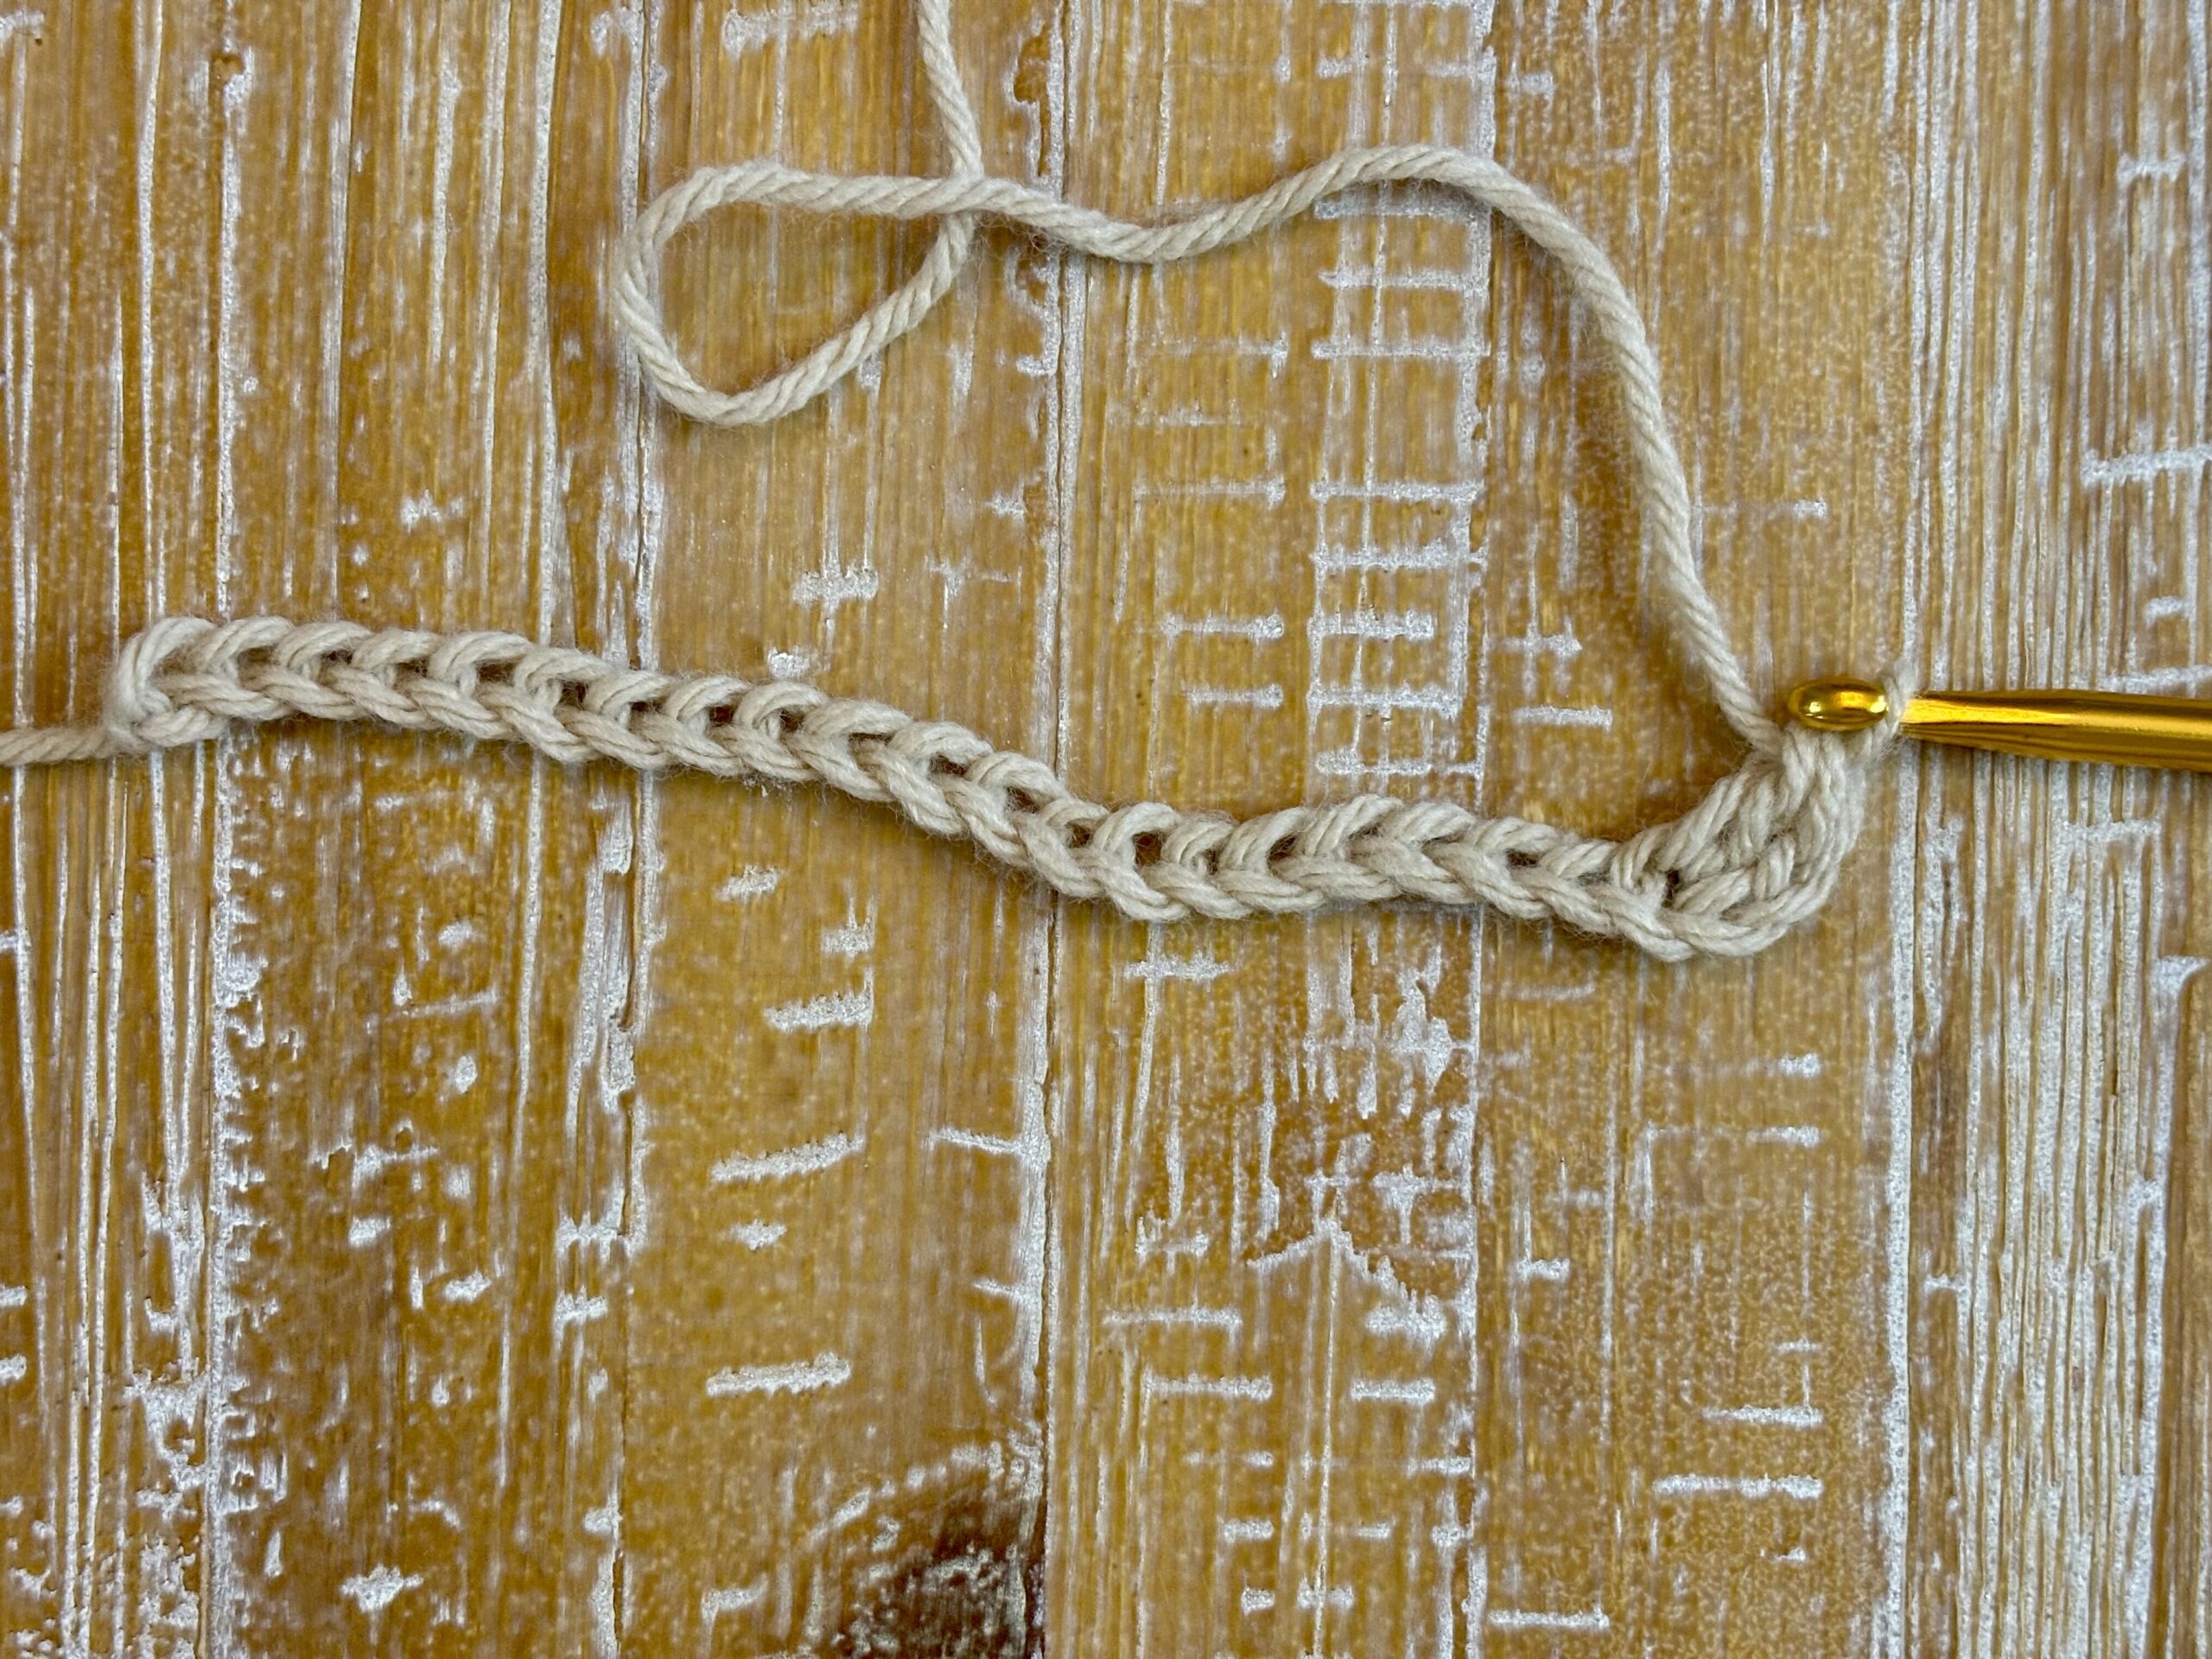
- Start with a Slip Knot: Place a slip knot on your hook.
- Chain Stitches: Chain any multiple of 3 + 2 extra chains (e.g., 23 chains for a small sample).
- Set the Base: Double crochet in the third chain from the hook and in each chain across, ch 2 (this counts as your first double crochet on the next row), Turn your work. (If you chained 23, you'll have 22 stitches total)
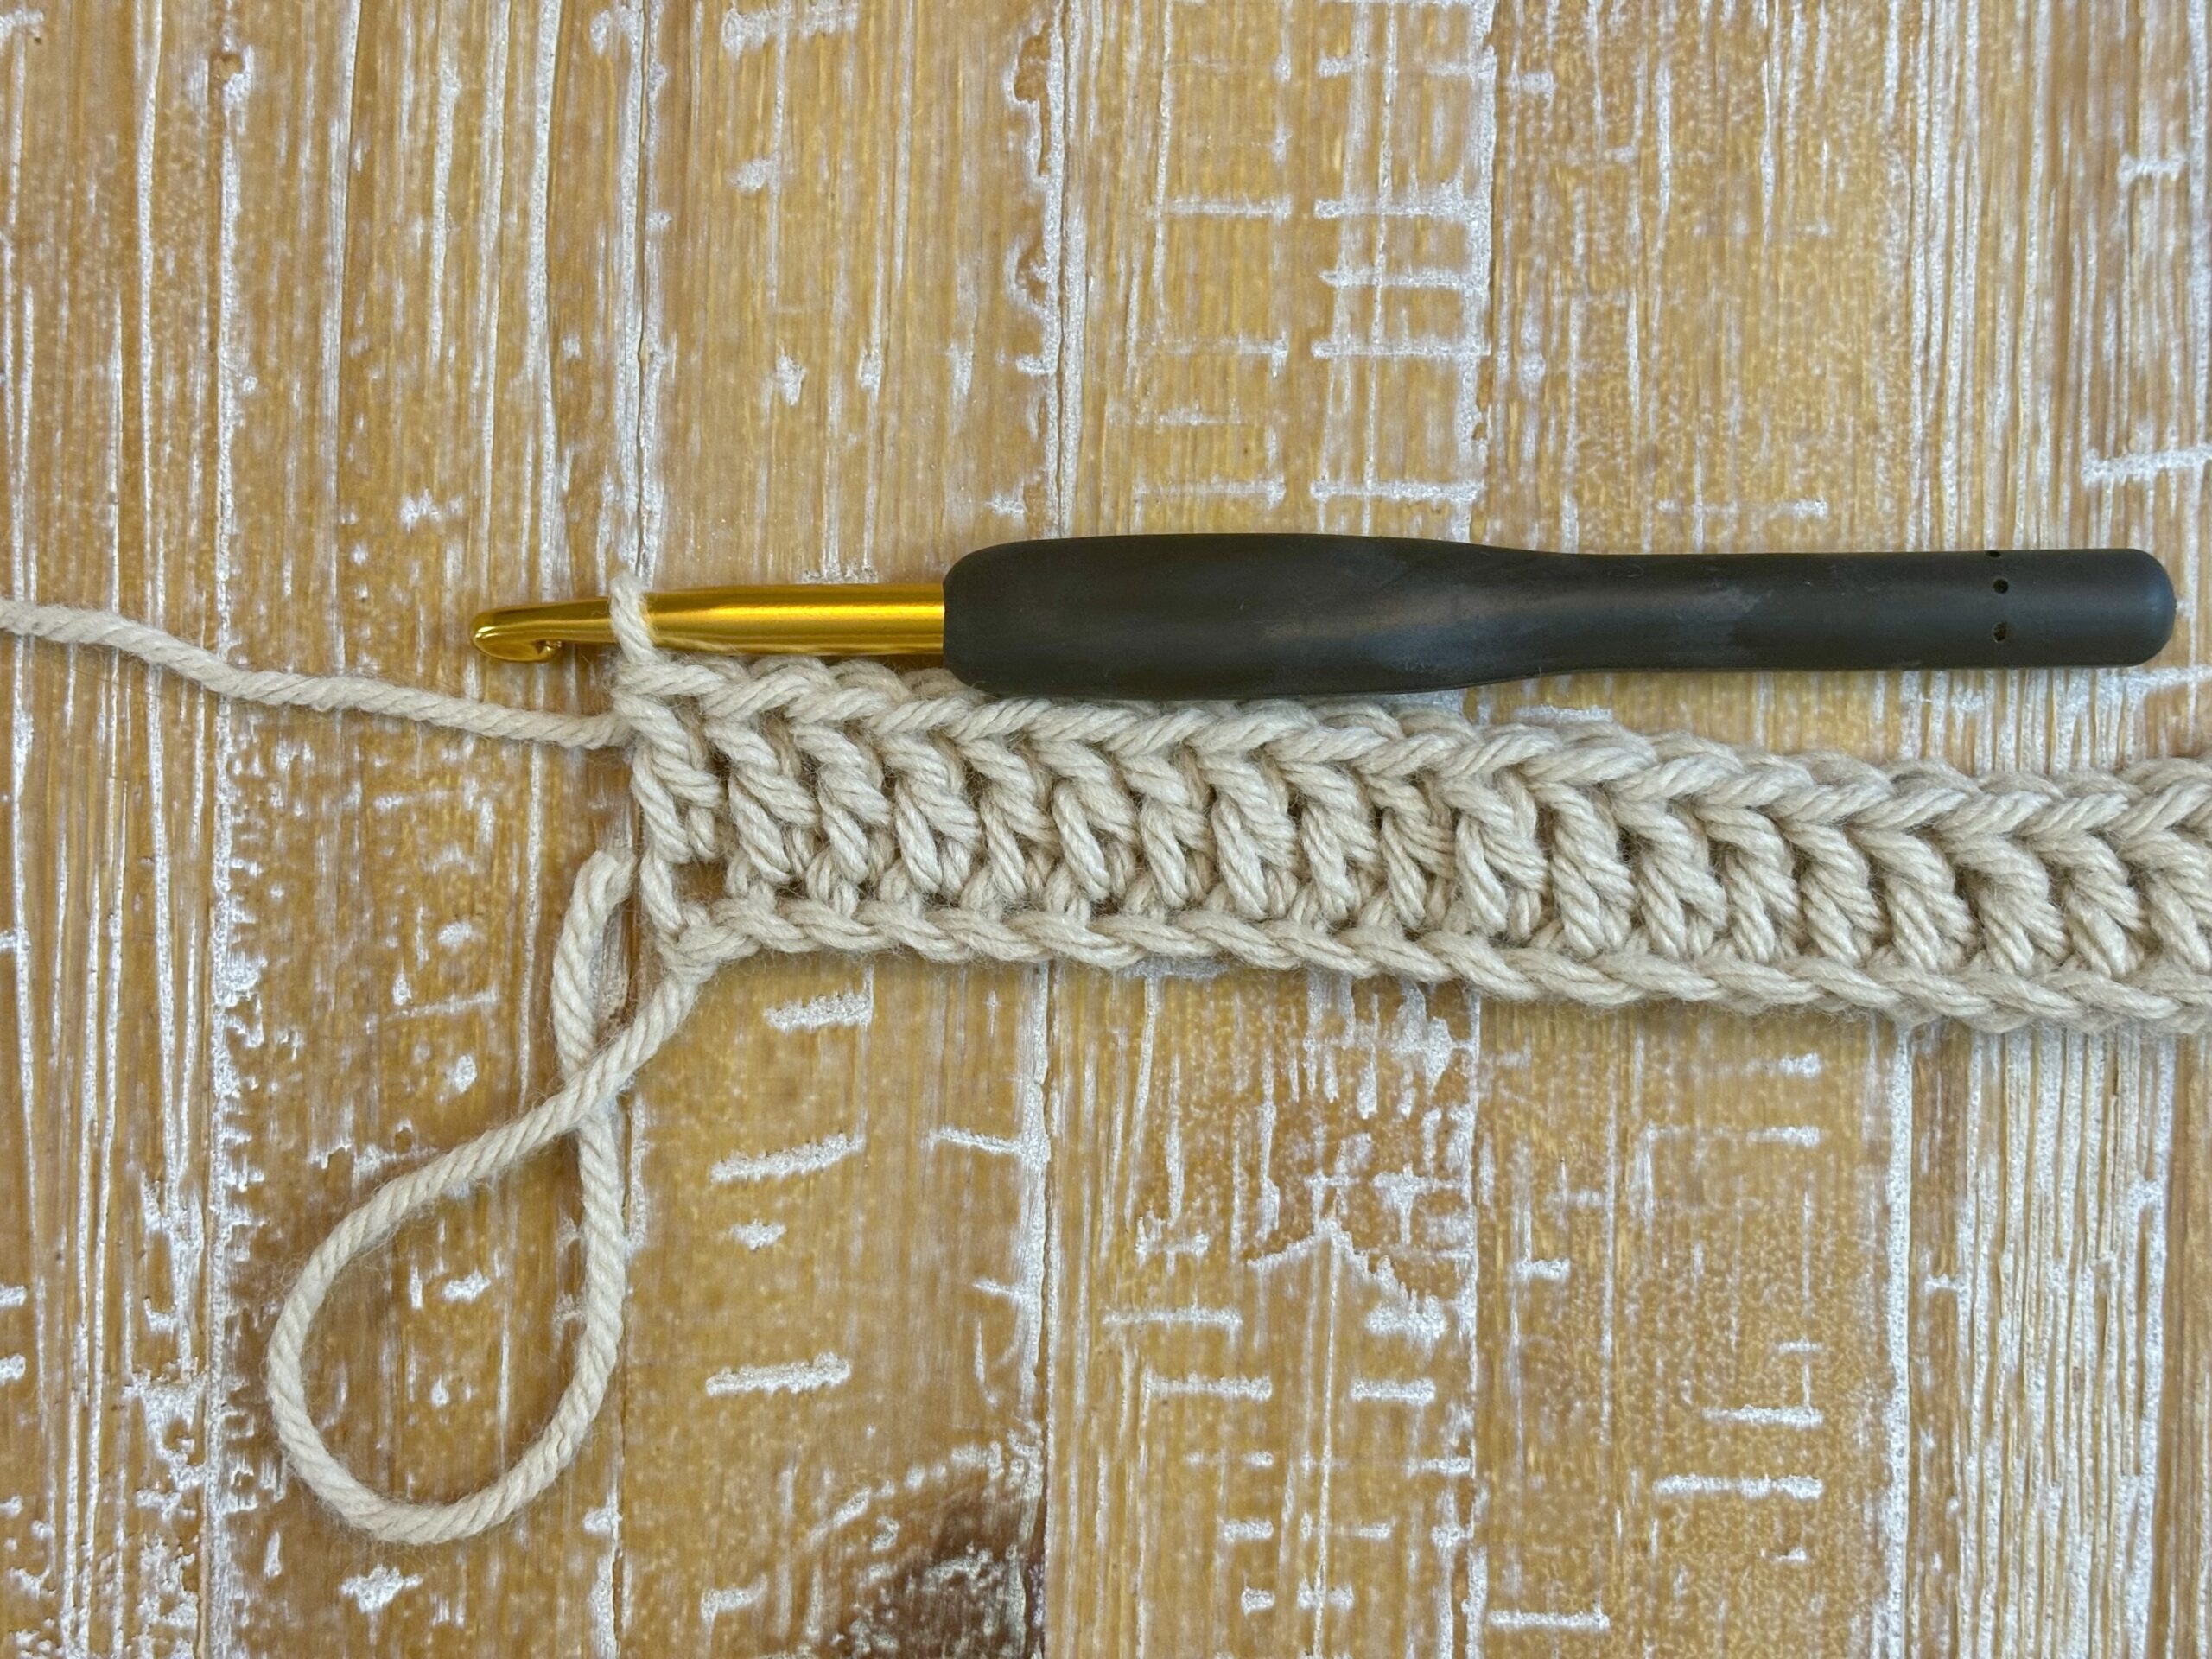
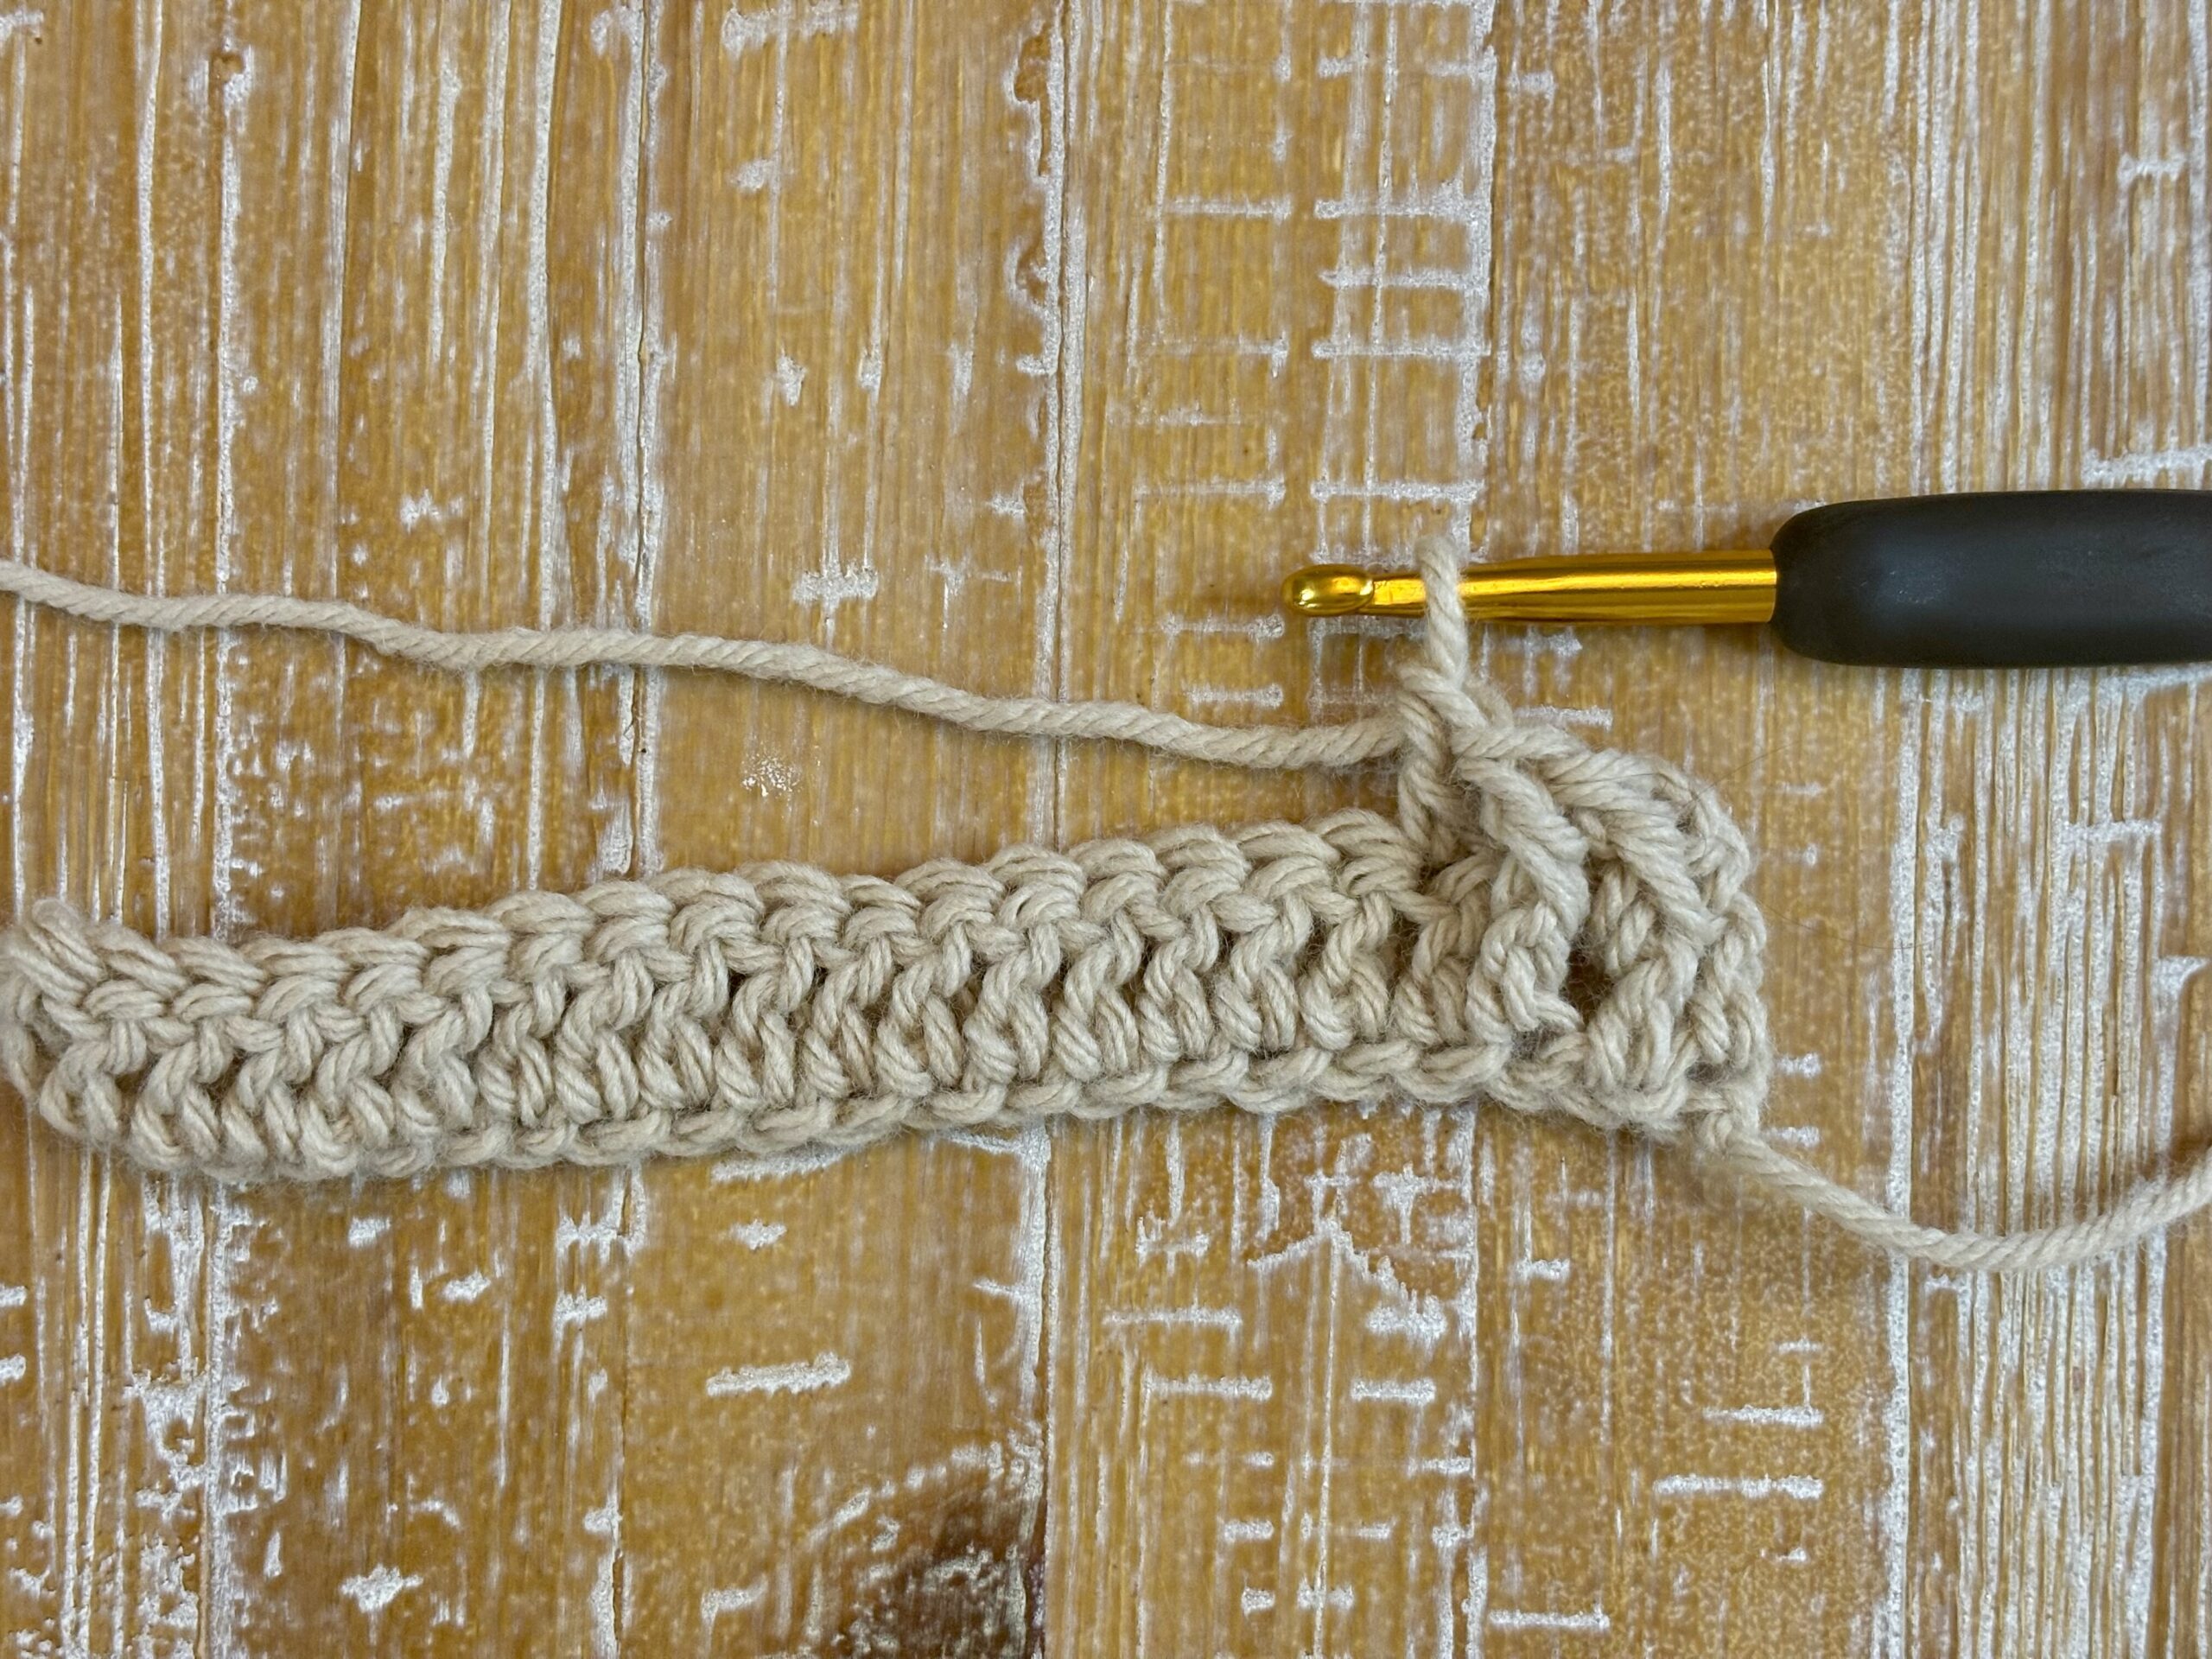
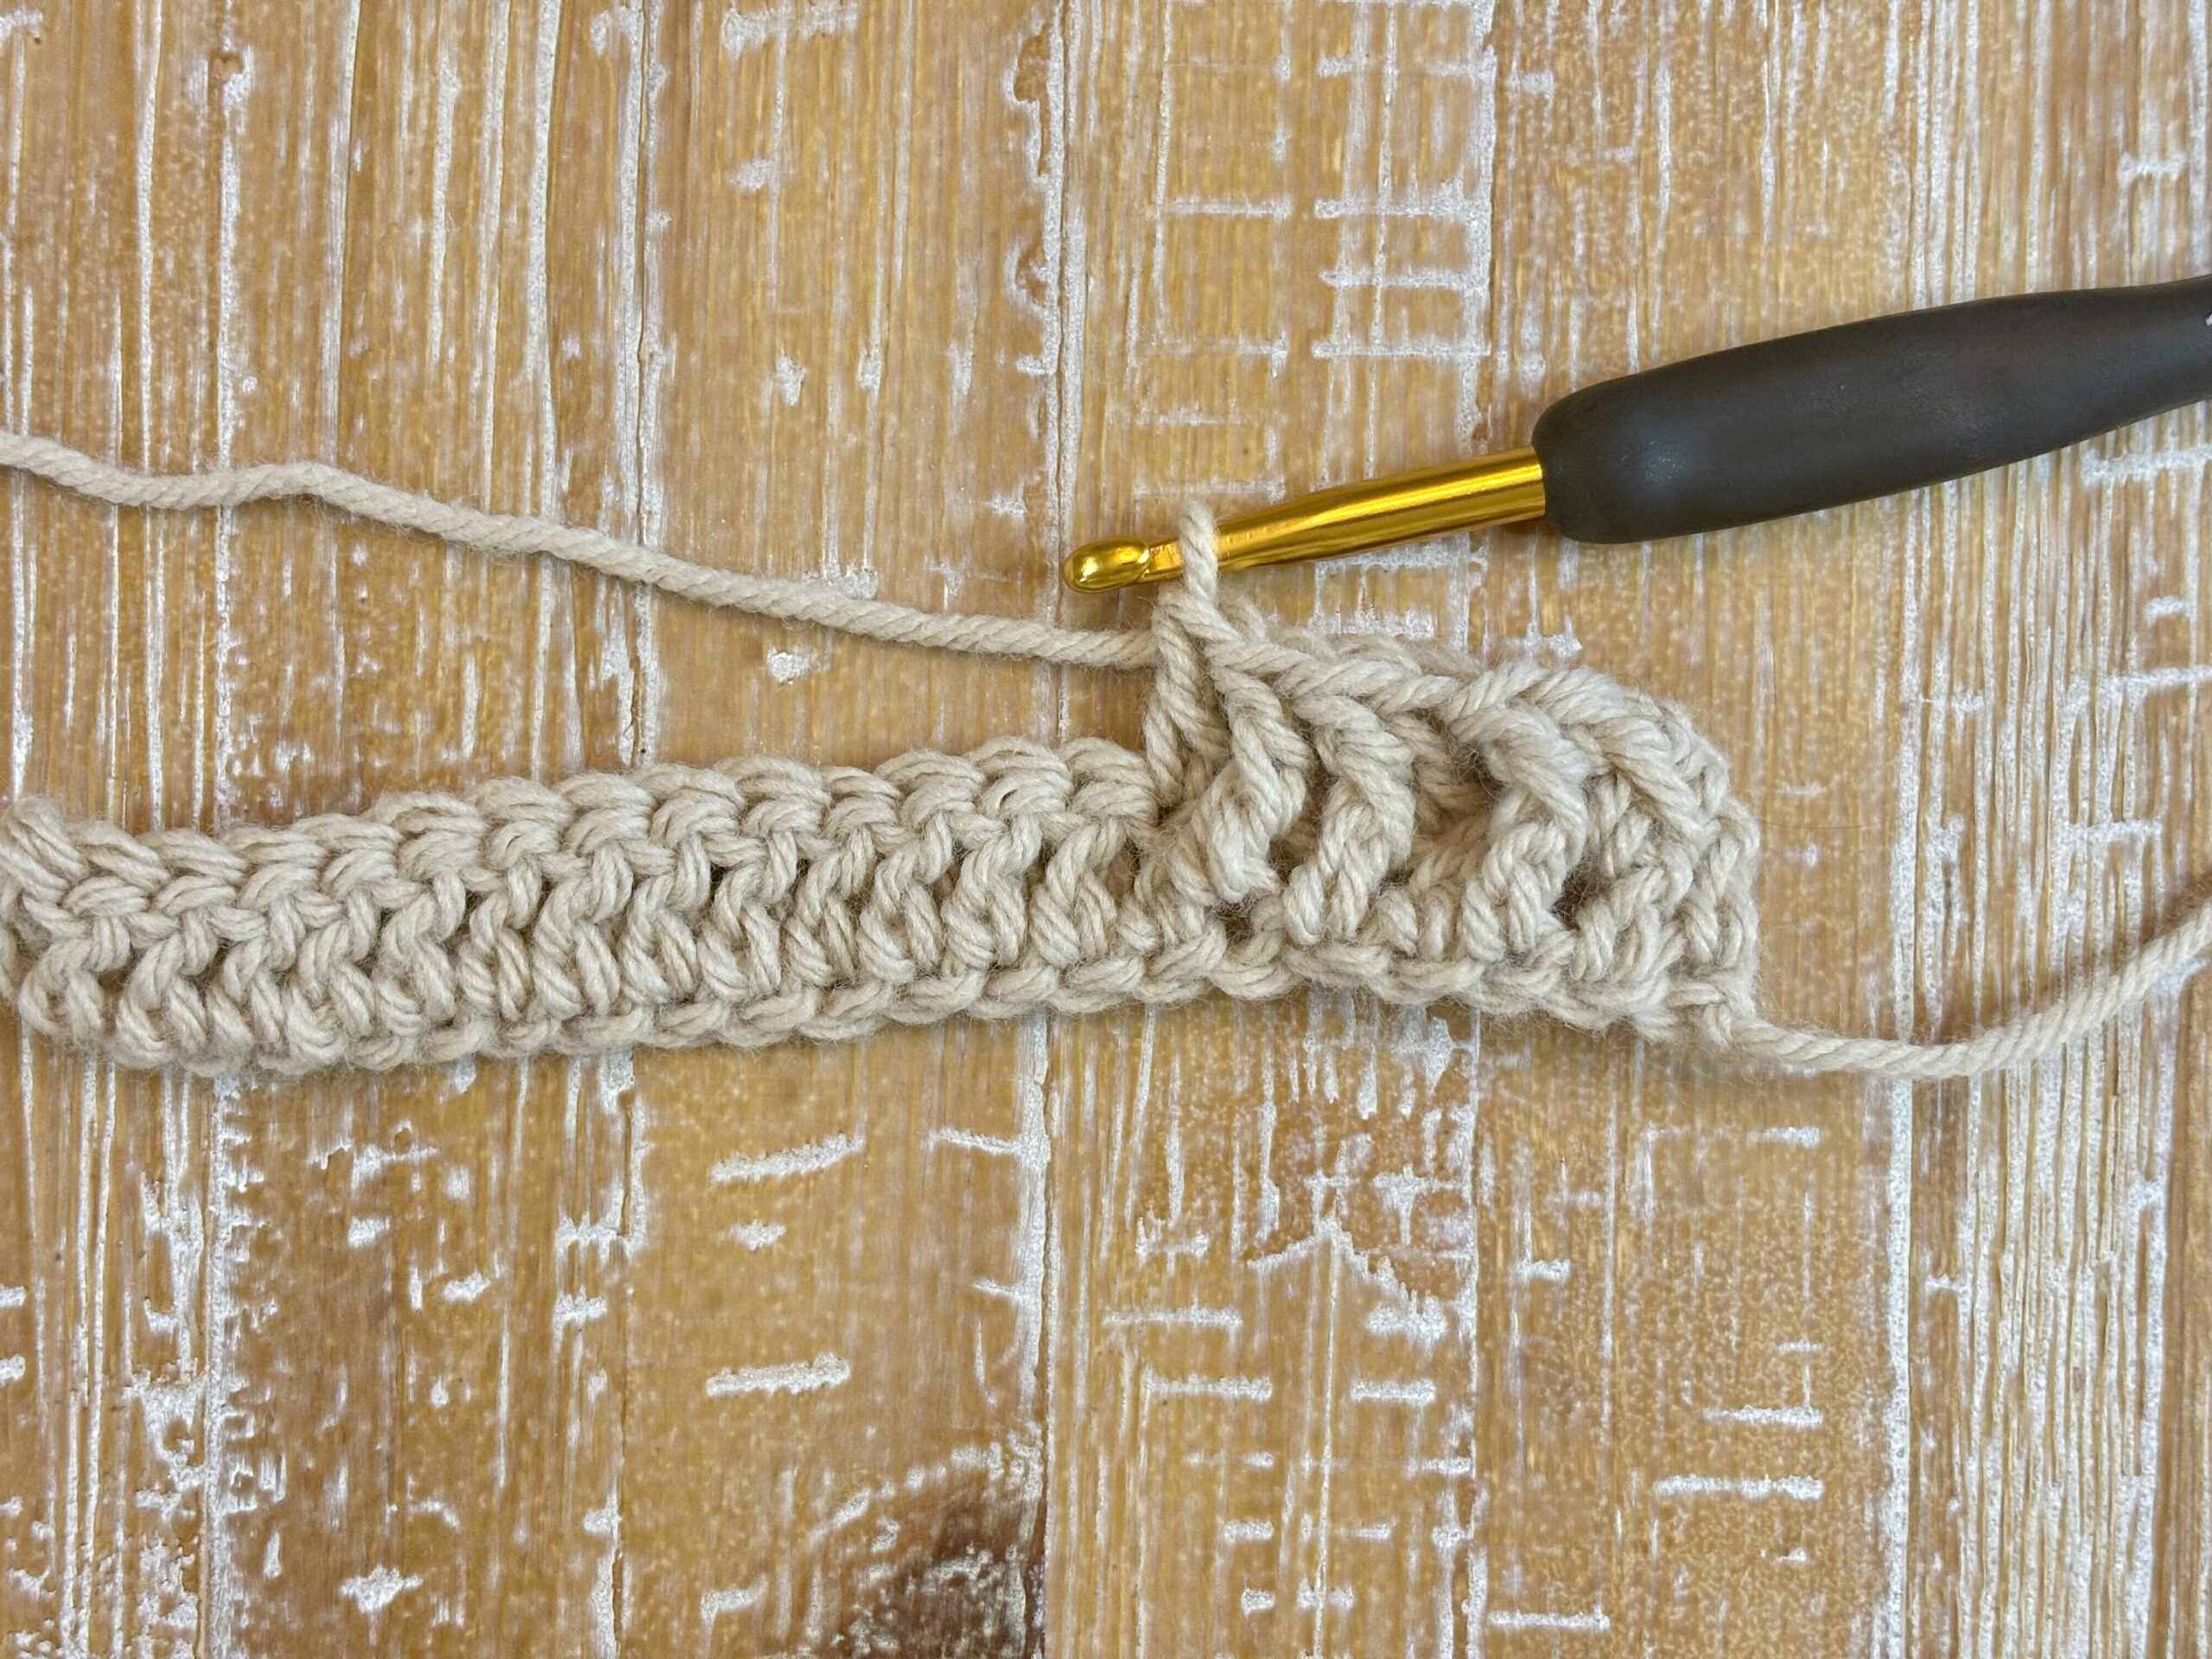
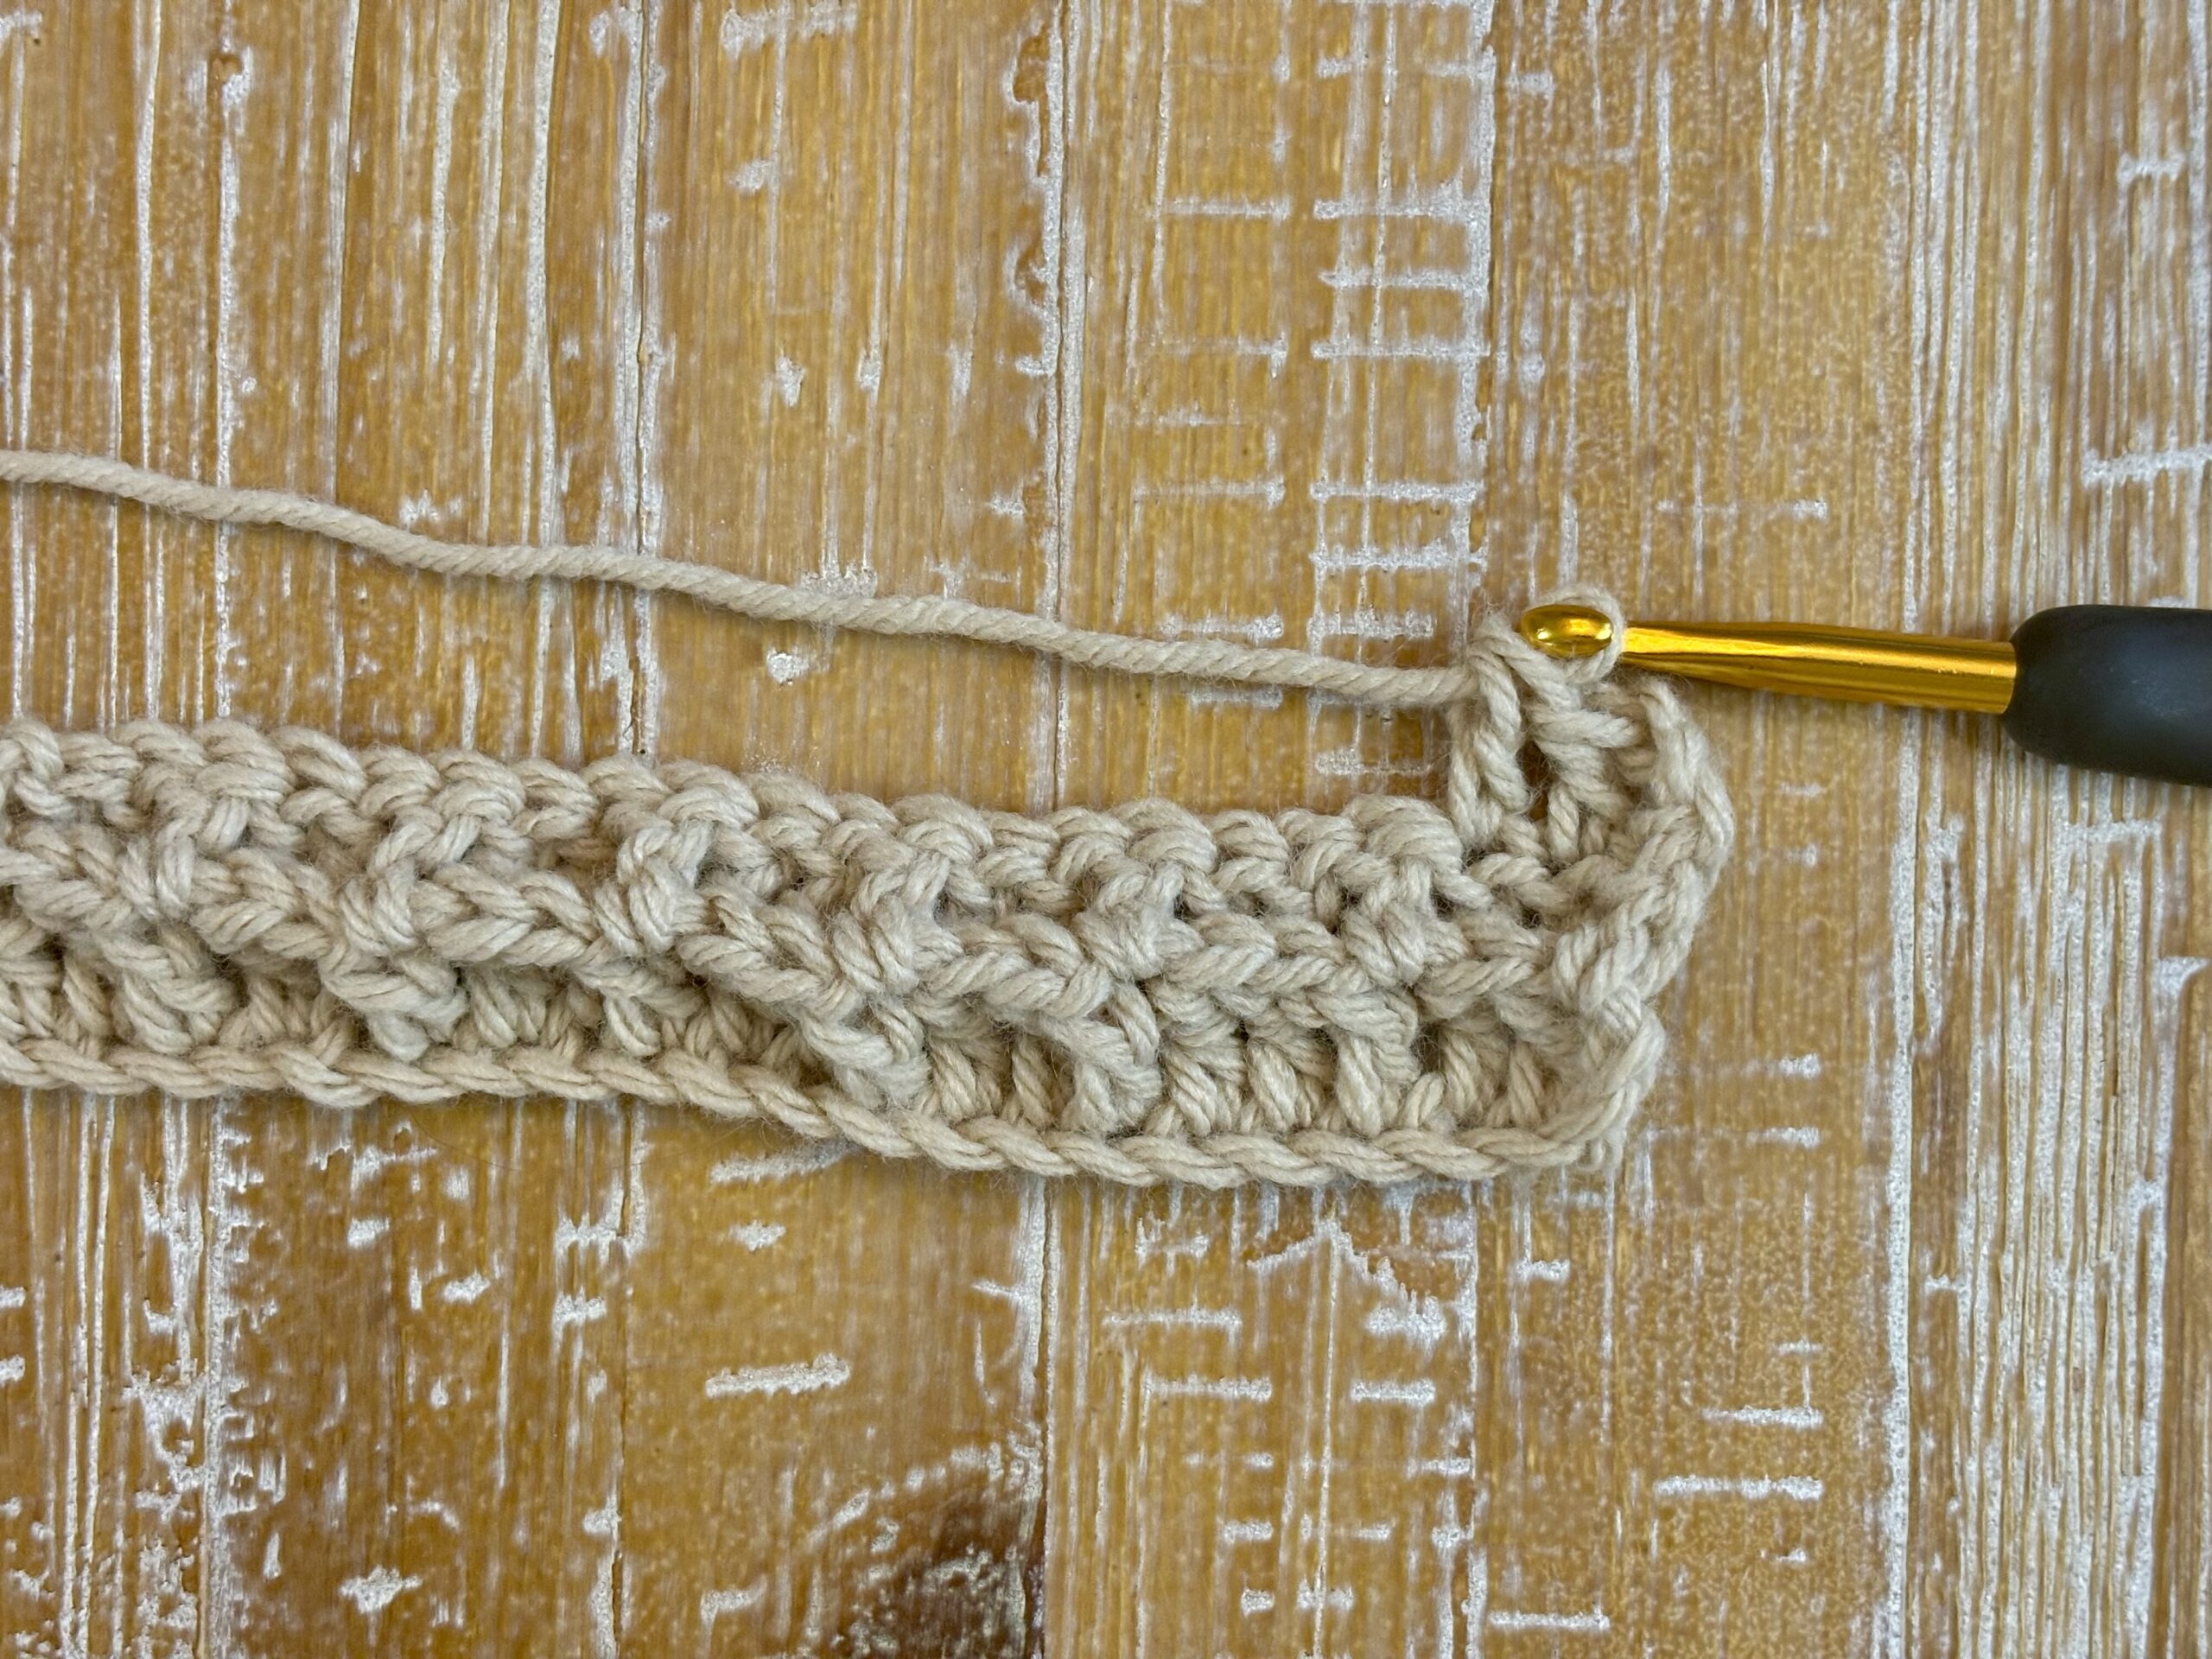
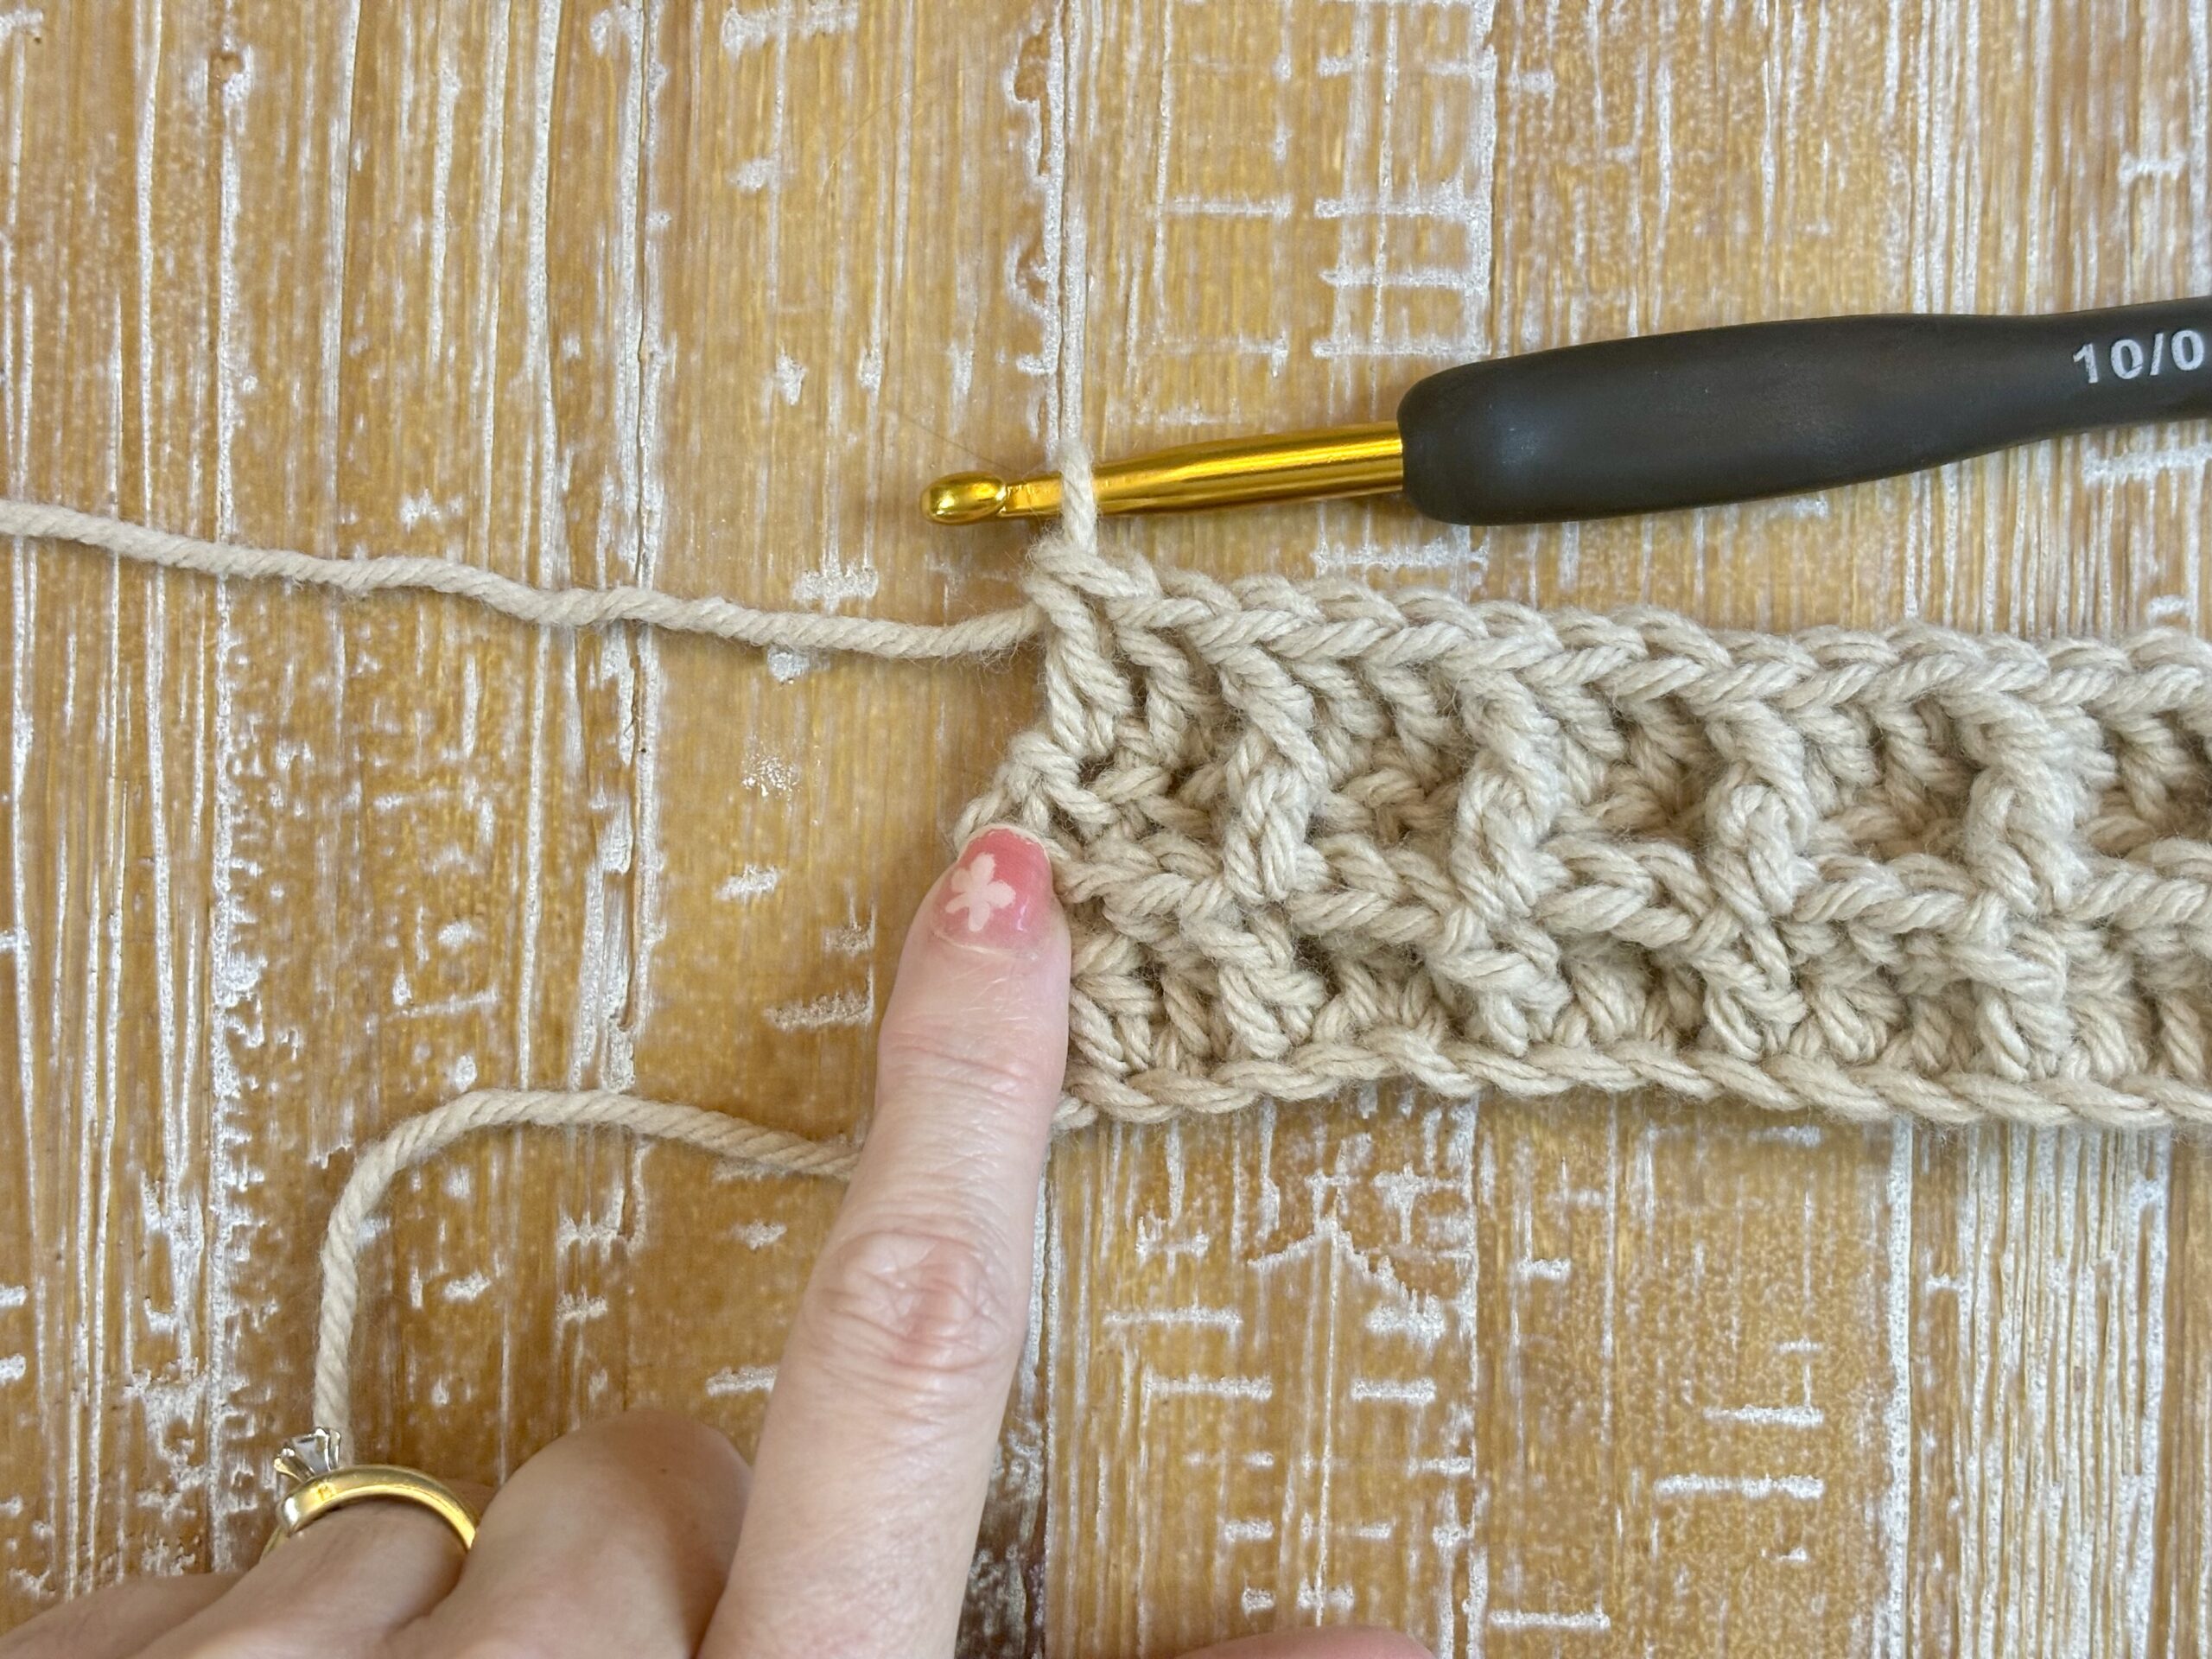
Row 1: (Establishing the Pattern)
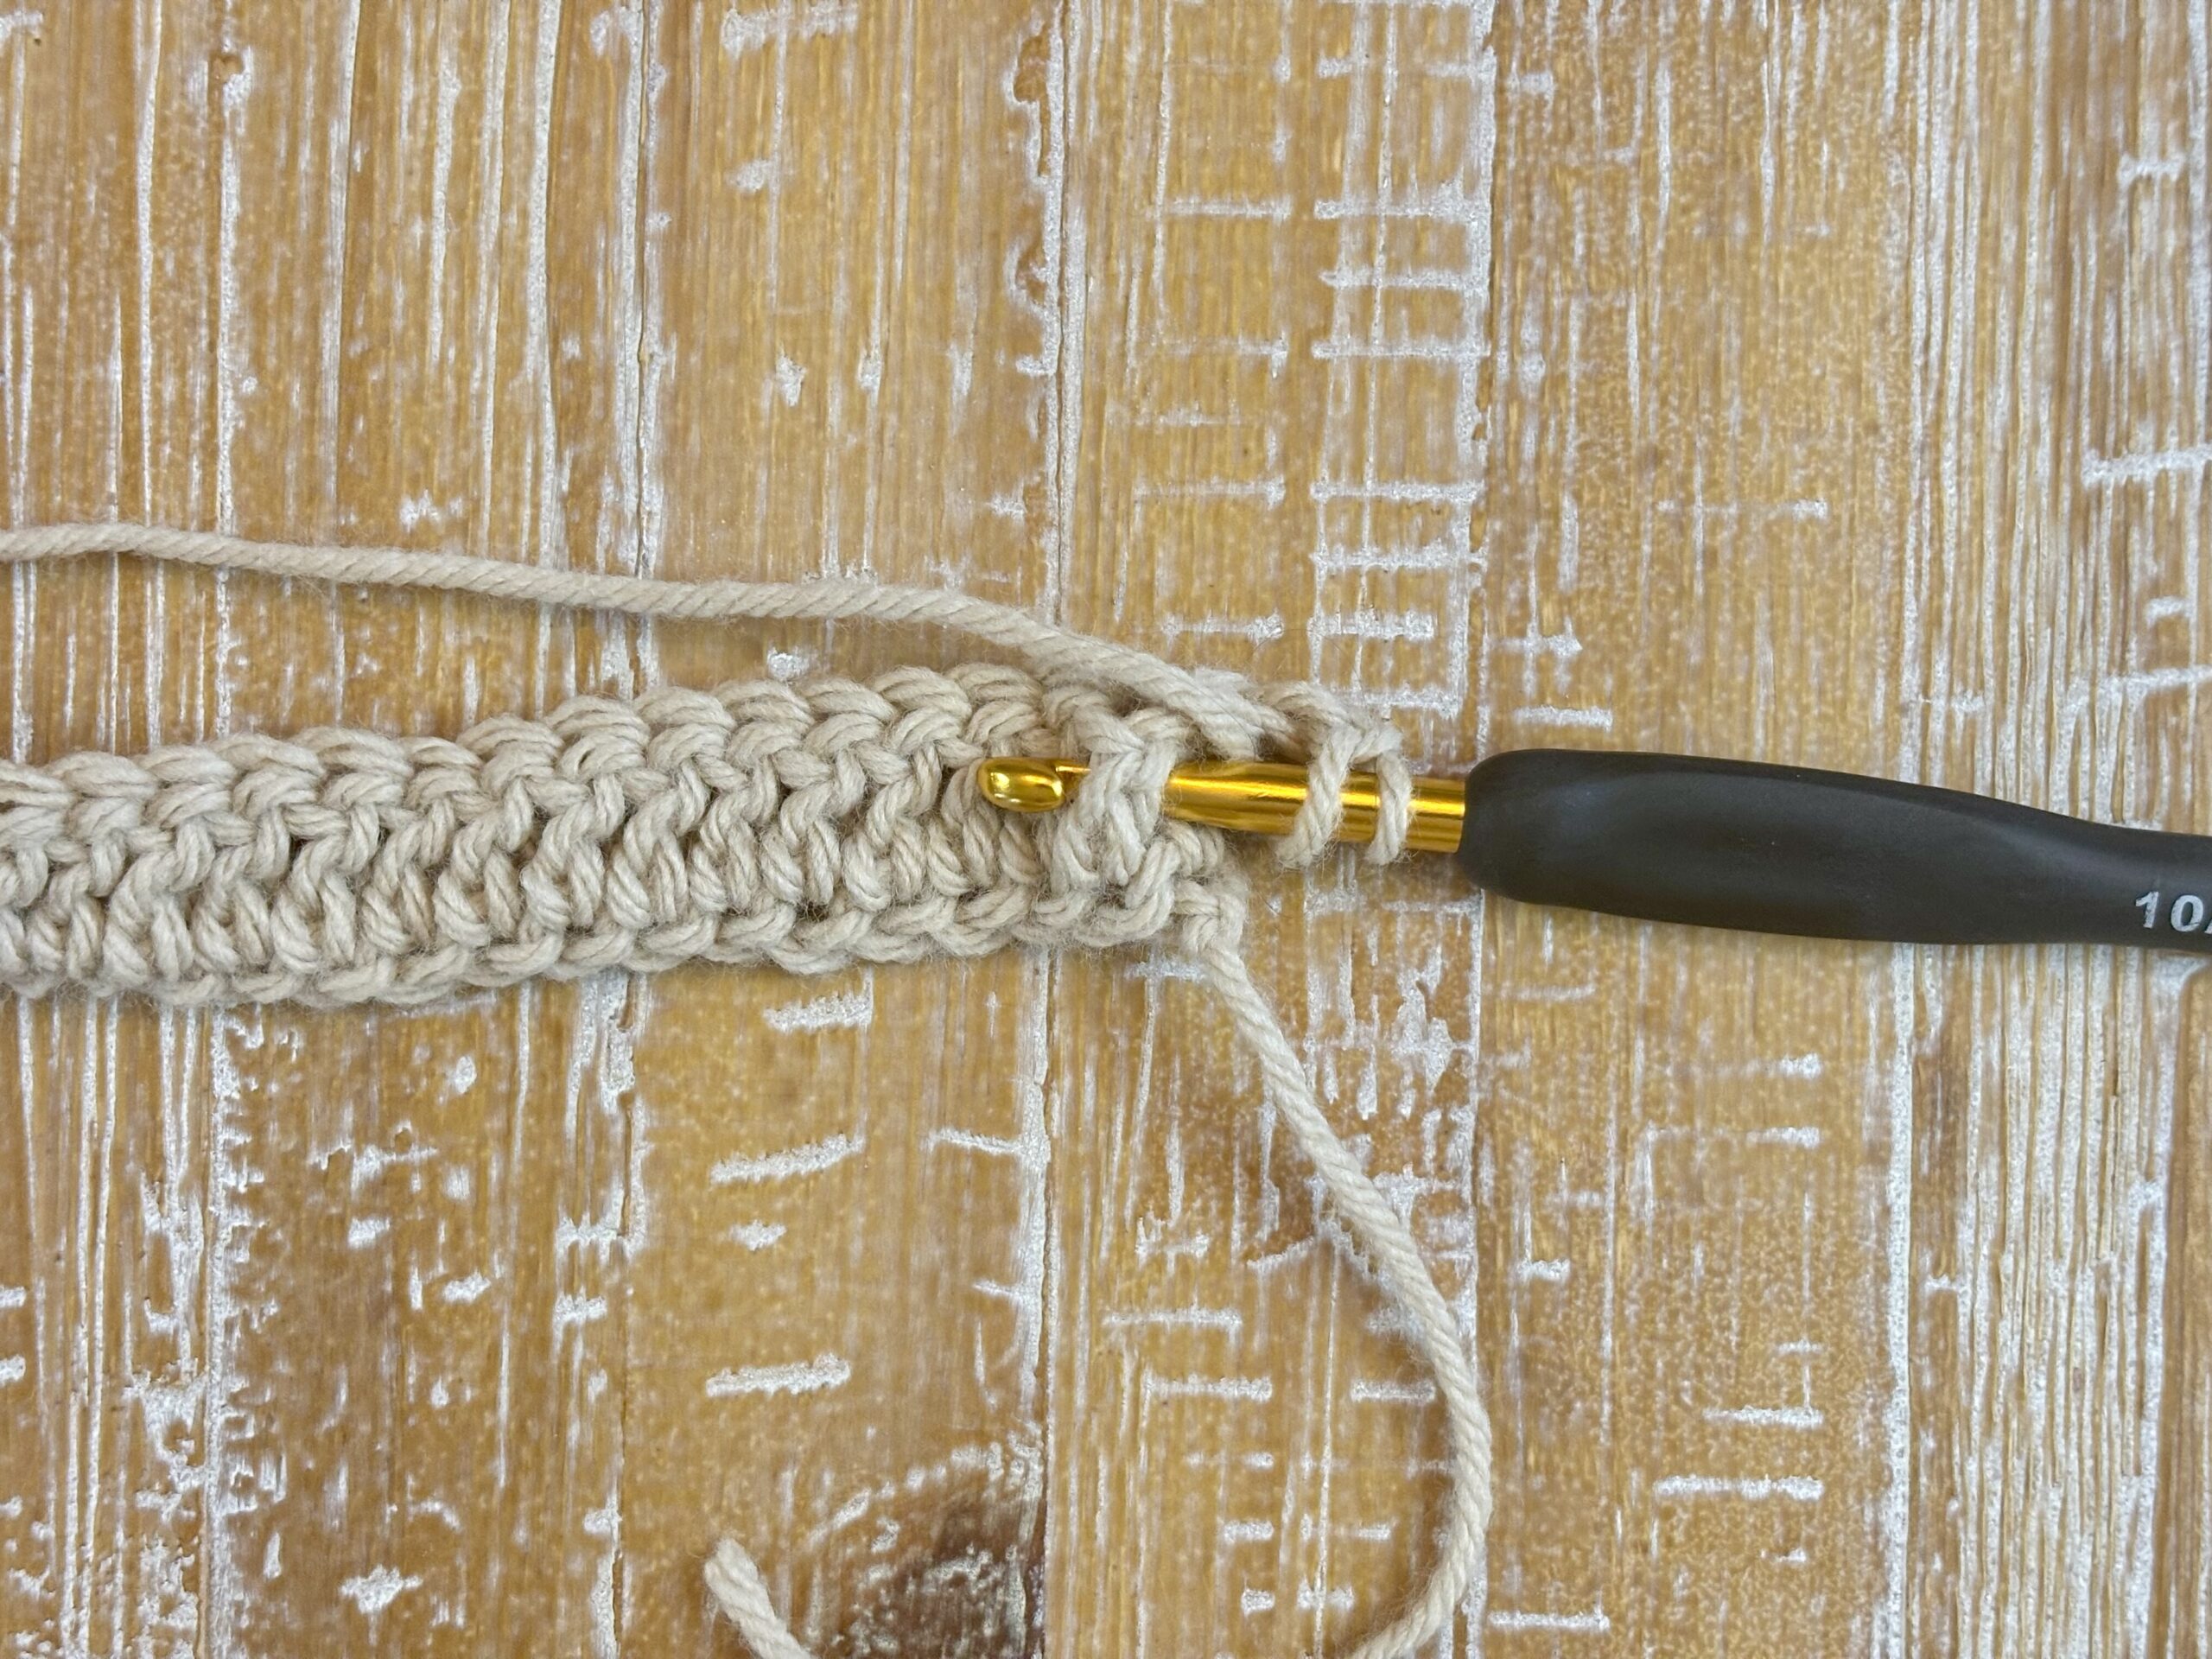
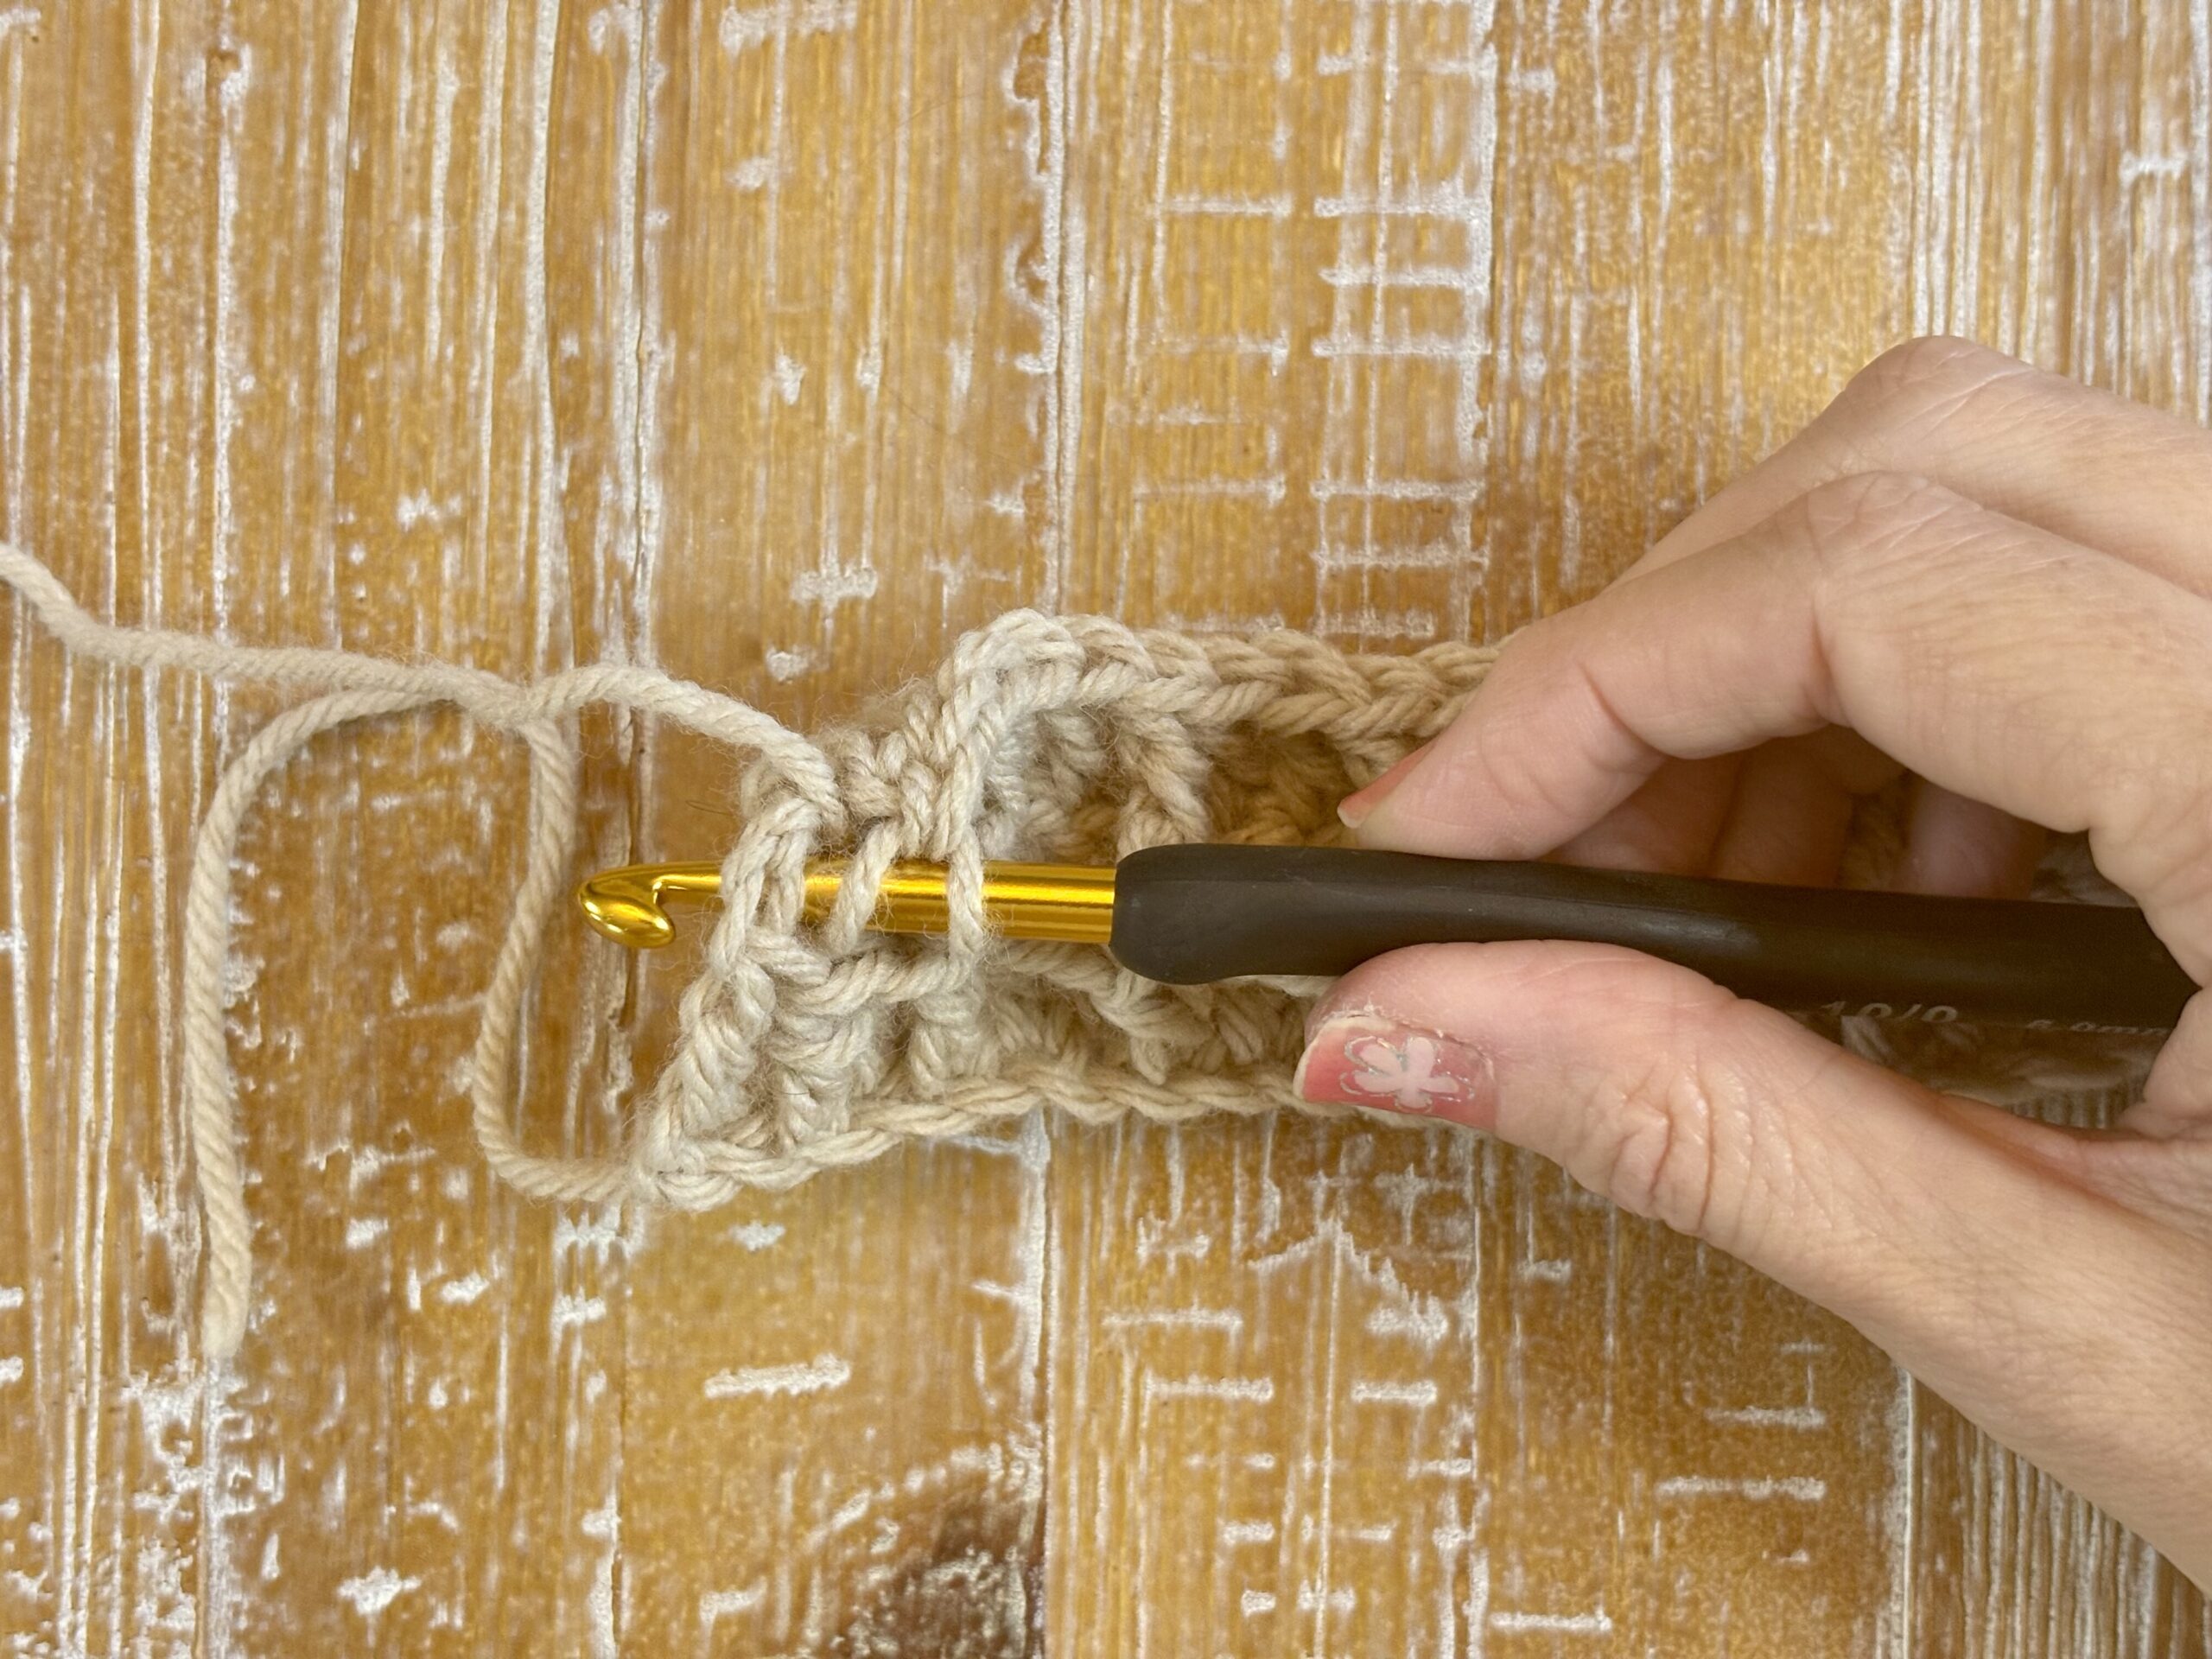
- Front Post Double Crochet: Make one front post double crochet in the next two stitches.
- Double Crochet: Make a double crochet in the next stitch. This is where the texture starts to form.
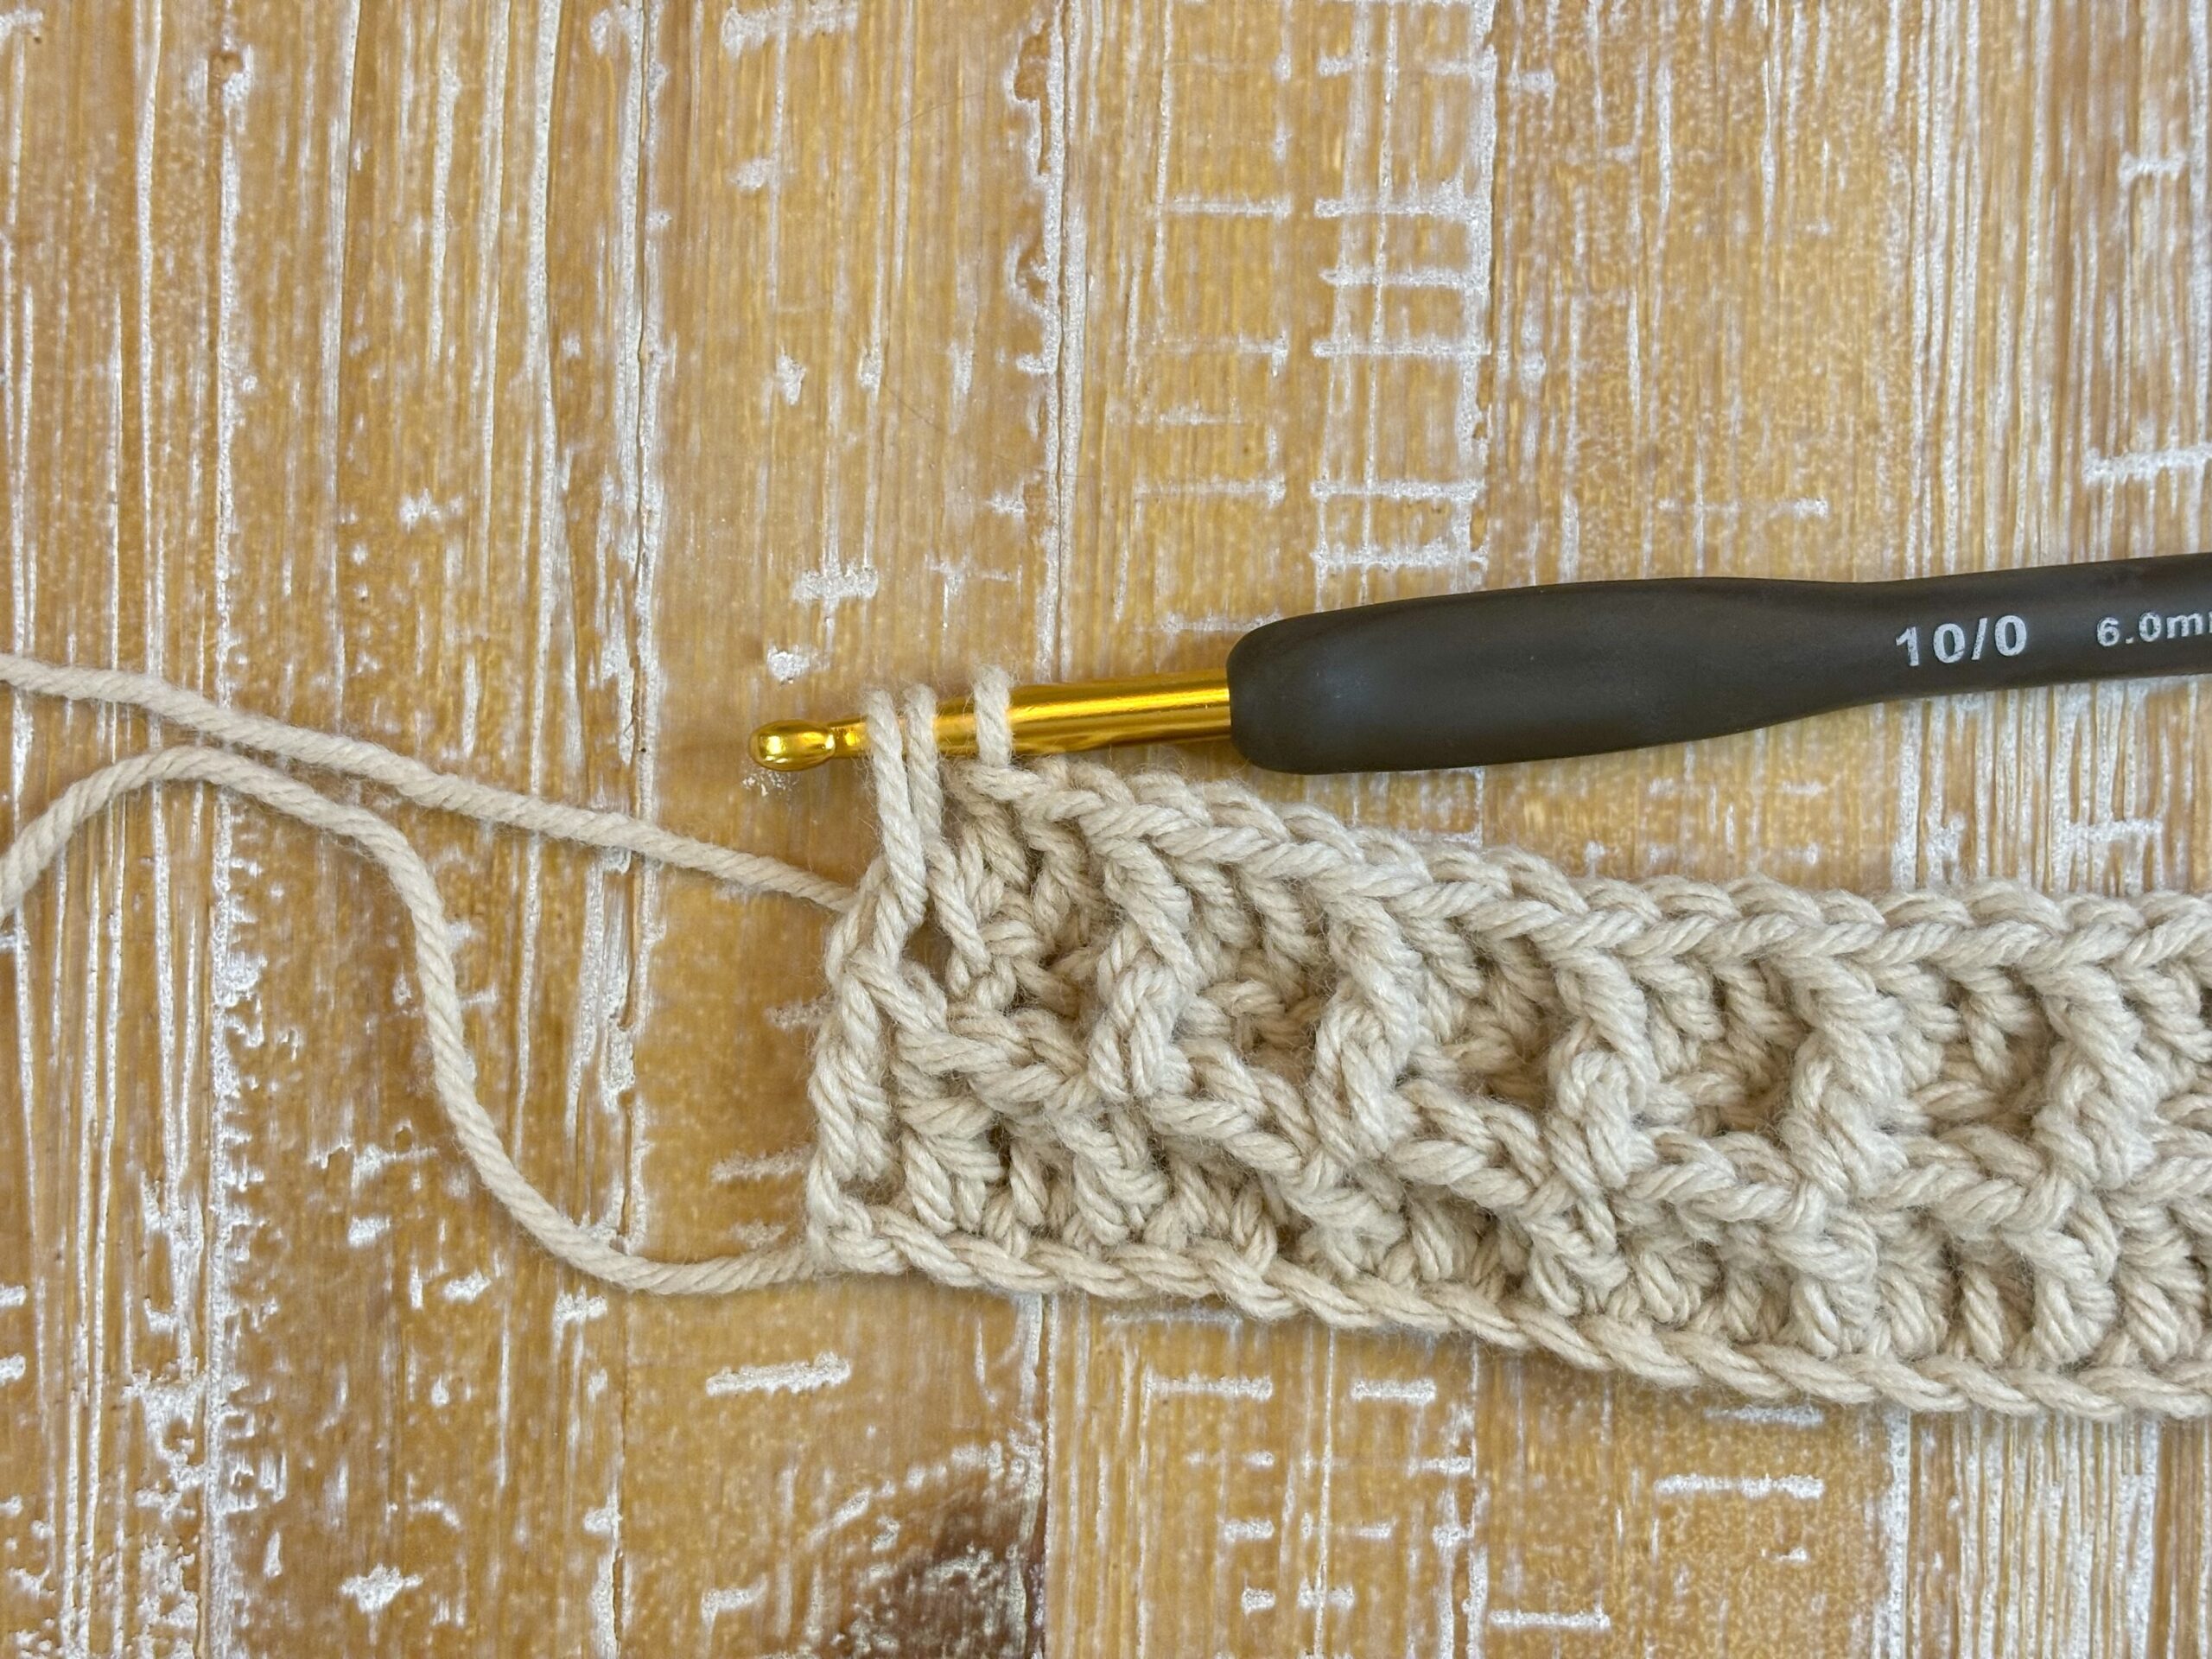
- Continue the Pattern: *front post double crochet in the next two stitches, then double crochet in the next stitch.* Repeat from * to * to the end of the row, ending with a double crochet in beginning ch from previous row, ch 2, Turn your work.

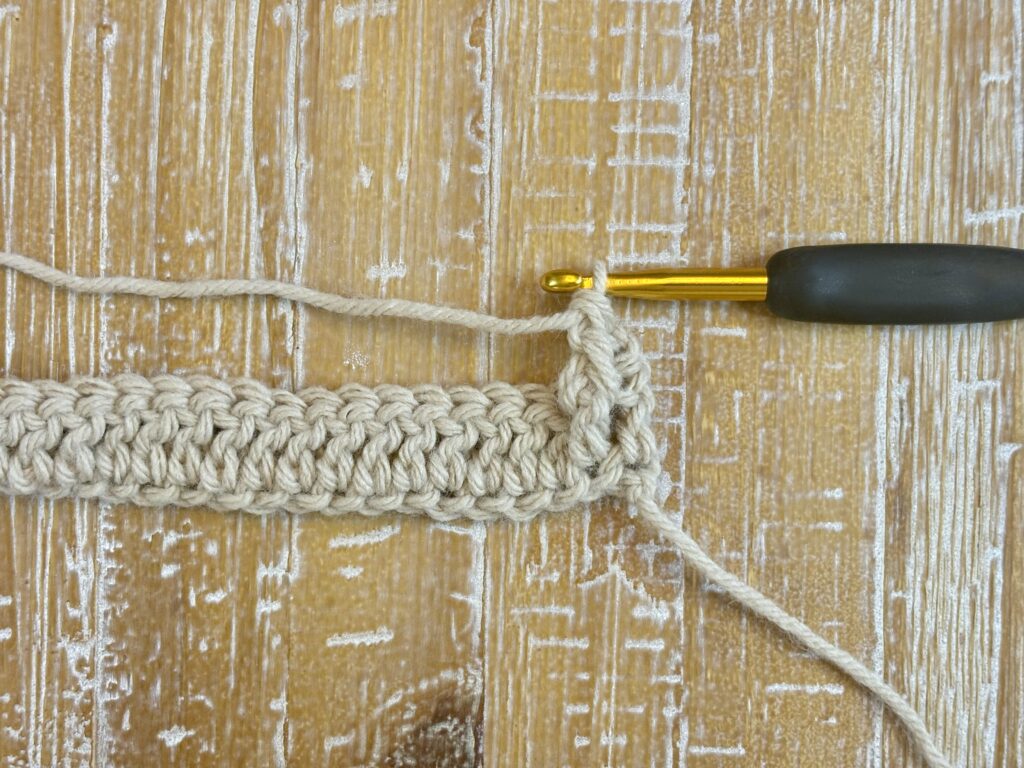
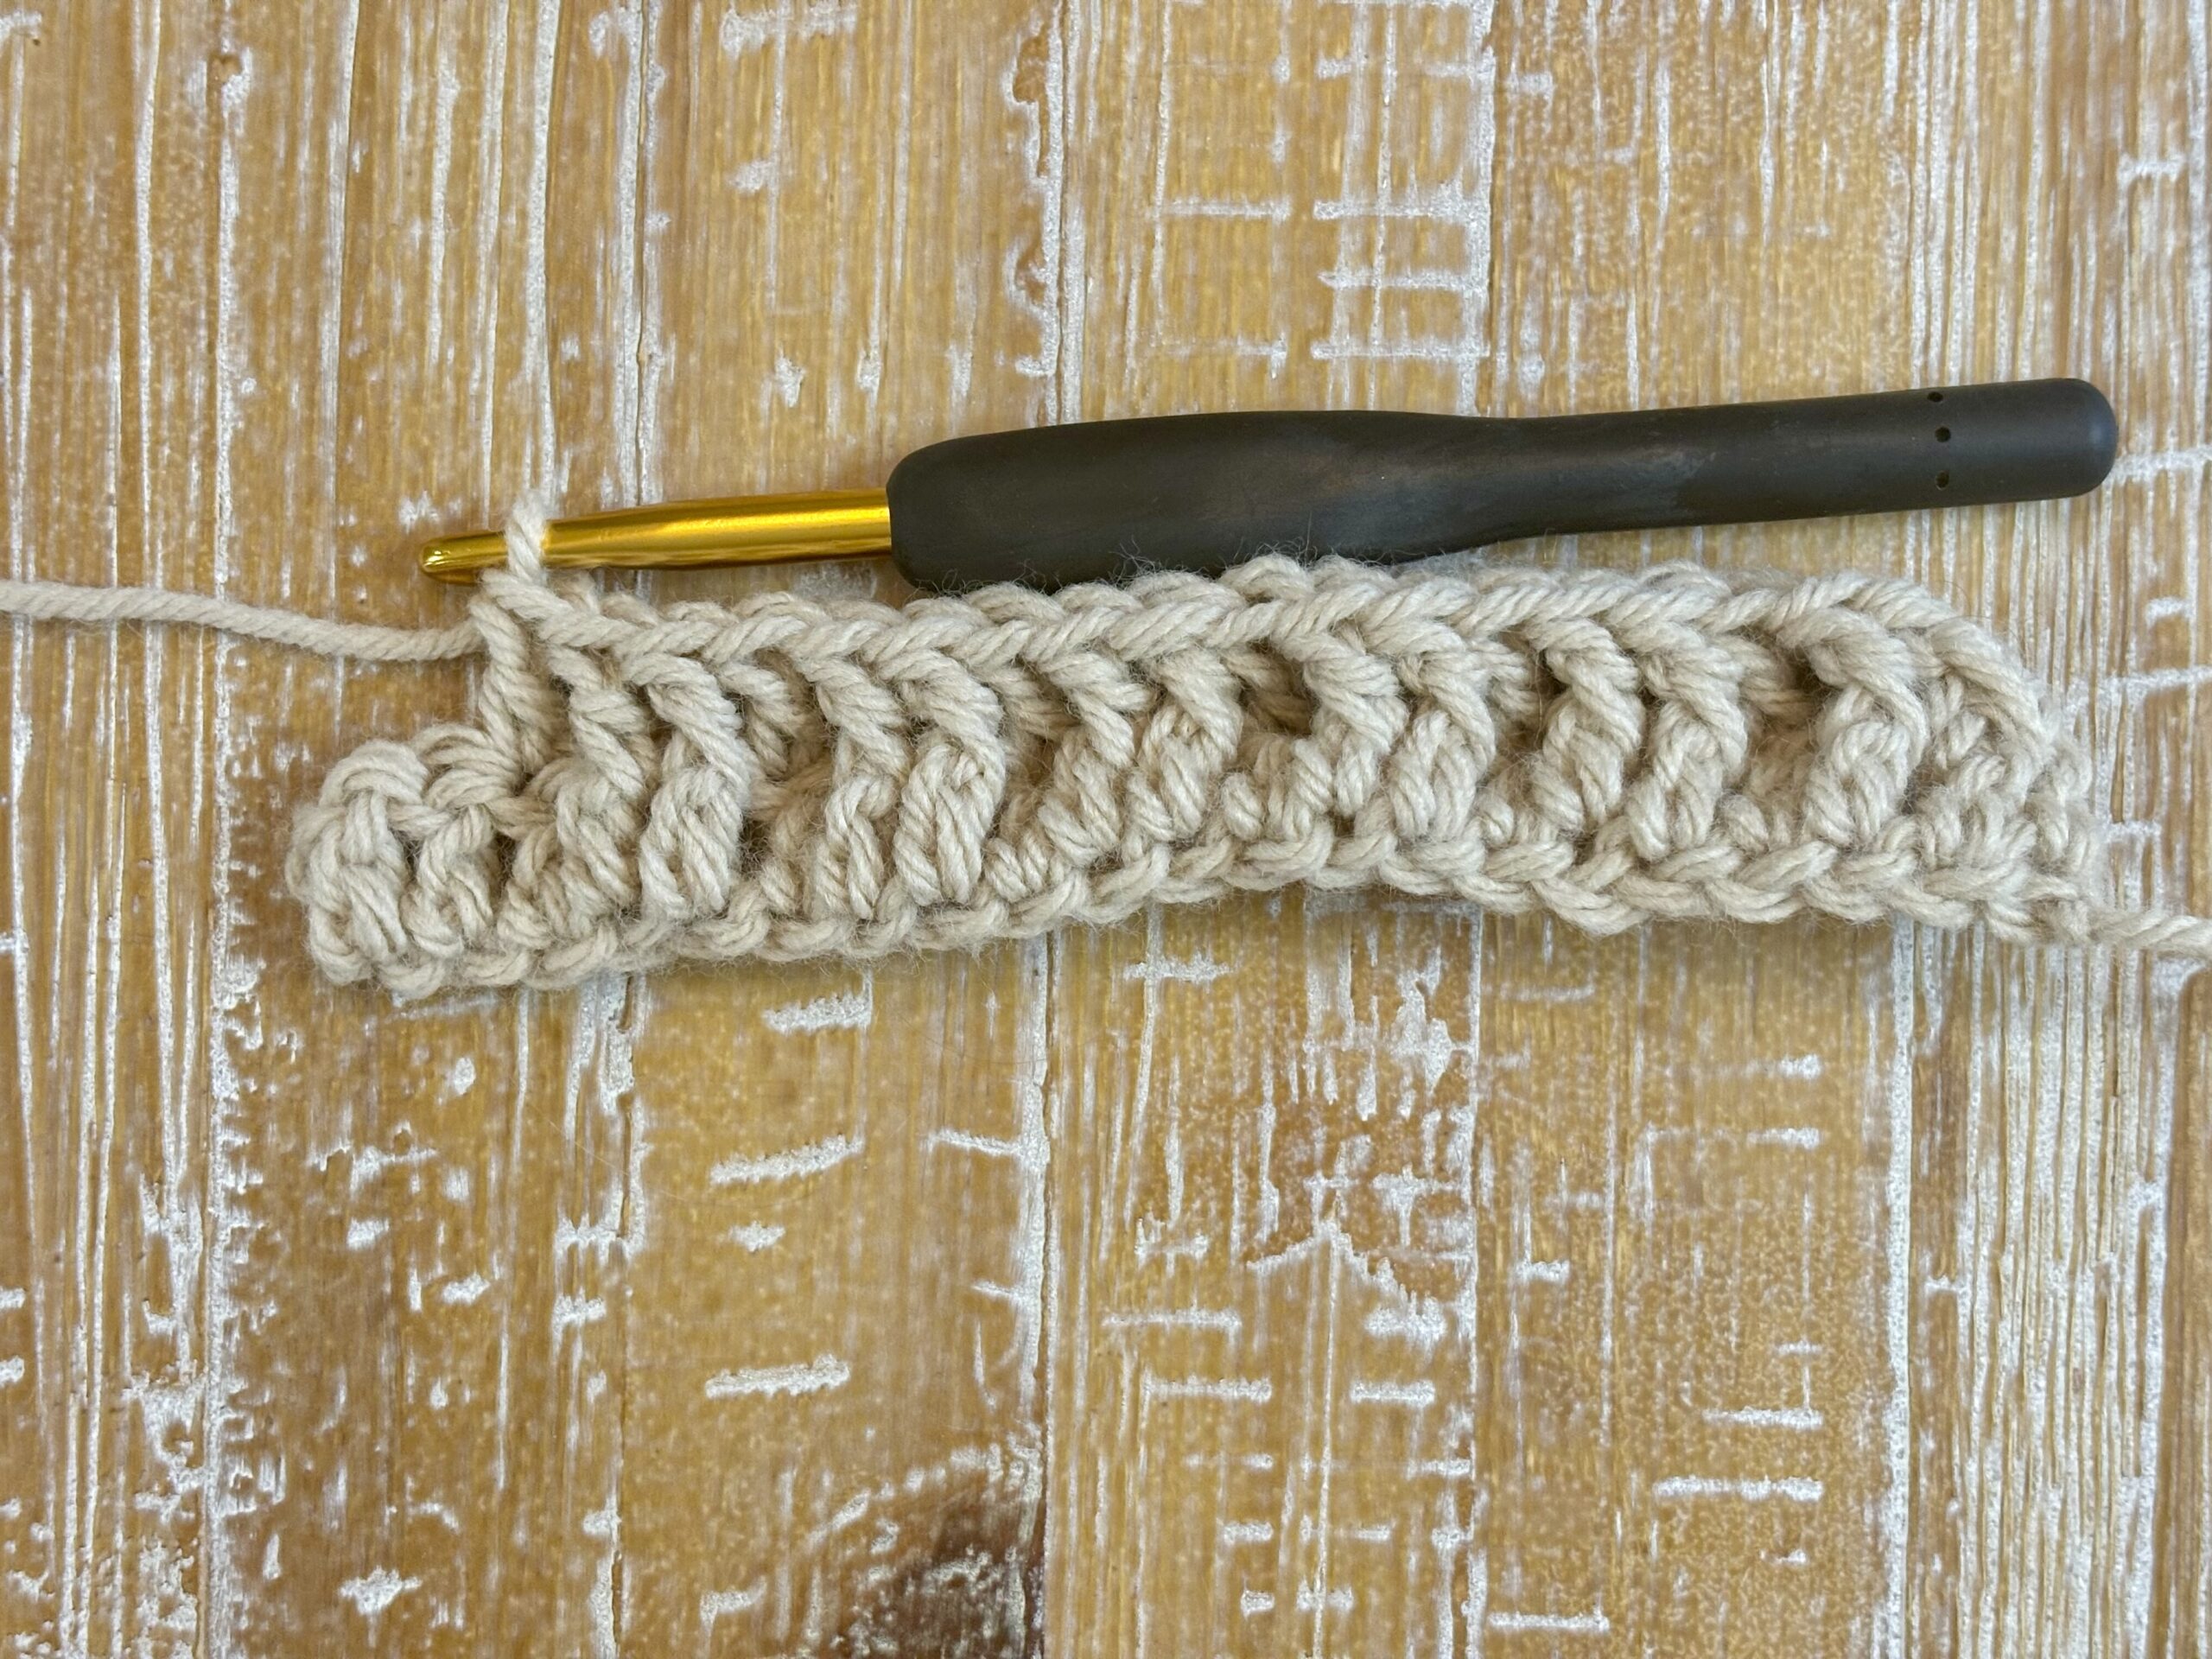
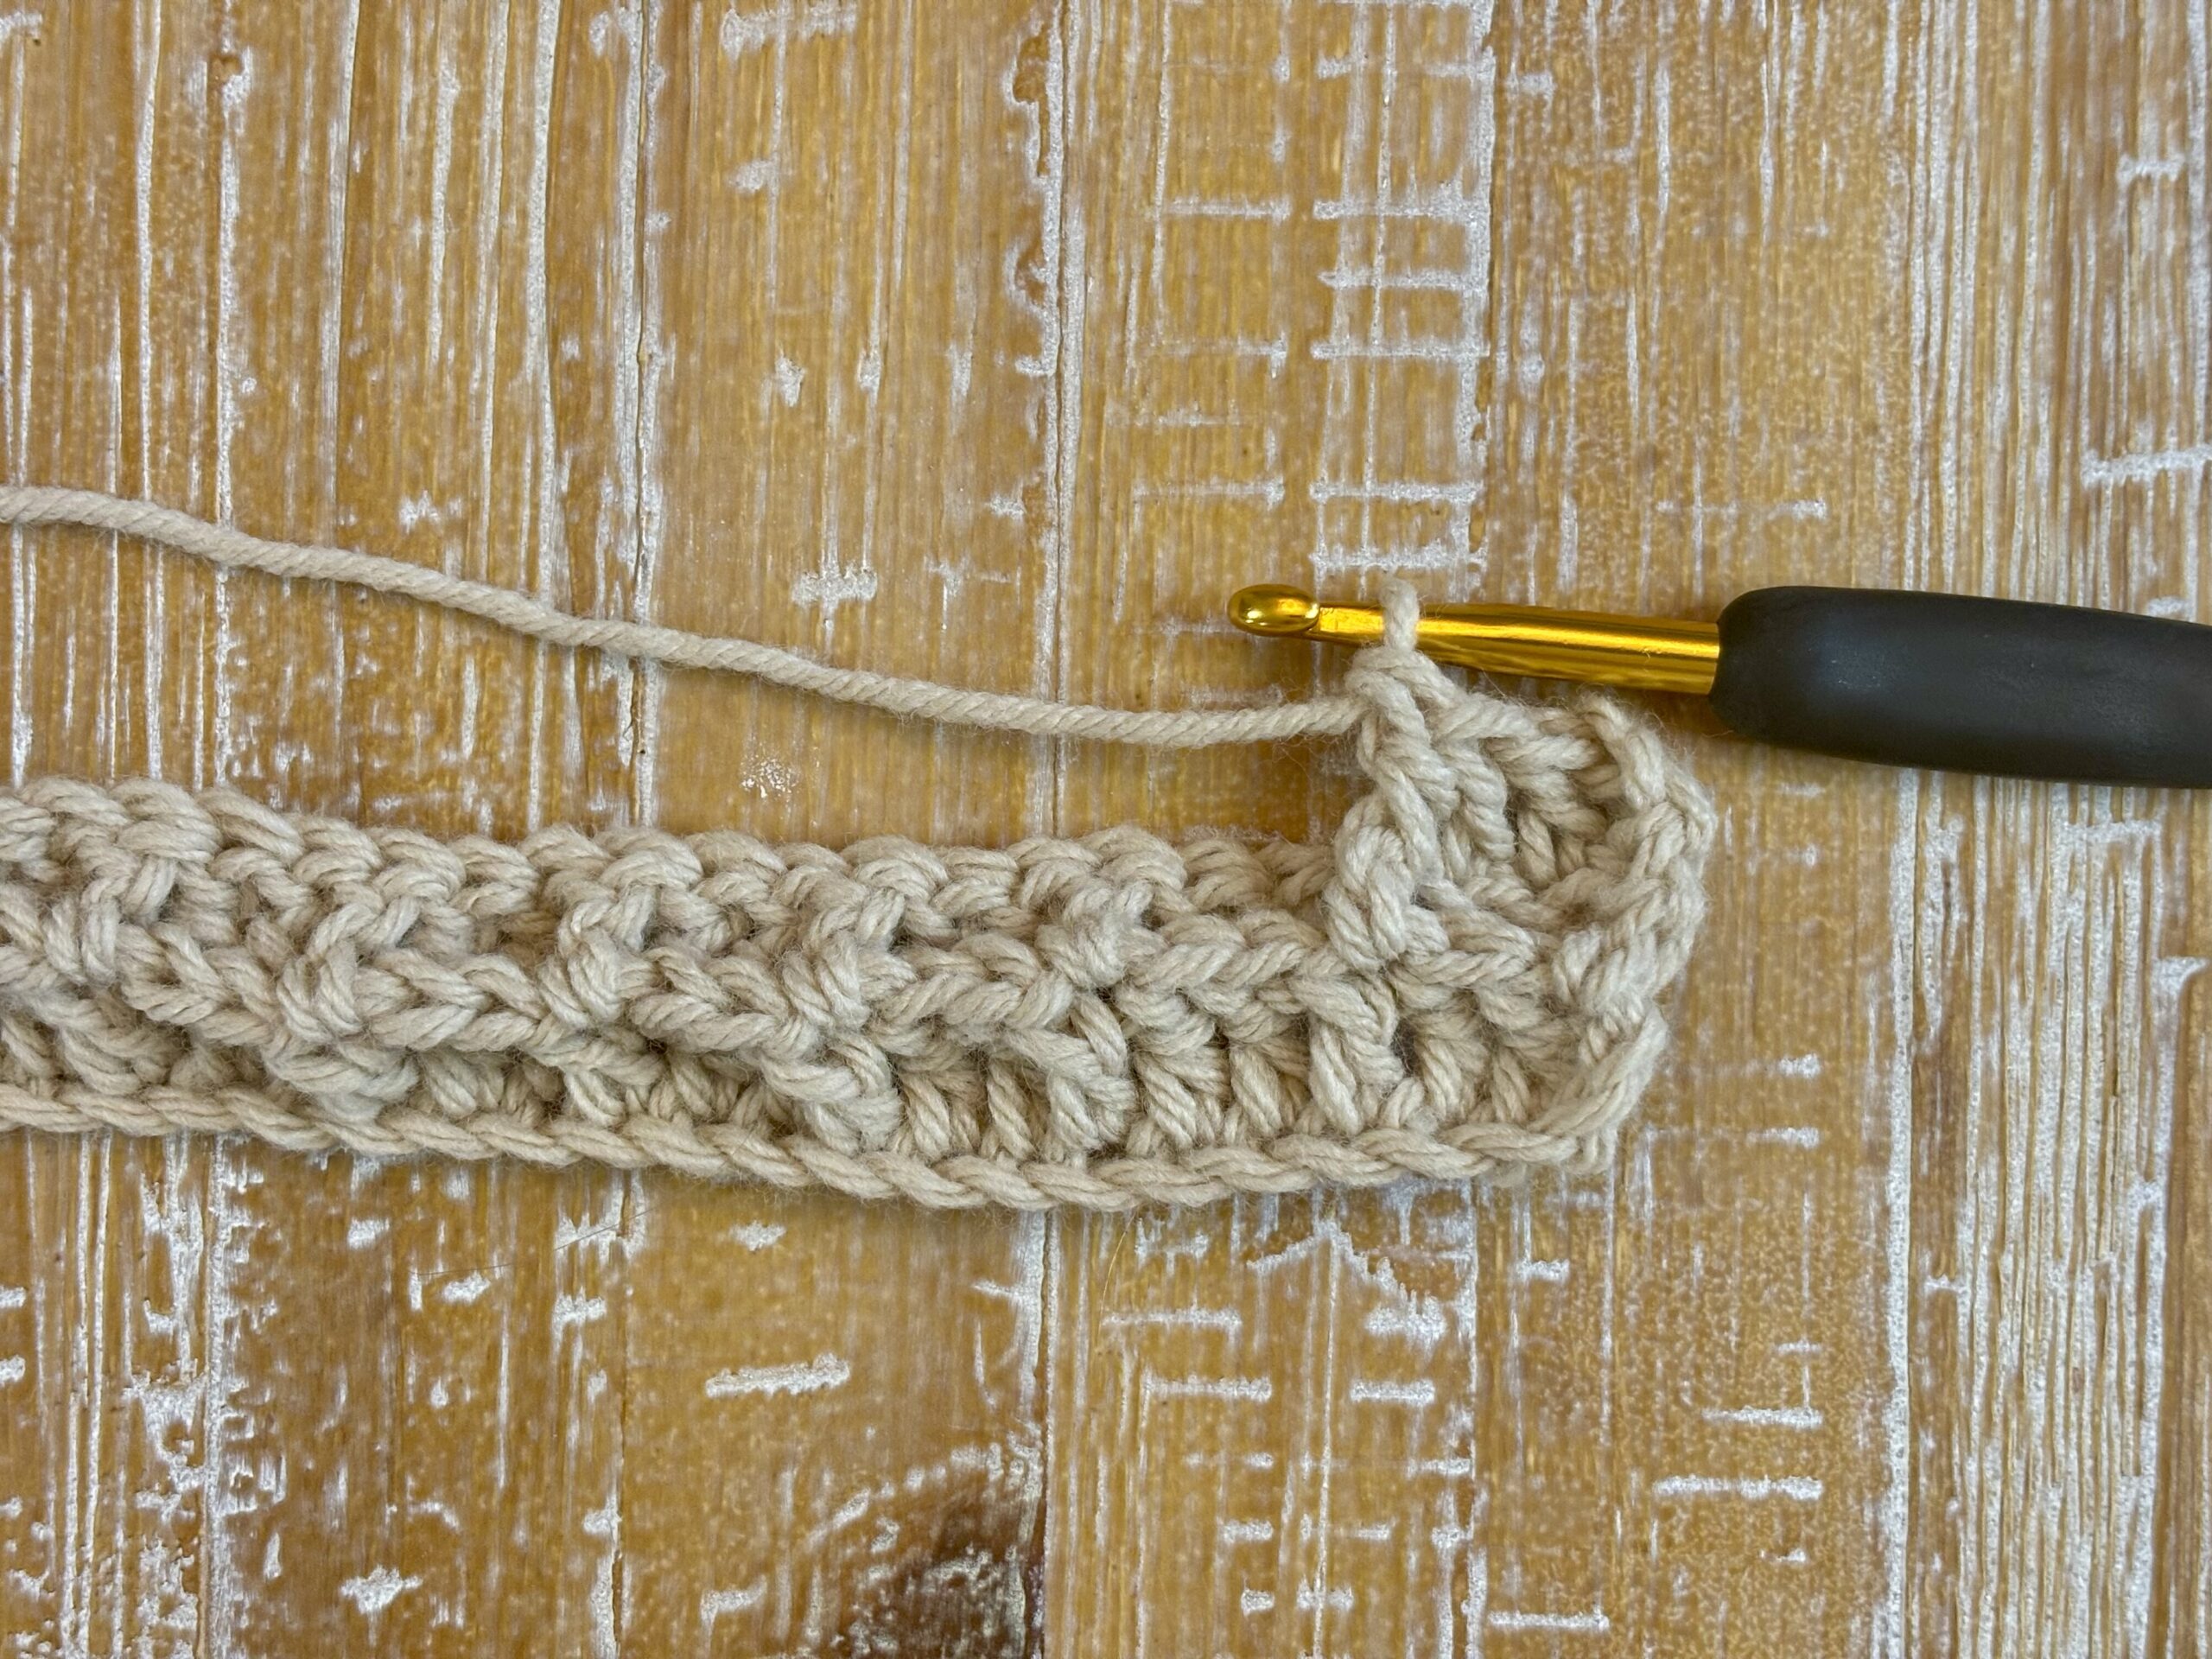
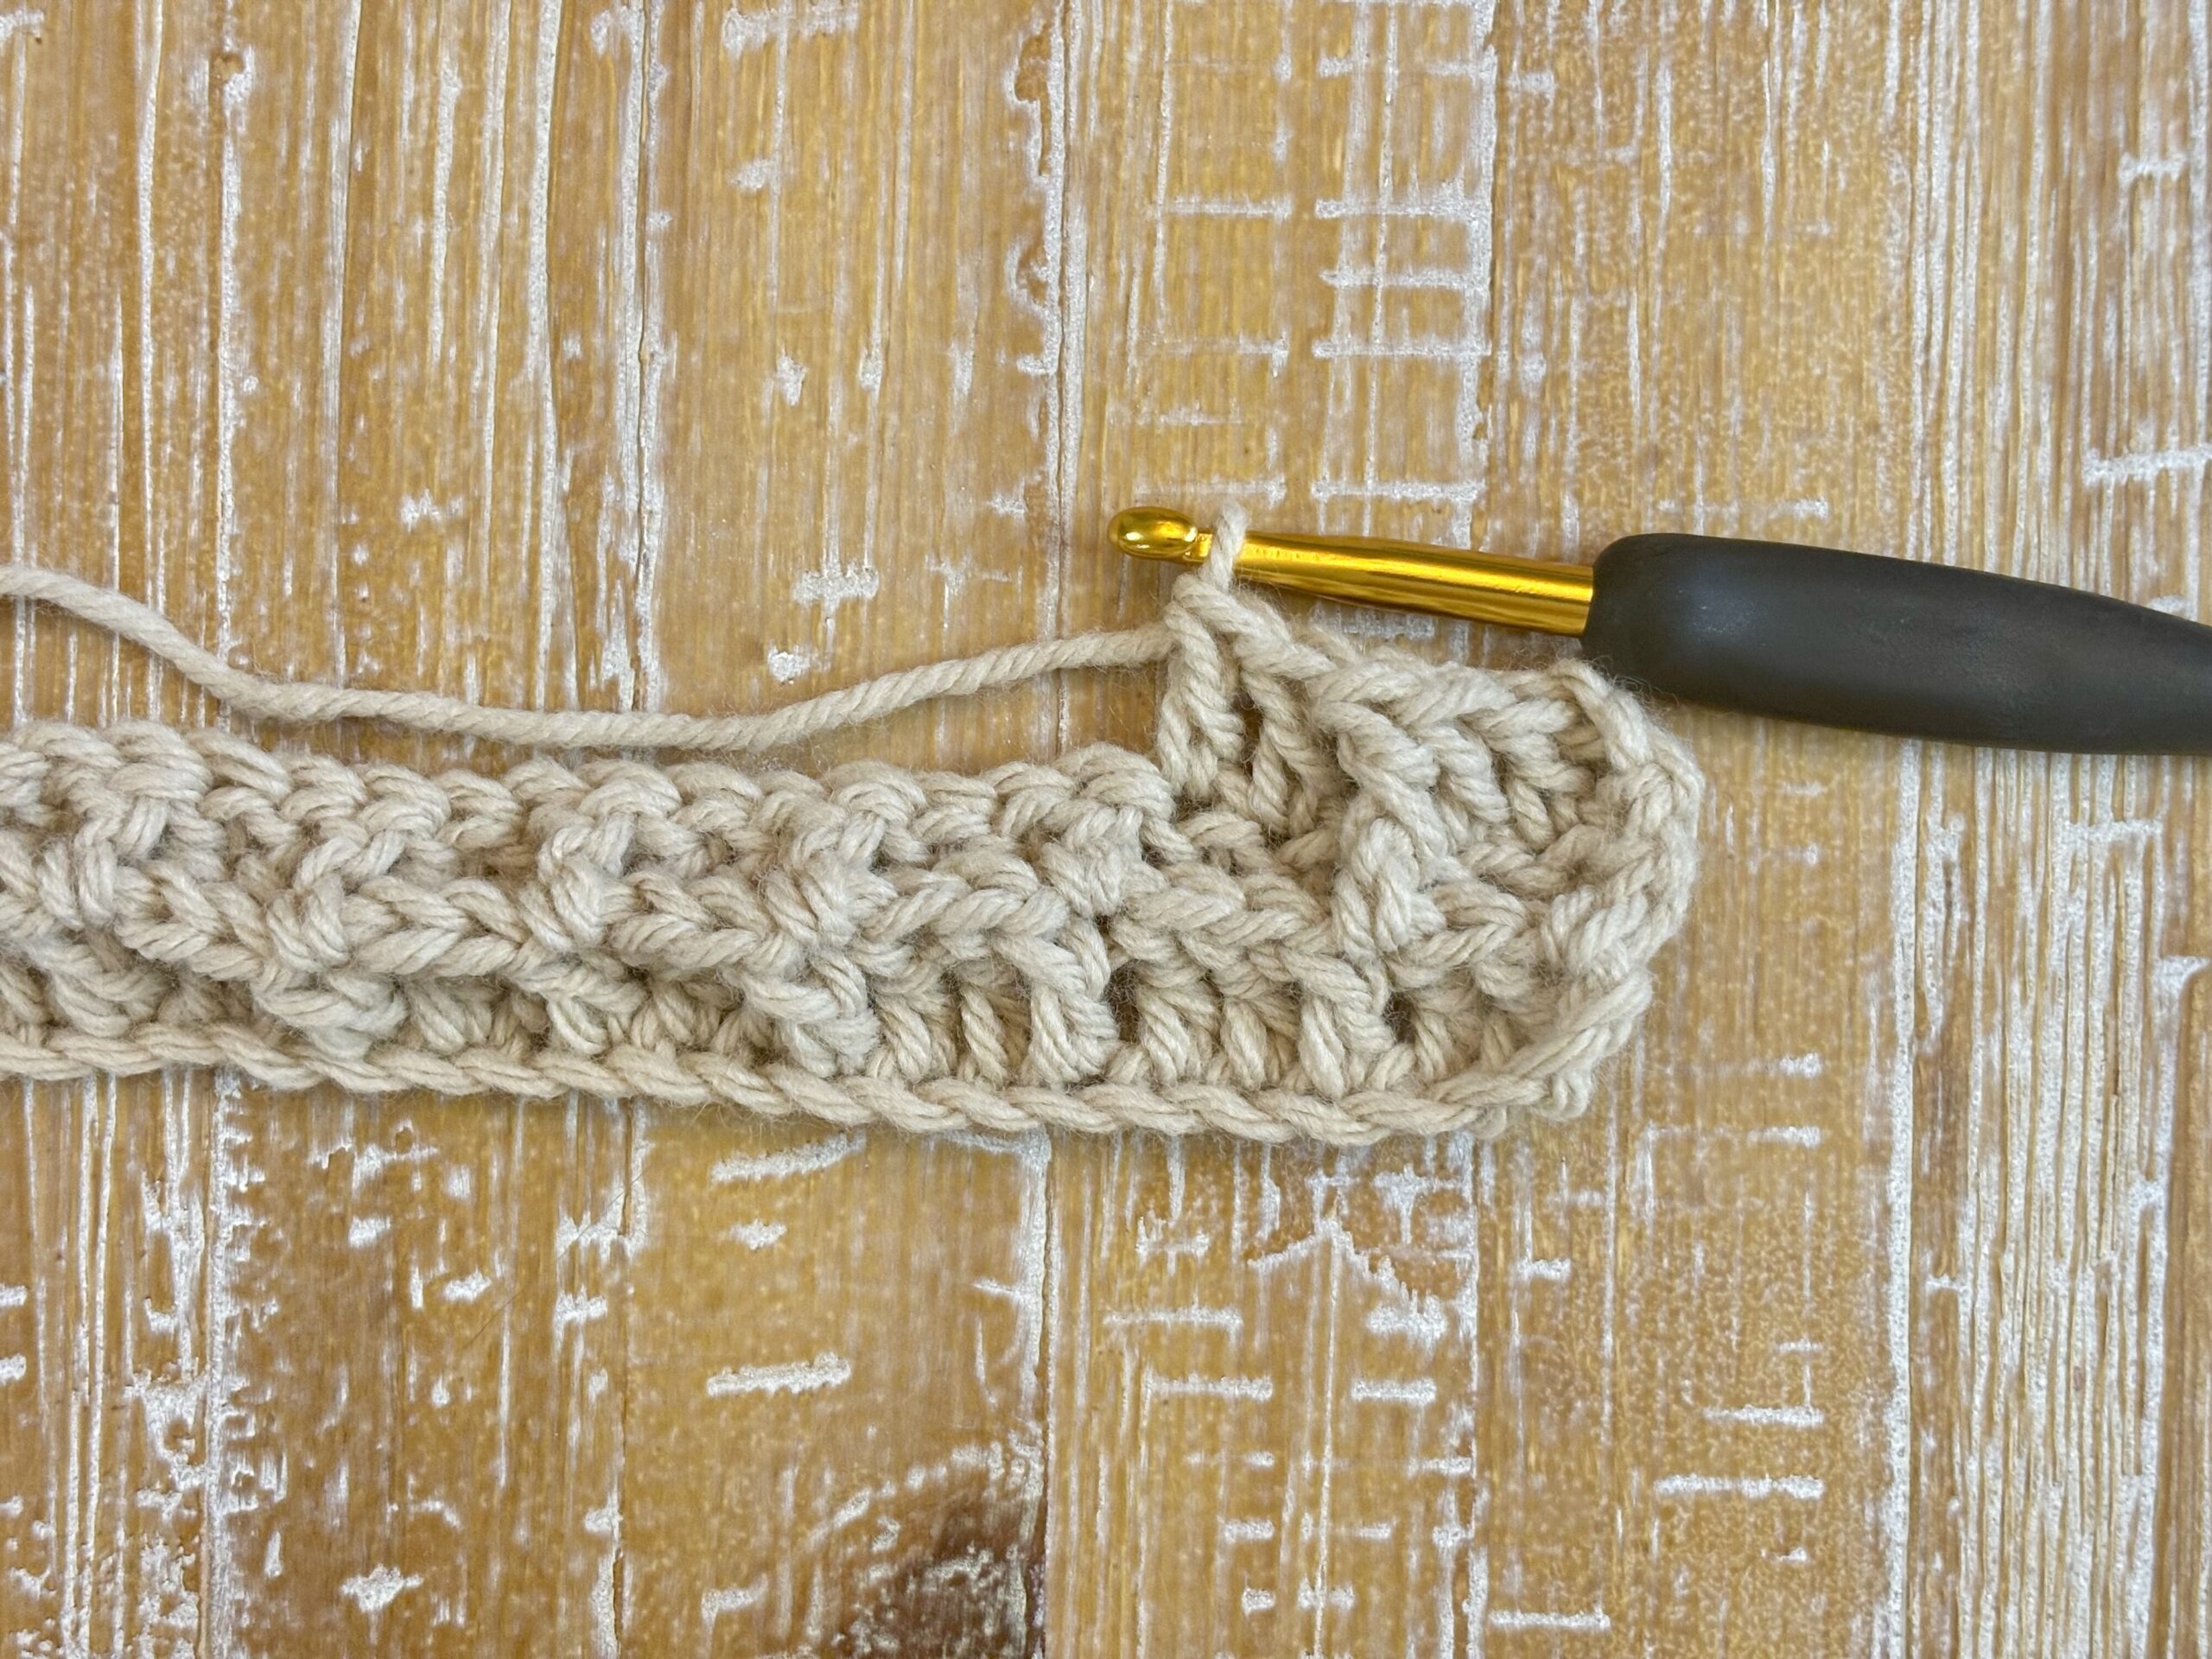
Row 2: (Building the Waffle Texture)
- Double Crochet: dc in first two stitches
- Front Post Double Crochet: fpdc in next stitch
- Continue the Pattern: *dc, dc, fpdc* across to last stitch
- fpdc around last stitch, chain 2, turn
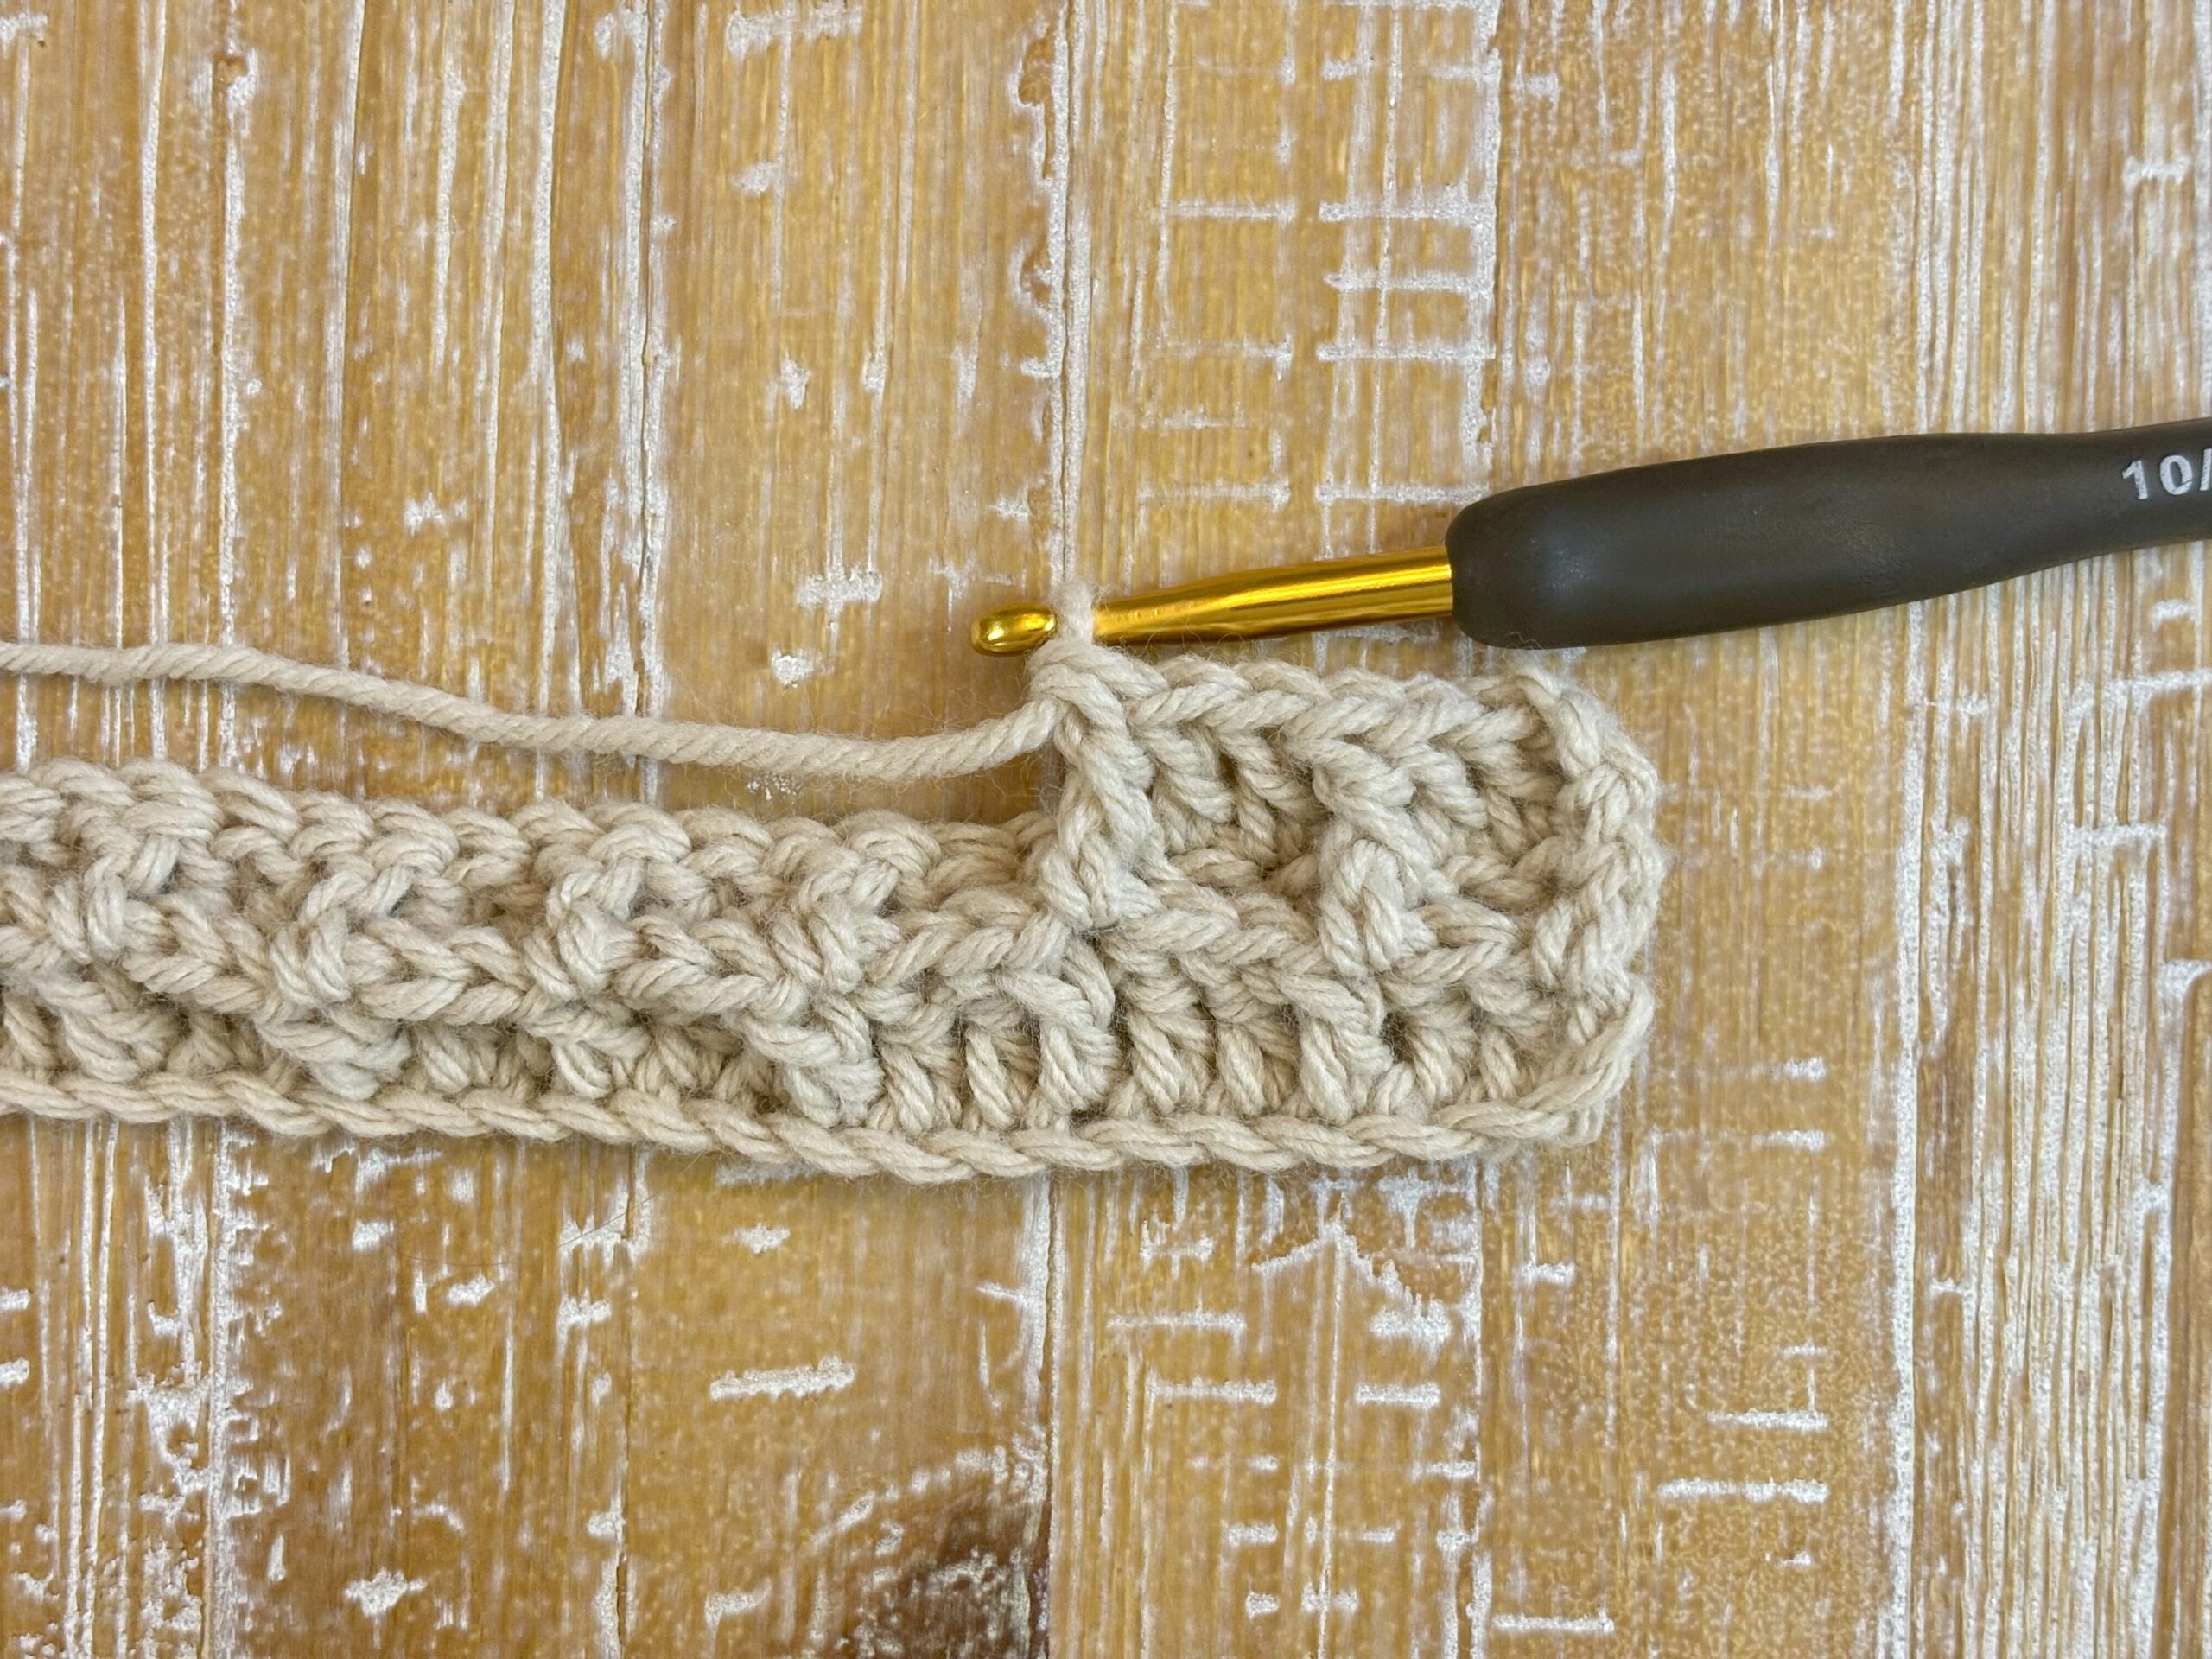
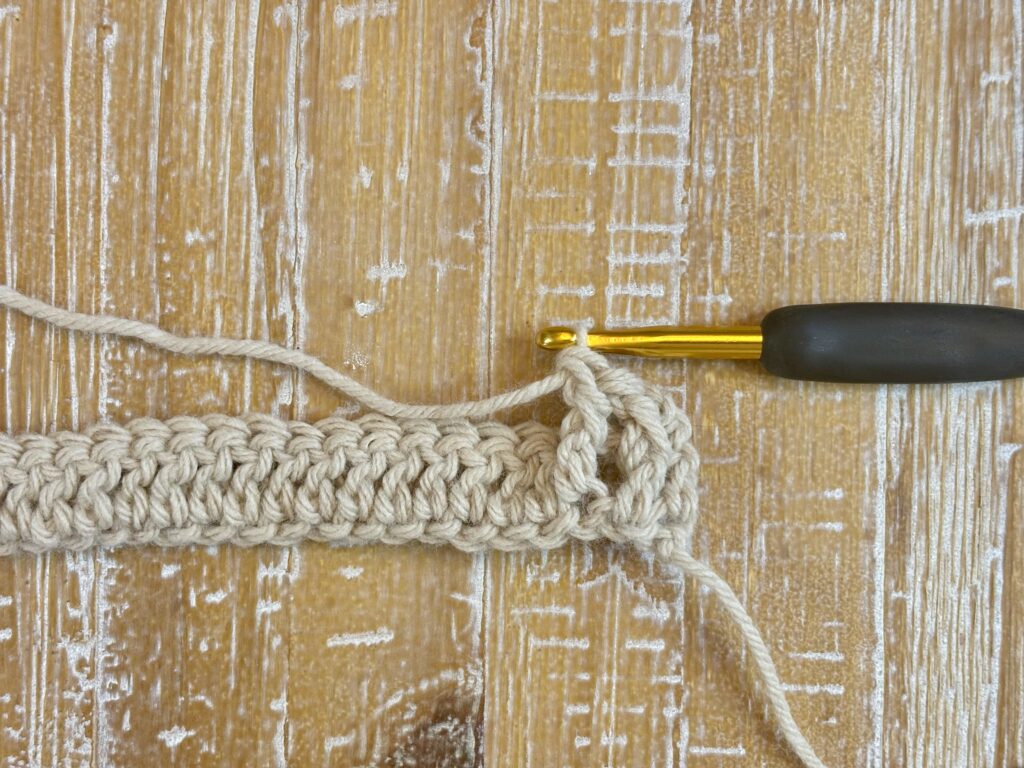
Rows 3,4 and beyond: (Building the Waffle Texture)
Repeat rows 1 and 2 for the rest of the pattern
Troubleshooting Common Issues:
- Stitch Alignment: If your stitches are not aligning to form clear columns of front post double crochets, check that you are placing each stitch type correctly above the corresponding stitch from the previous row.
- Tension Variations: If your fabric is puckering or too loose, adjust your hook size or tension to achieve a flat, even texture.
With these steps, you'll be able to master the waffle stitch and incorporate this delightful texture into a variety of crochet projects.
Project Ideas
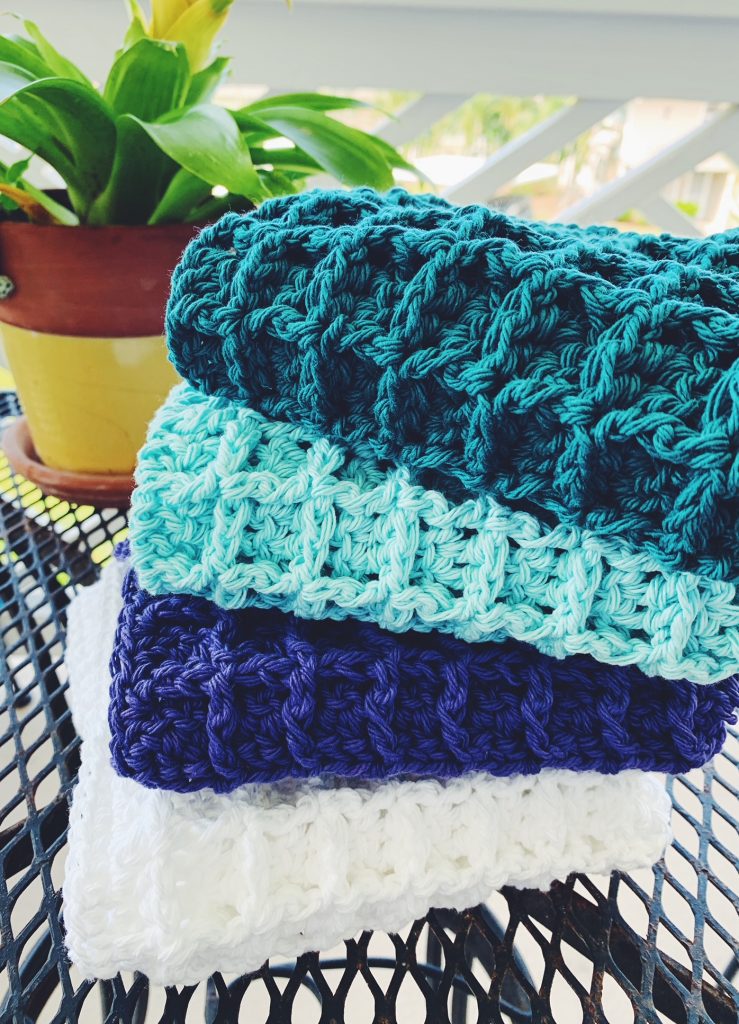
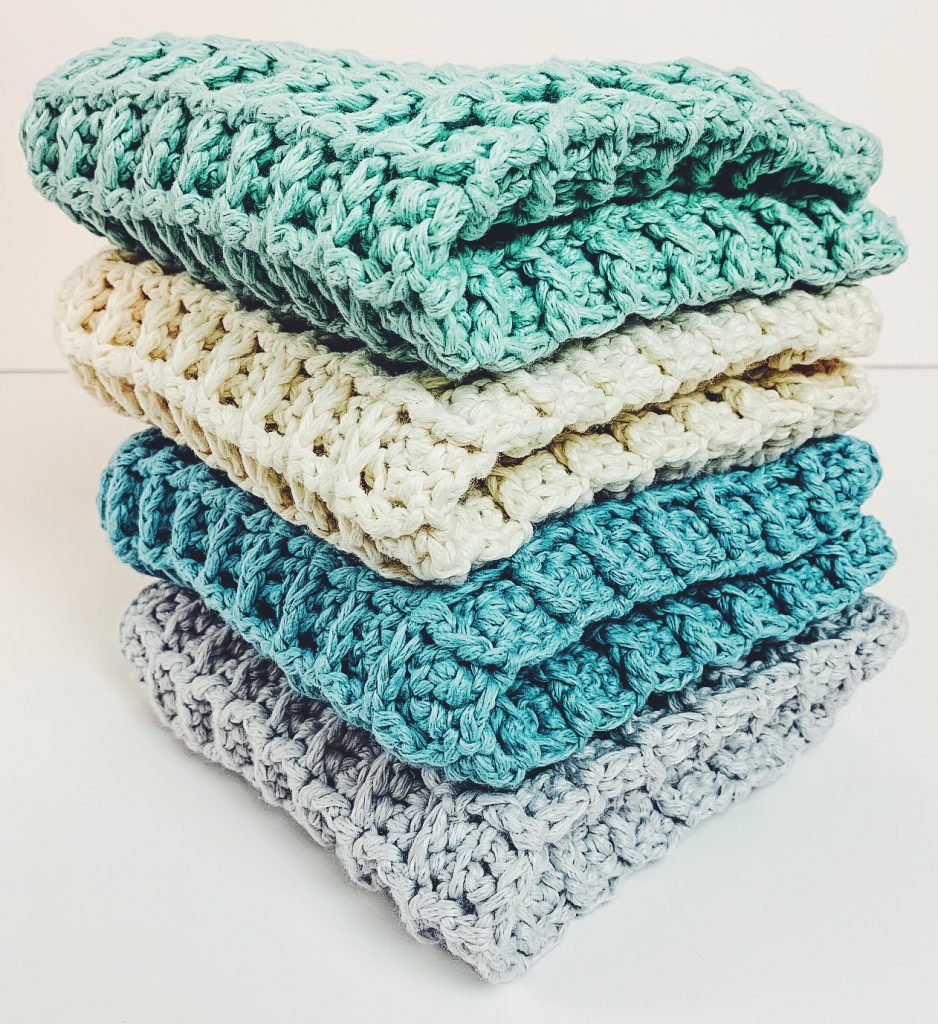
The waffle stitch is incredibly versatile, making it suitable for a wide range of projects. Here are a few ideas to get you started:
- Waffle Stitch Blankets and Throws: Use chunky yarn for a cozy, thick blanket that’s perfect for chilly evenings.
- Cushion Covers: Add a touch of elegance to your living room with textured cushion covers.
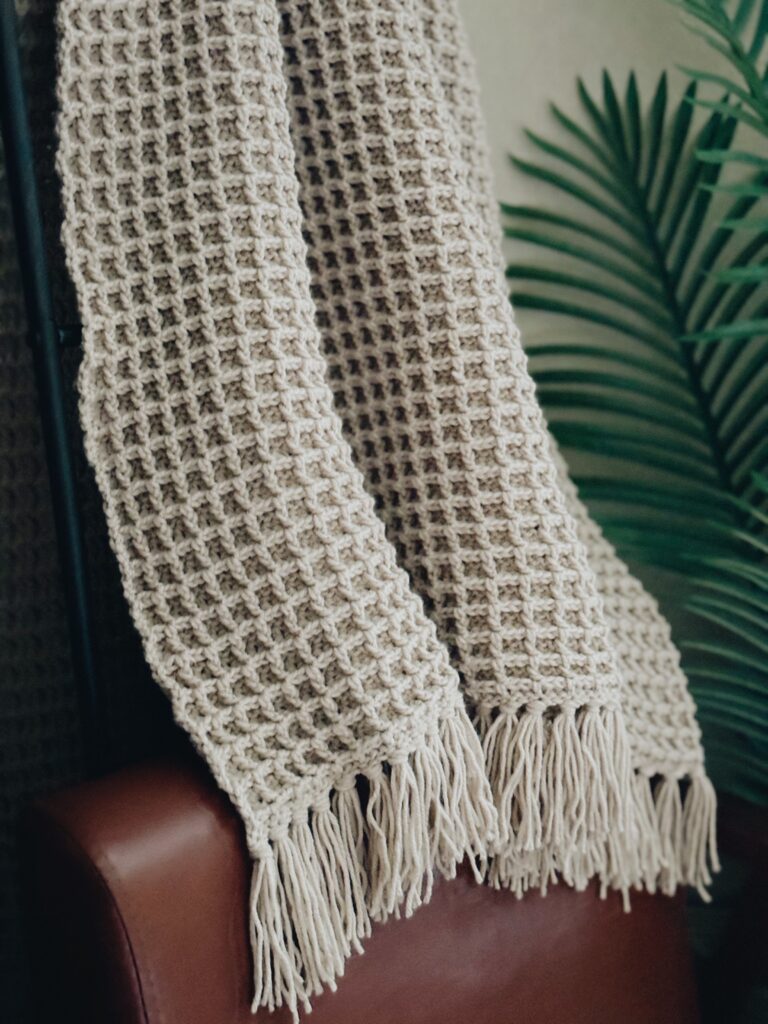
- Waffle Stitch Scarf and Wraps: Create a warm scarf or a stylish wrap, choosing vibrant colors to make the texture pop.
- Bags and Totes: Durable and attractive, waffle stitch bags are perfect for everyday use or as thoughtful handmade gifts.
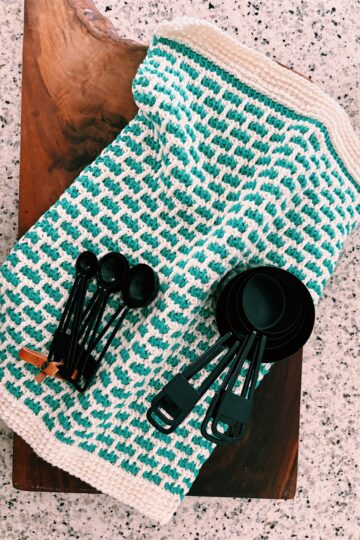
- Waffle Stitch Dishcloths: These are so fun to make and work up so quickly! They also make excellent items to tuck into a gift for someone, such as a housewarming gift or Mother's Day.
Each project can be customized with different yarn types and colors, adapting the stitch to fit the purpose and style of the item.
Ok, It's Your Turn to Try the Crochet Waffle Stitch!
The waffle stitch is a rewarding crochet technique that adds a unique texture to any crochet project.
Whether you're crafting a snug blanket or a stylish tote bag, the depth and warmth it brings are unmatched.
We hope this tutorial guides you through creating the waffle stitch and inspires you to explore its potential across various projects.
Ready to start your waffle stitch adventure? Share your creations with us on social media using the hashtag #ICanCrochetThat!
We love seeing how our community brings these tutorials to life in their own unique ways.
If you have questions or need more tips, don't hesitate to leave a comment below. And if you’re looking for more patterns or crochet inspiration, make sure to subscribe to our newsletter and check out our extensive pattern collection on our blog.
Happy crocheting!