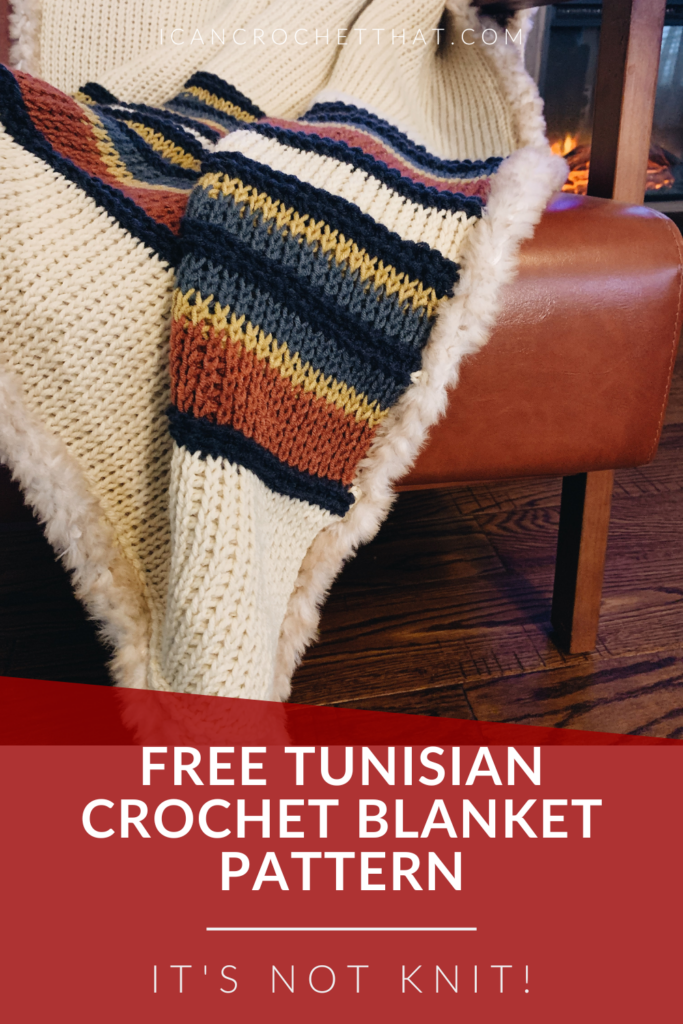
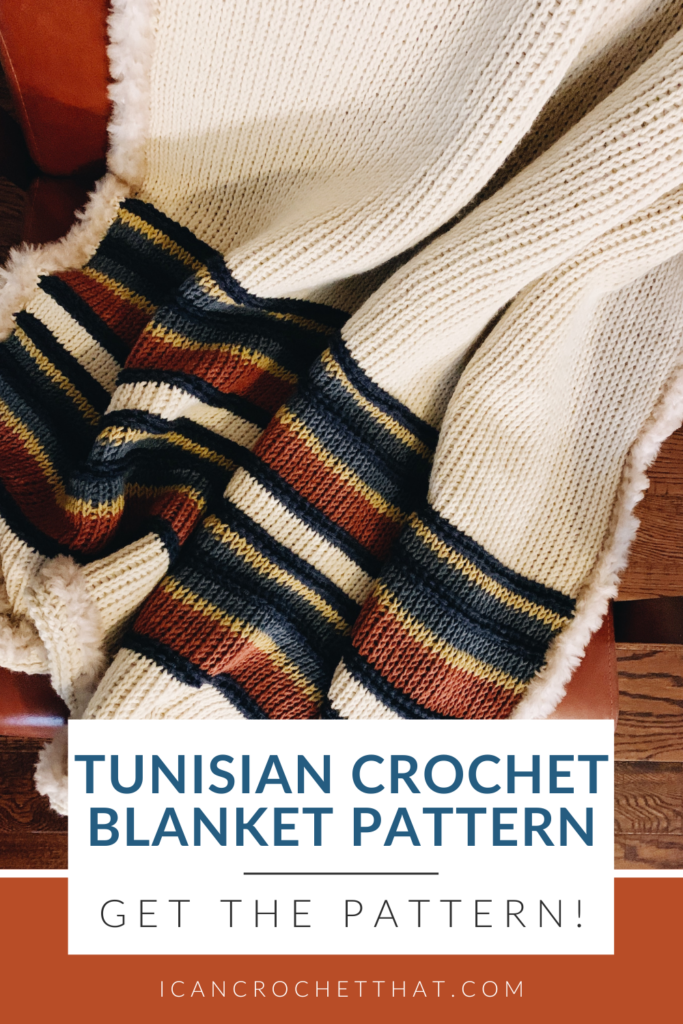
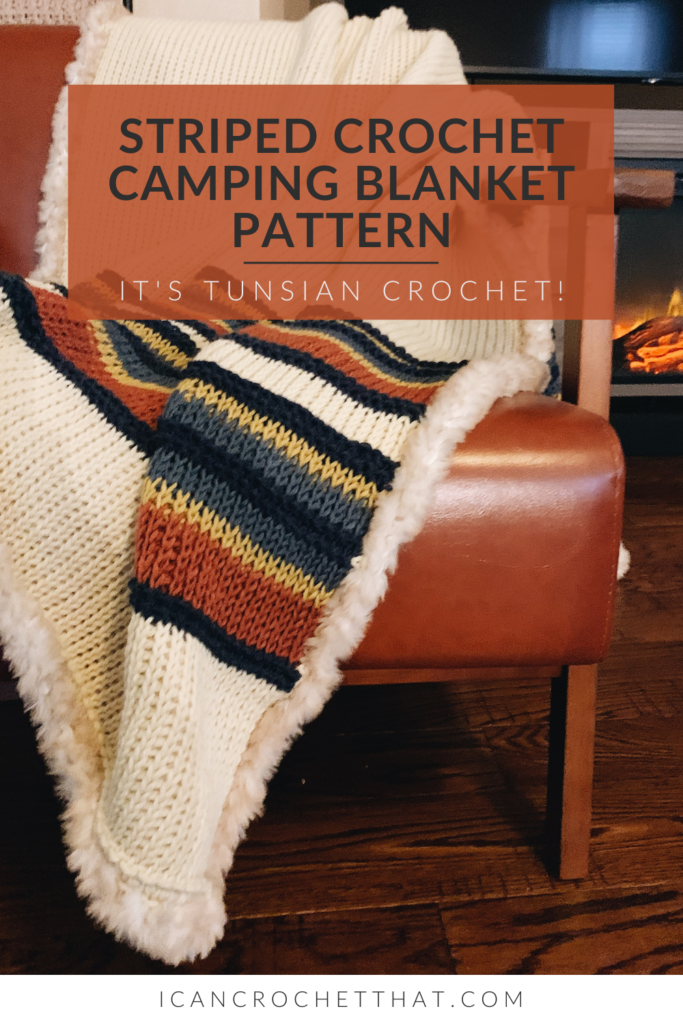
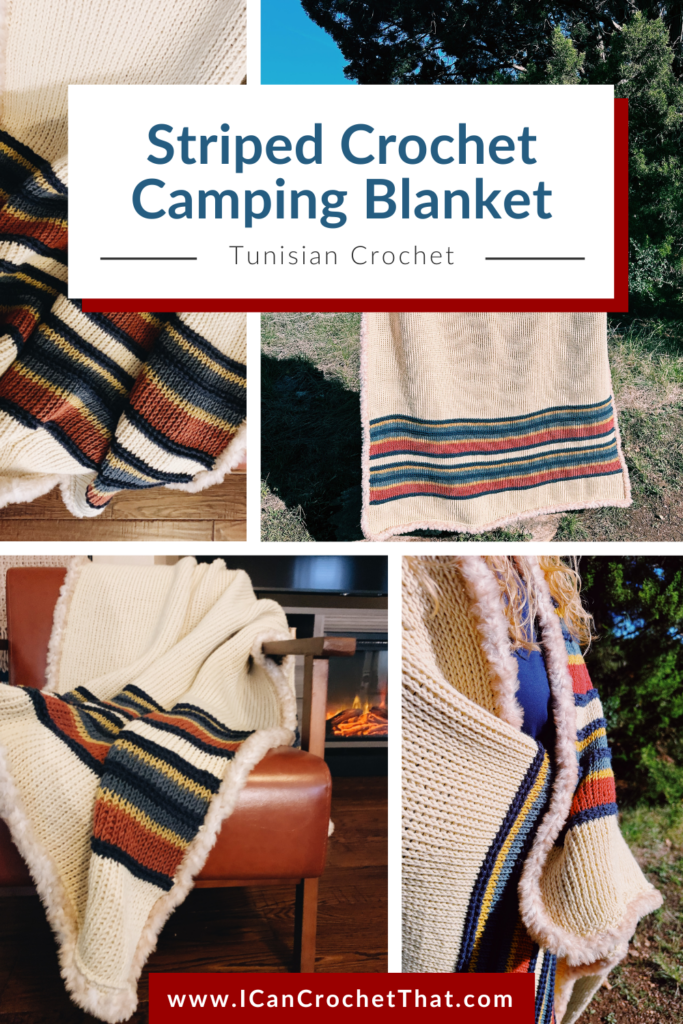
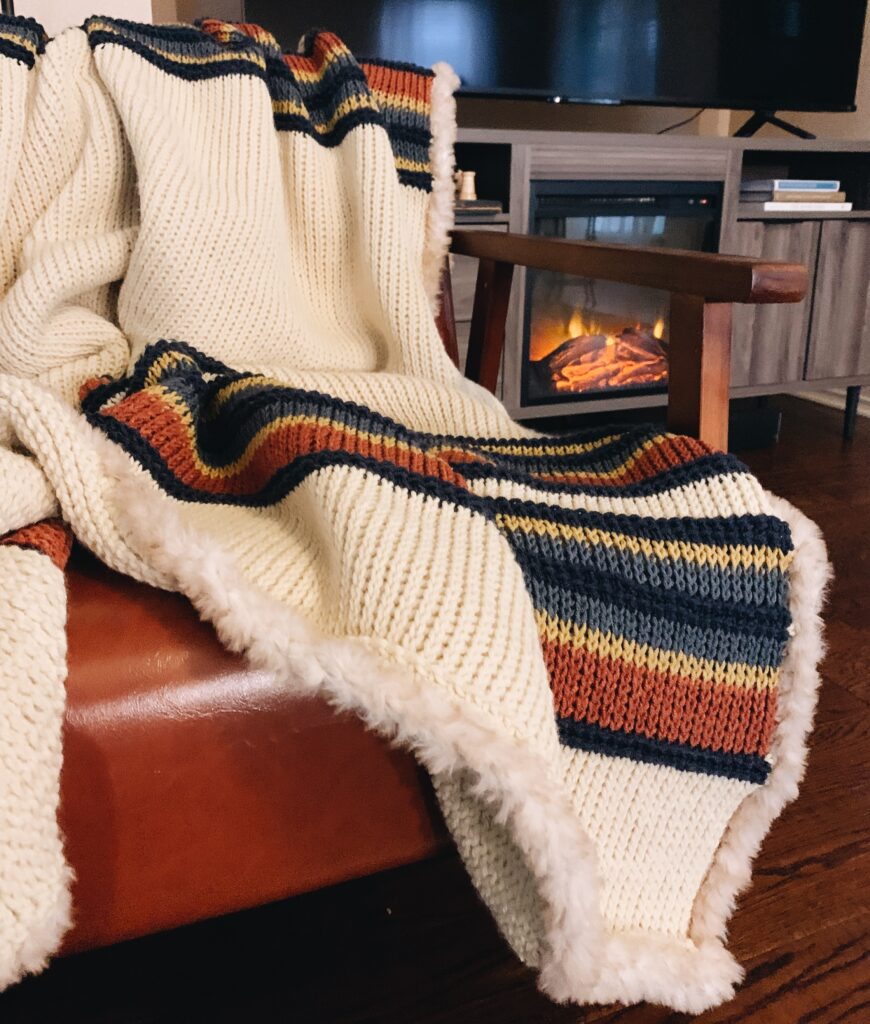
This striped Tunisian crochet blanket pattern features faux fur edging and two gorgeous Tunisian crochet stitches. It's our crochet take on the Pendleton® Yakima Faux Fur Back Stripe Throw.
You can purchase a printable PDF of this pattern at our shop here or Etsy here.
If you've ever visited I Can Crochet That before or have browsed through our Etsy patterns, you probably know I have a soft spot for creating camping blankets.
It started with the Let's Go Camping blanket, a simple Tunisian crochet pattern using self-striping yarn.
And then I had several of you ask for a regular crochet camping blanket and the Estes blanket was born.
Well, the first time I laid my eyes on this Pendleton® Yakima Faux Fur Back Stripe Throw I knew an I Can Crochet That dupe was in my future.
This design took me longer than I'd like to admit to create; with quite a bit of trial and error and frustrations, but I am so happy with the end result and I hope you are too.
Striped Crochet Blanket Pattern with a Faux Fur Border
The Inspiration
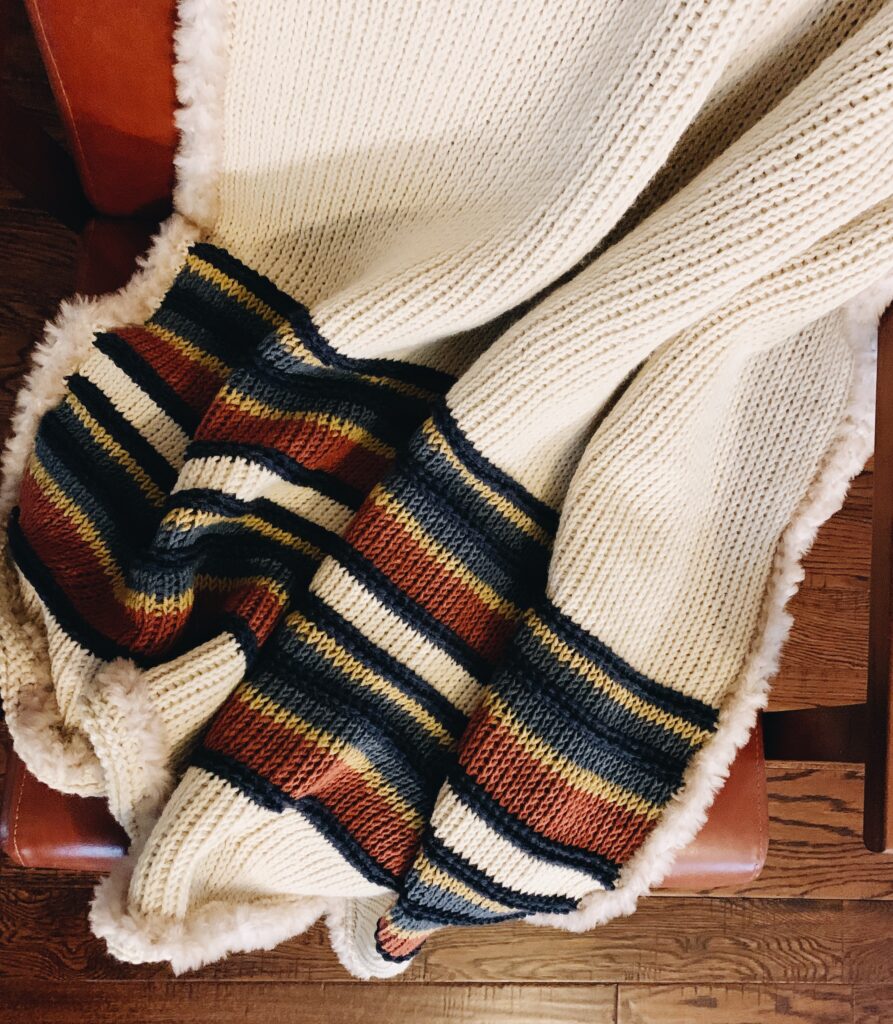
As I mentioned, the inspiration for this crochet blanket pattern was the Pendleton® Yakima Faux Fur Back Stripe Throw. The minute I saw it pop up on the Pottery Barn website, I was in love.
But as you may or may not know, instead of buying a blanket I fall in love with, I figure out a way to make a similar one by saying..."I Can Crochet That". 🙂
I knew a complete faux fur back was not going to happen and instead went with a faux fur edging. It really gives this blanket a bit of a luxury feel while upping the cozy factor a hundred notches.
The Yarn
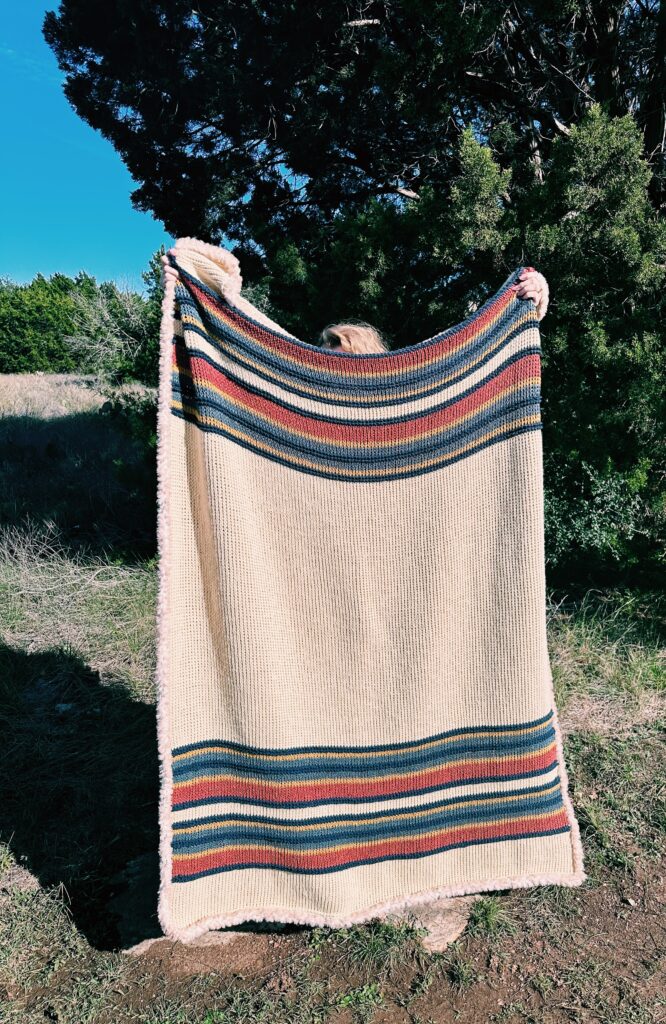
I wanted this blanket to be fairly thick for fall and winter use since my other two camping blanket patterns are lightweight. So I knew I wanted to use Lion Brand's Pound of Love for the solid sections.
Then I had to decide which yarn to use for the stripes.
I tried using my favorite self striping yarn, Mandala from Lion Brand, but as you can probably guess, mixing the weight 4 yarn with the 3 light yarn did not work well.
Mixing these two yarn weights works perfect for blankets like the Ethan or Bryn blanket, since the weights are mixed together, but not so much when they are separate.
Then I remembered how well Pound of Love and Color Theory worked together for my Jessica blanket design and the Pendleton blanket dupe was born.
The Stitches + The Hook
There's just nothing like the Tunisian knit stitch is there?
The Tunisian knit stitch + Pound of Love yarn is truly something magical. From the way it looks to the thickness it creates, these two are a match made in heaven.
I experimented quite a lot with several different sizes of Tunisian crochet hooks and finally settled on the 8mm.
The 6.5 made the blanket curl a lot and since a 7mm hook is so hard to find (I get emails asking me about where to find a 7mm hook all the time), I decided to try the 8mm and it was perfect.
I'll be writing up a detailed post soon all about my favorite Tunisian crochet hooks, but until then here's a short list of ones I like using:
- Knitter's Pride Bamboo Hooks Set
- Knitter's Pride Dreamz Set
- Clover Interchangeable Tunisian Crochet Hook "Takumi" Combo Set - My current favorite because the cord swivels
- Tulip Carry T Interchangeable Bamboo Tunisian Hook Set - I just ordered these because several of you have told me how much you like them and they have a size 7mm hook. I purchased them from Michael's.com with their online 40% off coupon. What a steal!
Stitches You'll Need to Know for This Pattern
The Tunisian Knit Stitch
The Tunisian Reverse Stitch
The Striped Crochet Blanket Pattern
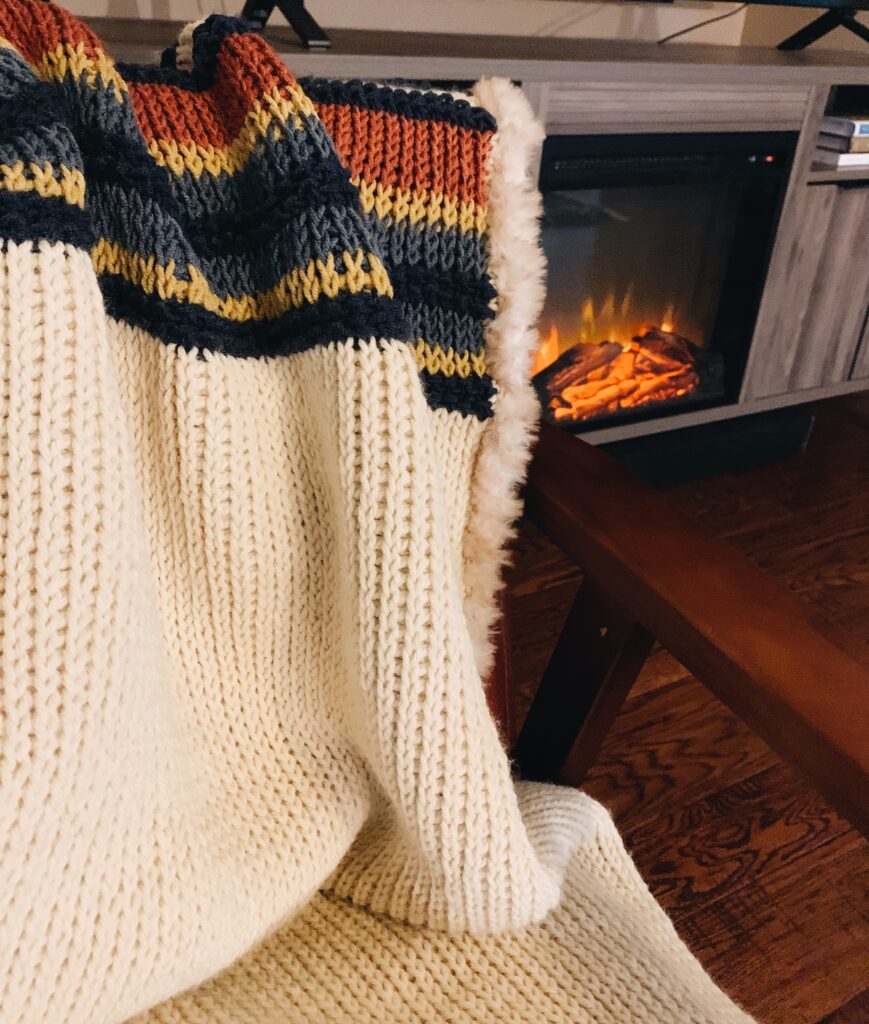
Now that I've over-shared how this blanket came to be 😉 let's get to the actual pattern, shall we?
Making this blanket is definitely a labor of love! But the end result is a blanket you will absolutely be proud of, love using, or gifting to that special someone.
You can purchase a printable PDF of this pattern at our shop here or Etsy here.
Notes:
- Finished size measures 47" wide x 63" long (includes faux fur border)
- To change the width, chain any number
- To change the length, I recommend adding more cream colored rows in the middle
- Video tutorial for the Tunisian knit stitch is HERE
- Video tutorial for the Tunisian Reverse stitch is HERE
- You are fastening off your yarn when you switch colors, so just know you'll have quite a few ends to weave in. Put in a good movie and settle in...
- You will switch colors after the return pass when you have 2 loops left on your hook
- You'll want to focus on your tension when switching to a new color. Don't pull too tight, but also not too loose. You want your edges to match.
- Ch 1 for border does not count as a stitch
- If your edges do look really wonky, don't worry! Your border will help it look nice and clean.
Materials:
HOOK(S)
8 mm Tunisian crochet hook with cable
6.5 mm crochet hook for border & 8mm crochet hook for faux fur border
YARN
Weight 4 medium • 1,020 yards each
Lion Brand Pound of Love; approx. 1 ½ skeins
Color: Vanilla
Weight 4 medium • 246 yards each; 7 total skeins
Stone Wash, 2 skeins
Admiral, 2 skeins
Canyon, 2 skeins
Bee Pollen, 1 skein
Weight 6 Bulky • approx. 65 yds
Lion Brand Go For Faux, 1 skein
Color: Pomeranian
NOTIONS
Scissors
Tapestry needle
GAUGE (4 x 4")
12 knit sts x 15 rows of knit stitch
Abbreviations:
ch chain
rep repeat
yo yarn over
FwP Forward pass
RetP Return pass
Lts last Tunisian stitch
Tks Tunisian knit stitch
Trs Tunisian reverse stitch
Trs sl st Tunisian reverse slip stitch
sc single crochet
sk skip
st(s) stitch(es)
Special Stitches:
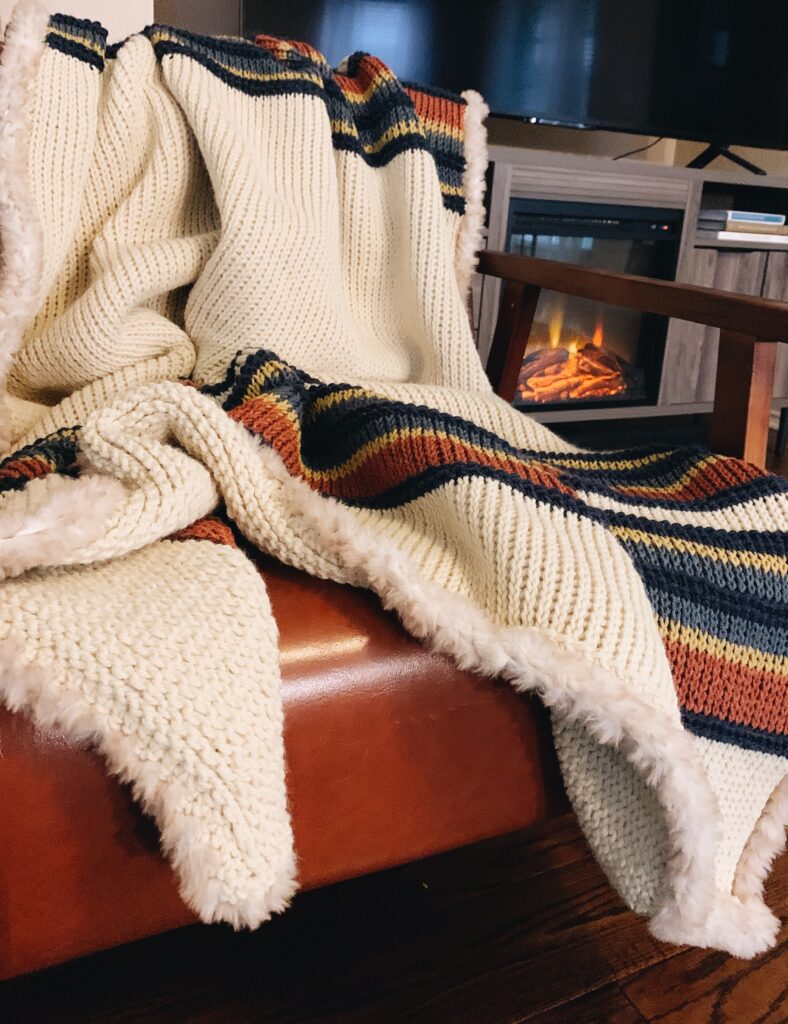
Tks
Insert hook between front and back vertical bars, yo, pull up a loop
Video tutorial HERE
Trs
Insert hook in back vertical bar, yo, pull up a loop.
Video tutorial HERE
Trs sl st
Insert hook in back vertical bar, Yarn over and pull through a loop
Lts
insert hook under both vertical bars of the last stitch and complete as for Tunisian simple stitch
RetP
ch 1, *yo, pull through the next 2 loops*, repeat between * and * until only one loop remains on the hook
When changing colors, join new color when you have 2 loops left on hook on RetP
Also, when switching to a new color, fasten off the old color
The Pattern:
The Striped Faux Fur Edge Camping Blanket
This striped crochet blanket pattern features faux fur edging and two gorgeous Tunisian crochet stitches. It's our crochet take on the Pendleton® Yakima Faux Fur Back Stripe Throw. With the beautiful knit stitches and faux fur edging, you get a super snuggly and soft heavy crochet blanket that's perfect for curling up under during those cold fall and winter months.
Color A: Pound of Love, Vanilla
Color B: Color Theory, Admiral
Color C: Color Theory, Canyon
Color D: Color Theory, Bee Pollen
Color E: Color Theory, Stone Wash
Color F: Go for Faux, Pomerania
Note: When stated, you'll change colors on the Return Pass when you have two loops left on your hook. Also, when switching to a new color, fasten off the old color.
Foundation row with 8 mm Tunisian crochet hook and color A, ch 135, pull up a loop in the second back bump from hook and in each back bump to the end (135 loops on hook), RetP
Row 1 Trs across to last stitch, Trs in last st, RetP
Row 2 Tks across to last stitch, working the last st as for Lts, RetP
Rows 3 - 20 repeat row 2
Row 21 Switch to color B, Tks across to last st, working last st as for Lts, RetP
Row 22 Trs across to last st, Trs in last st, RetP
Row 23 Switch to Color C, Trs across to last st, Trs in last st, RetP
Row 24 Tks across to last st, working last st as for Lts, RetP
Rows 25 - 28 repeat row 23
Rows 29 and 30 Switch to Color D, Tks across to last st, working last st as for Lts, RetP
Rows 31 - 33 Switch to Color E, Tks across to last st, working last st as for Lts, RetP
Row 34 Switch to Color B, Tks across to last st, working last st as for Lts, RetP
Row 35 Trs across to last st, Trs in last st, RetP
Row 36 Switch to Color E, Trs across to last st, Trs in last st, RetP
Rows 37 and 38 Tks across to last st, working last st as for Lts, RetP
Row 39 Switch to Color D, Tks across to last st, working last st as for Lts, RetP
Row 40 Tks across to last st, working last st as for Lts, RetP
Row 41 Switch to Color B, Tks across to last st, working last st as for Lts, RetP
Row 42 Trs across to last st, Trs in last st, RetP
Row 43 Switch to Color A, Trs across to last st, Trs in last st, RetP
Rows 44 - 47 Tks across to last st, working last st as for Lts, RetP
Row 48 Switch to Color B, Tks across to last st, working last stitch as for Lts, RetP
Row 49 Trs across to last st, Trs in last st, RetP
Row 50 Switch to Color C, Trs across to last st, Trs in last st, RetP
Rows 51 - 55 Tks across to last st, working last stitch as for Lts, RetP
Row 56 Switch to Color D, Tks across to last st, working last stitch as for Lts, RetP
Row 57 Tks across to last st, working last stitch as for Lts, RetP
Row 58 Switch to Color E, Tks across to last st, working last stitch as for Lts, RetP
Rows 59 and 60 Tks across to last st, working last stitch as for Lts, RetP
Row 61 Switch to Color B, Tks across to last st, working last stitch as for Lts, RetP
Row 62 Trs across to last st, Trs in last st, RetP
Row 63 Switch to Color E, Trs across to last st, Trs in last st, RetP
Rows 64 - 65 Tks across to last st, working last st as for Lts, RetP
Row 66 & 67 Switch to Color D, Tks across to last st, working last st as for Lts, RetP
Row 68 Switch to Color B, Tks across to last st, working last st as for Lts, RetP
Row 69 Trs across to last st, Trs in last st, RetP
Row 70 Switch to Color A, Trs across to last st, Trs in last st, RetP
Rows 71 - 172 Tks across to last st, working last st as for Lts, RetP
Row 173 Switch to Color B, Tks across to last st, working last st as for Lts, RetP
Row 174 Trs across to last st, Trs in last st, RetP
Row 175 Switch to Color D, Trs across to last st, Trs in last st, RetP
Rows 176 Tks across to last st, working last st as for Lts, RetP
Row 177 Switch to Color E, Tks across to last st, working last st as for Lts, RetP
Row 178 - 179 Tks across to last st, working last st as for Lts, RetP
Row 180 Switch to Color B, Tks across to last st, working last st as for Lts, RetP
Rows 181 Trs across to last st, Trs in last st, RetP
Row 182 Switch to Color E, Trs across to last st, Trs in last st, RetP
Row 183 and 184 Tks across to last st, working last st as for Lts, RetP
Row 185 Switch to Color D, Tks across to last st, working last st as for Lts, RetP
Row 186 Tks across to last st, working last st as for Lts, RetP
Row 187 Switch to Color C, Tks across to last st, working last stitch as for Lts, RetP
Rows 188 - 192 Tks across to last st, working last st as for Lts, RetP
Row 193 Switch to Color B, Tks across to last st, working last st as for Lts, RetP
Row 194 Trs across to last st, Trs in last st, RetP
Row 195 Switch to Color A, Trs across to last st, Trs in last st, RetP
Rows 196 - 199 Tks across to last st, working last st as for Lts, RetP
Row 200 Switch to Color B, Tks across to last st, working last st as for Lts, RetP
Rows 201 Trs across to last st, Trs in last st, RetP
Row 202 Switch to Color D, Trs across to last st, Trs in last st, RetP
Rows 203 Tks across to last st, working last st as for Lts, RetP
Row 204 Switch to Color E, Tks across to last st, working last st as for Lts, RetP
Rows 205 and 206 Tks across to last st, working last st as for Lts, RetP
Row 207 Switch to Color B, Tks across to last st, working last st as for Lts, RetP
Row 208 Trs across to last st, Trs in last st, RetP
Row 209 Switch to Color E, Trs across to last st, Trs in last st, RetP
Rows 210 and 211 Tks across to last st, working last st as for Lts, RetP
Row 212 Switch to Color D, Tks across to last st, working last st as for Lts, RetP
Row 213 Tks across to last st, working last st as for Lts, RetP
Row 214 Switch to Color C, Tks across to last st, working last st as for Lts, RetP
Rows 215 - 219 Tks across to last st, working last st as for Lts, RetP
Row 220 Switch to Color B, Tks across to last st, working last st as for Lts, RetP
Row 221 Trs across to last st, Trs in last st, RetP
Row 222 Switch to Color A, Trs across to last st, Trs in last st, RetP
Rows 223 - 240 Tks across to last st, working last st as for Lts, RetP
Row 241 (Finish row) Trs sl st, fasten off yarn
Finish
Weave in all ends
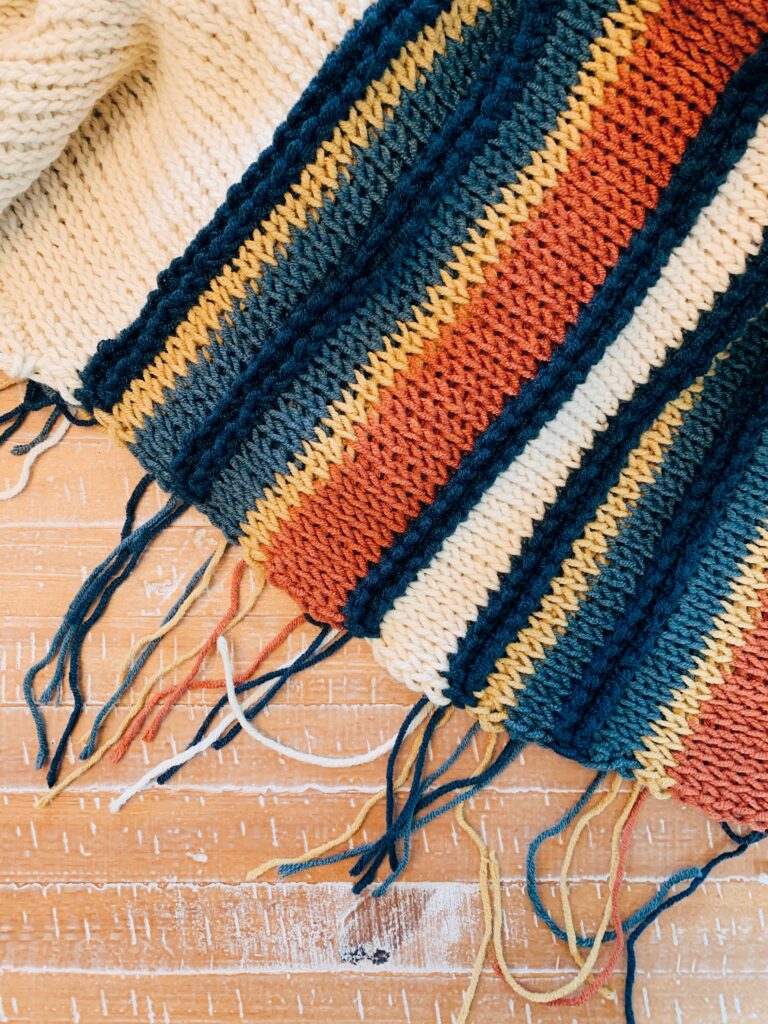
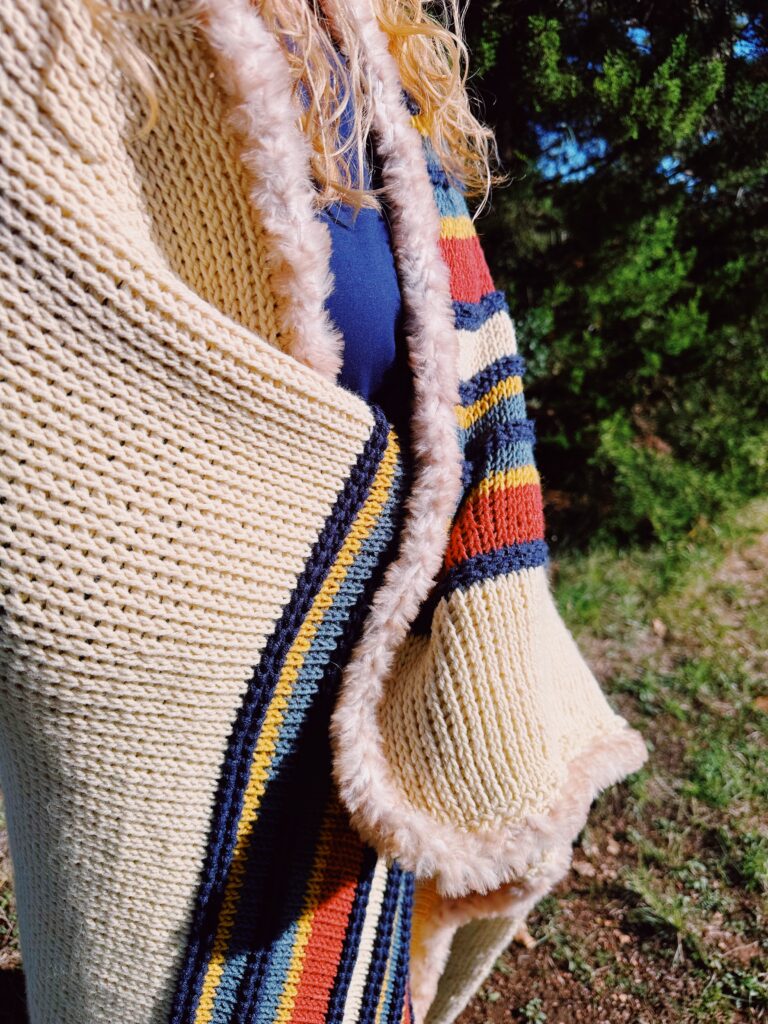
This video at mark 23:35 shows you how to do the single crochet border.
Border 1: With regular crochet hook 6.5 mm, attach color A to corner
Note: loosely crochet the border so your hook for the faux fur border can easily be worked
With Color A, ch 1, 2sc in same space, sc in each stitch down edge to corner, 2sc in last stitch, 2sc in first stitch; sc in each st across, 2sc in last st, 2sc in first stitch, sc in each stitch along edge, 2sc in last stitch, 2sc in first stitch, sc in each st across, 2sc in last stitch, slip stitch to first sc
Finish off, weave in ends
Border 2: With regular crochet hook 8 mm
Attach faux fur (Color F) to one corner, ch 1, sc in same stitch, *sk sc, sc in next sc*, repeat from * to * all the way around the blanket; fasten off and weave in ends
Congratulations!! You are done. Now enjoy your blanket. 🙂
